The Camera Features Ultimate Guide
There are so many features now on a camera that its’ both mind blowing and confusing.
The TV Analogy
When we were in the market for a new TV, we discussed all the different features and benefits with retailers.
By the time we had finished we were totally confused. Salespeople in different shops seem to tell us something different about the same TV.
For example, one would say this TV doesn’t have Freeview plus, whilst another would say that it does.
In the end, I researched on each manufacturers website. I even rang them to ensure that the information I had gathered was accurate.
After doing that we went and bought the TV we wanted.
If you are in the market for a new camera check out Buying a new camera? Then read this
and Buy a Camera in 15 minutes with these 5 Questions
Camera features intro
So, what about Camera features? Well compared to TV’s there are way more things to think about.
In my opinion there are too many Camera features that are not needed!
This article is to help you navigate the different Camera features.
I’m going to suggest some essential camera features you need to consider having.
Either when you are in the market for a new camera or mobile phone or that you should review on your existing camera.
This article consists of 4 sections:
1. The single essential camera feature you must have
2. Four Camera features you need
3. Eight Camera features to have
4. Six Camera features you don’t need
After each Camera feature is a rating out of 10 – 10 being must have.
The single essential Camera feature you must have

So, let’s start with absolute must!!
Mechanical Exposure controls
Usually on most cameras there are a P, A, S and M modes.On small compacts there usually is only a P mode.
On smartphone cameras, even the best ones, they don’t yet have the option to adjust the exposure the “old fashioned way”.
So what’s with the “old fashioned way”? Well without going into a great deal of details on how a camera works, I’ll explain:
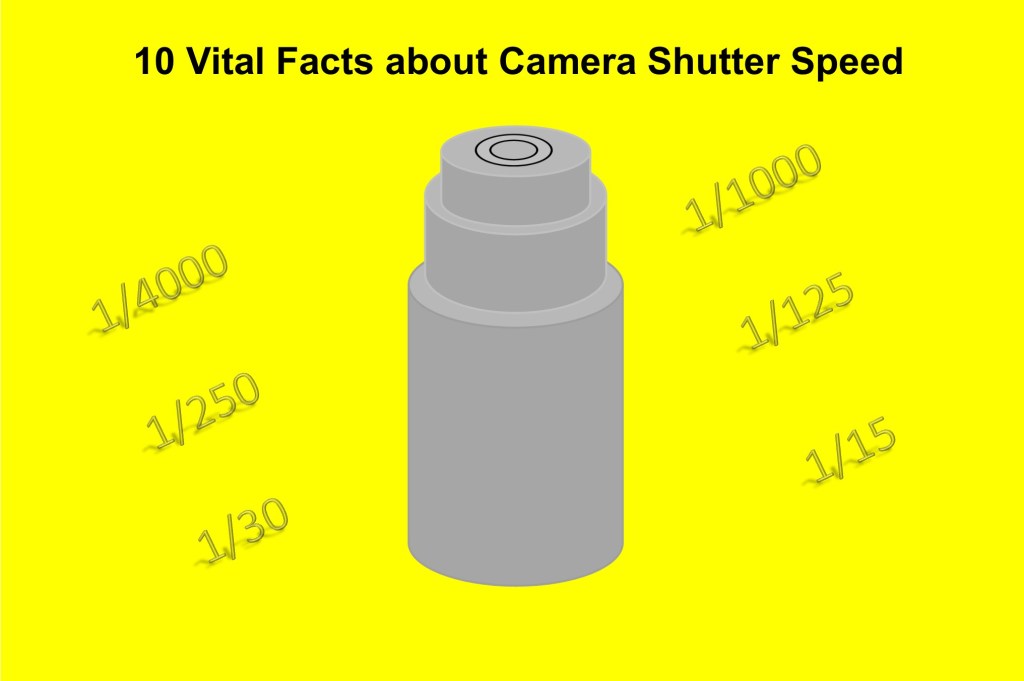
All cameras have an aperture and a shutter. Both allow light into the sensor but in different ways.
The aperture allows in light by changing the size of its hole, the shutter allows in light by the speed of its movement.
Having the option of being able to control both or at least one of these is one of the keys to getting great photography.
What do all these letters mean?
P stands for program and is a more sophisticated way of shooting in auto. The camera decides which aperture and shutter speed to use.
However the difference is that you can also weigh in by using what’s called in the industry “shift”.
A stands for aperture priority and S stands for shutter priority. In both these modes you control one whilst the other one is controlled by the camera.
Most pro photographers depending on their specialisation will shoot in aperture priority.
M is where you have complete control. You set both the aperture and the shutter speed.
This is not something a beginner would dabble in until they have got some experience with the other modes
Confused? Let’s go into more detail
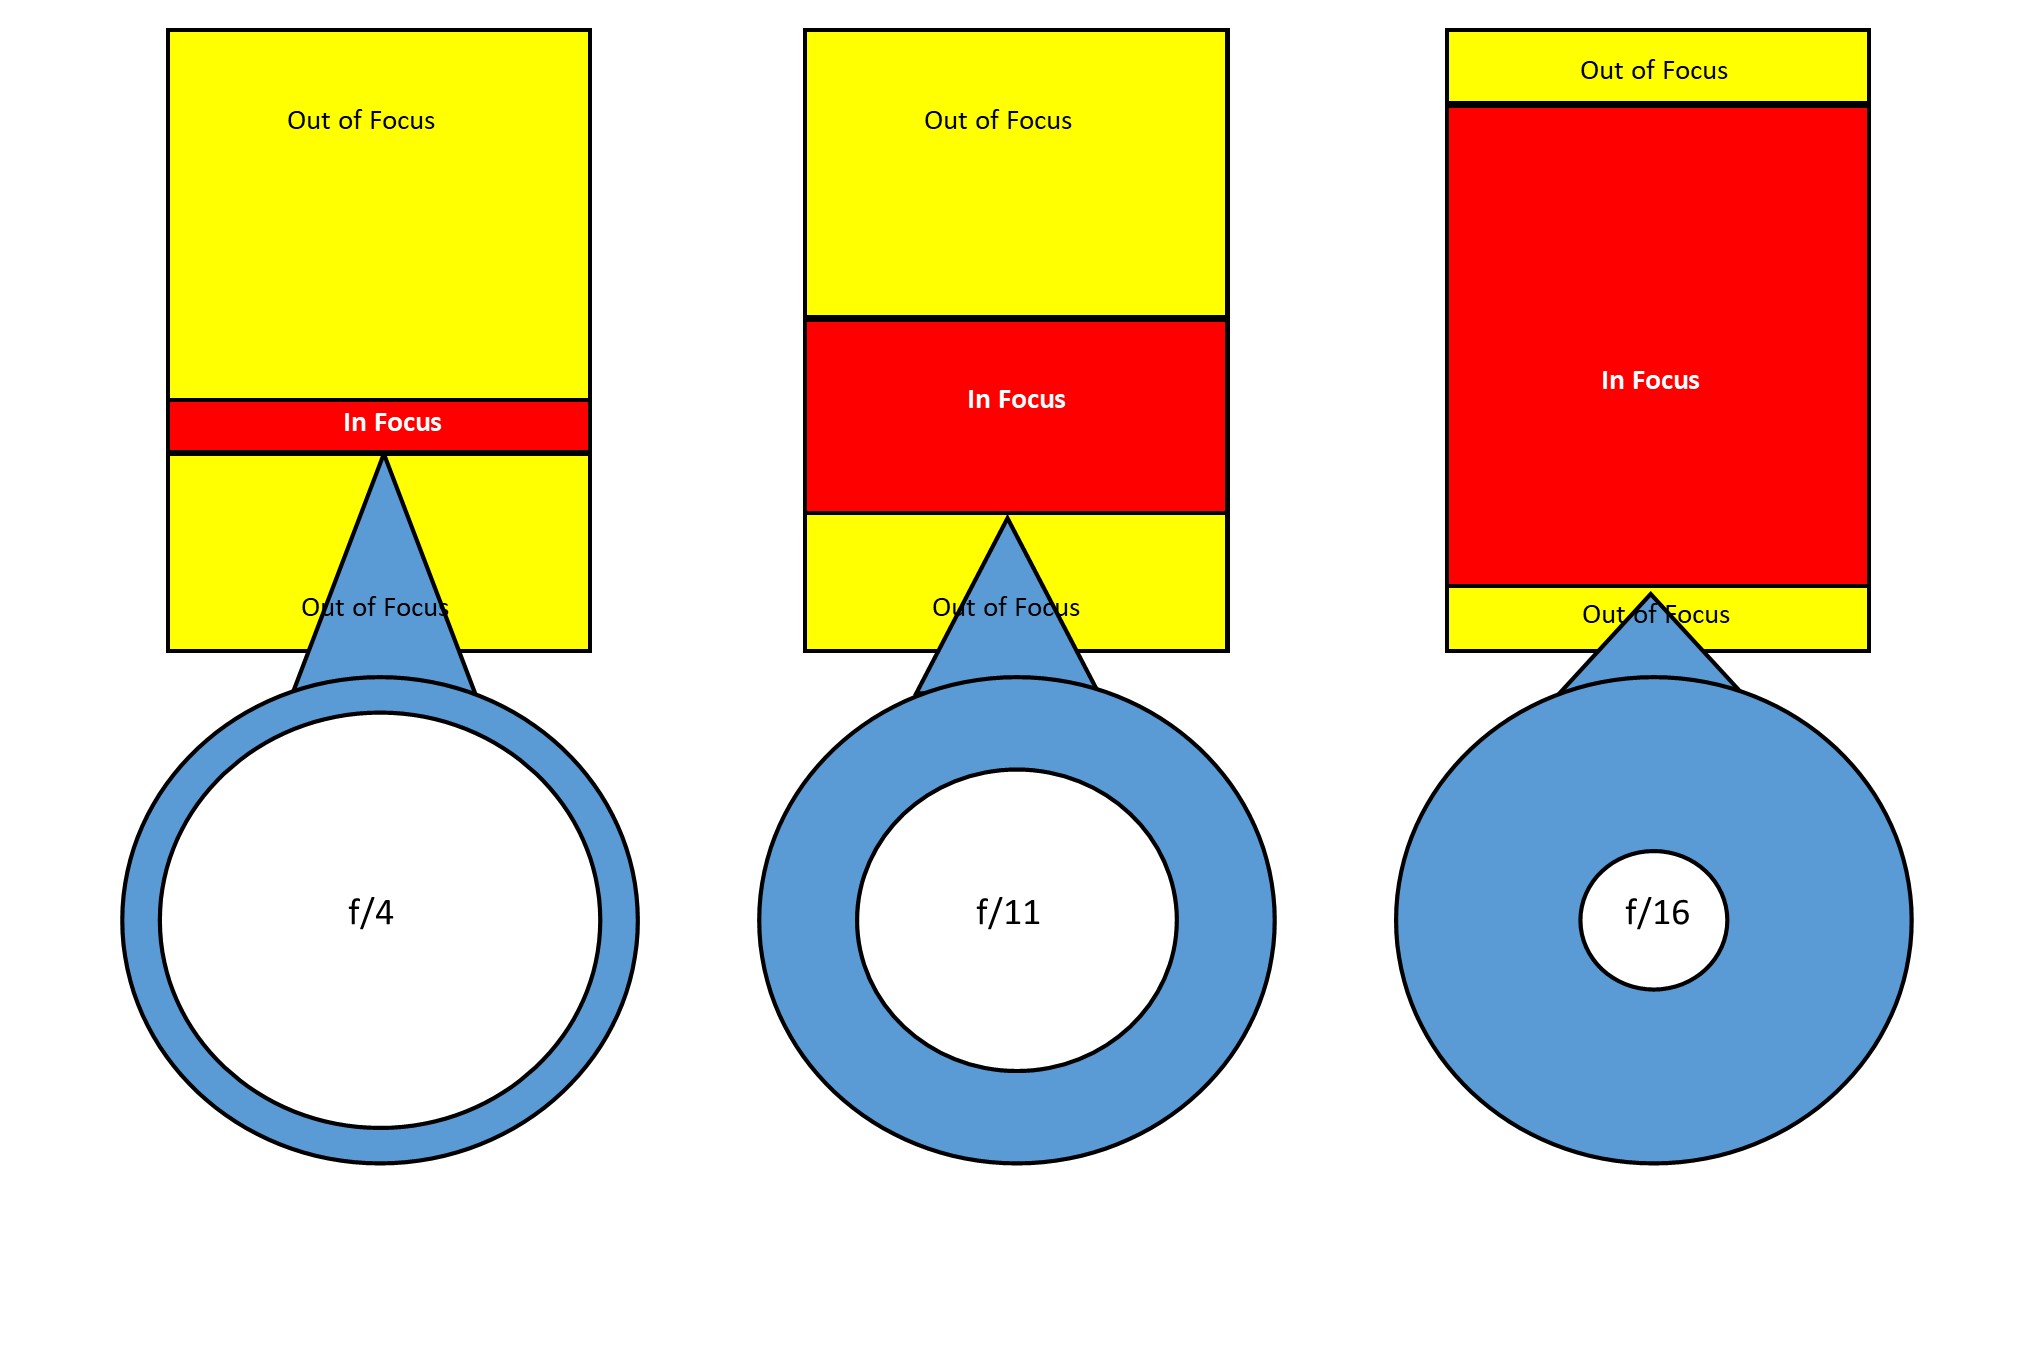
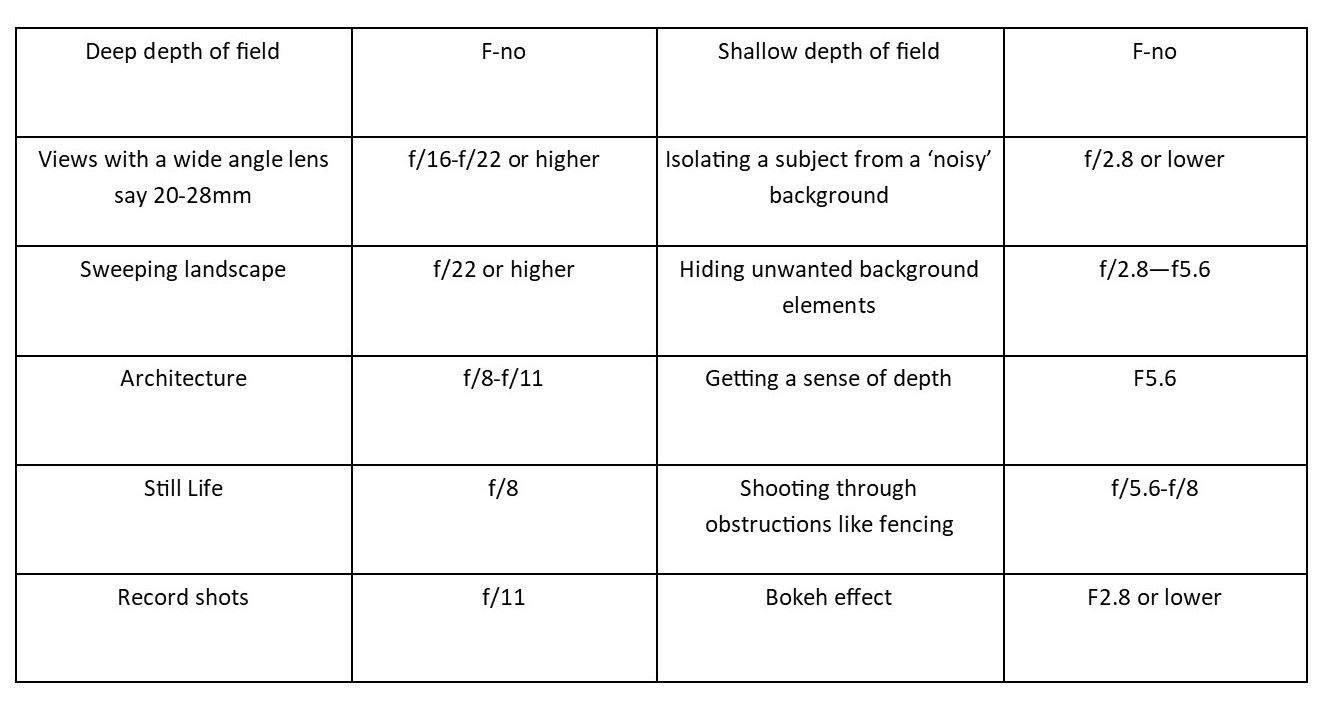
If you want to take a photo of a subject with all the background blurred then you would need to adjust the aperture.
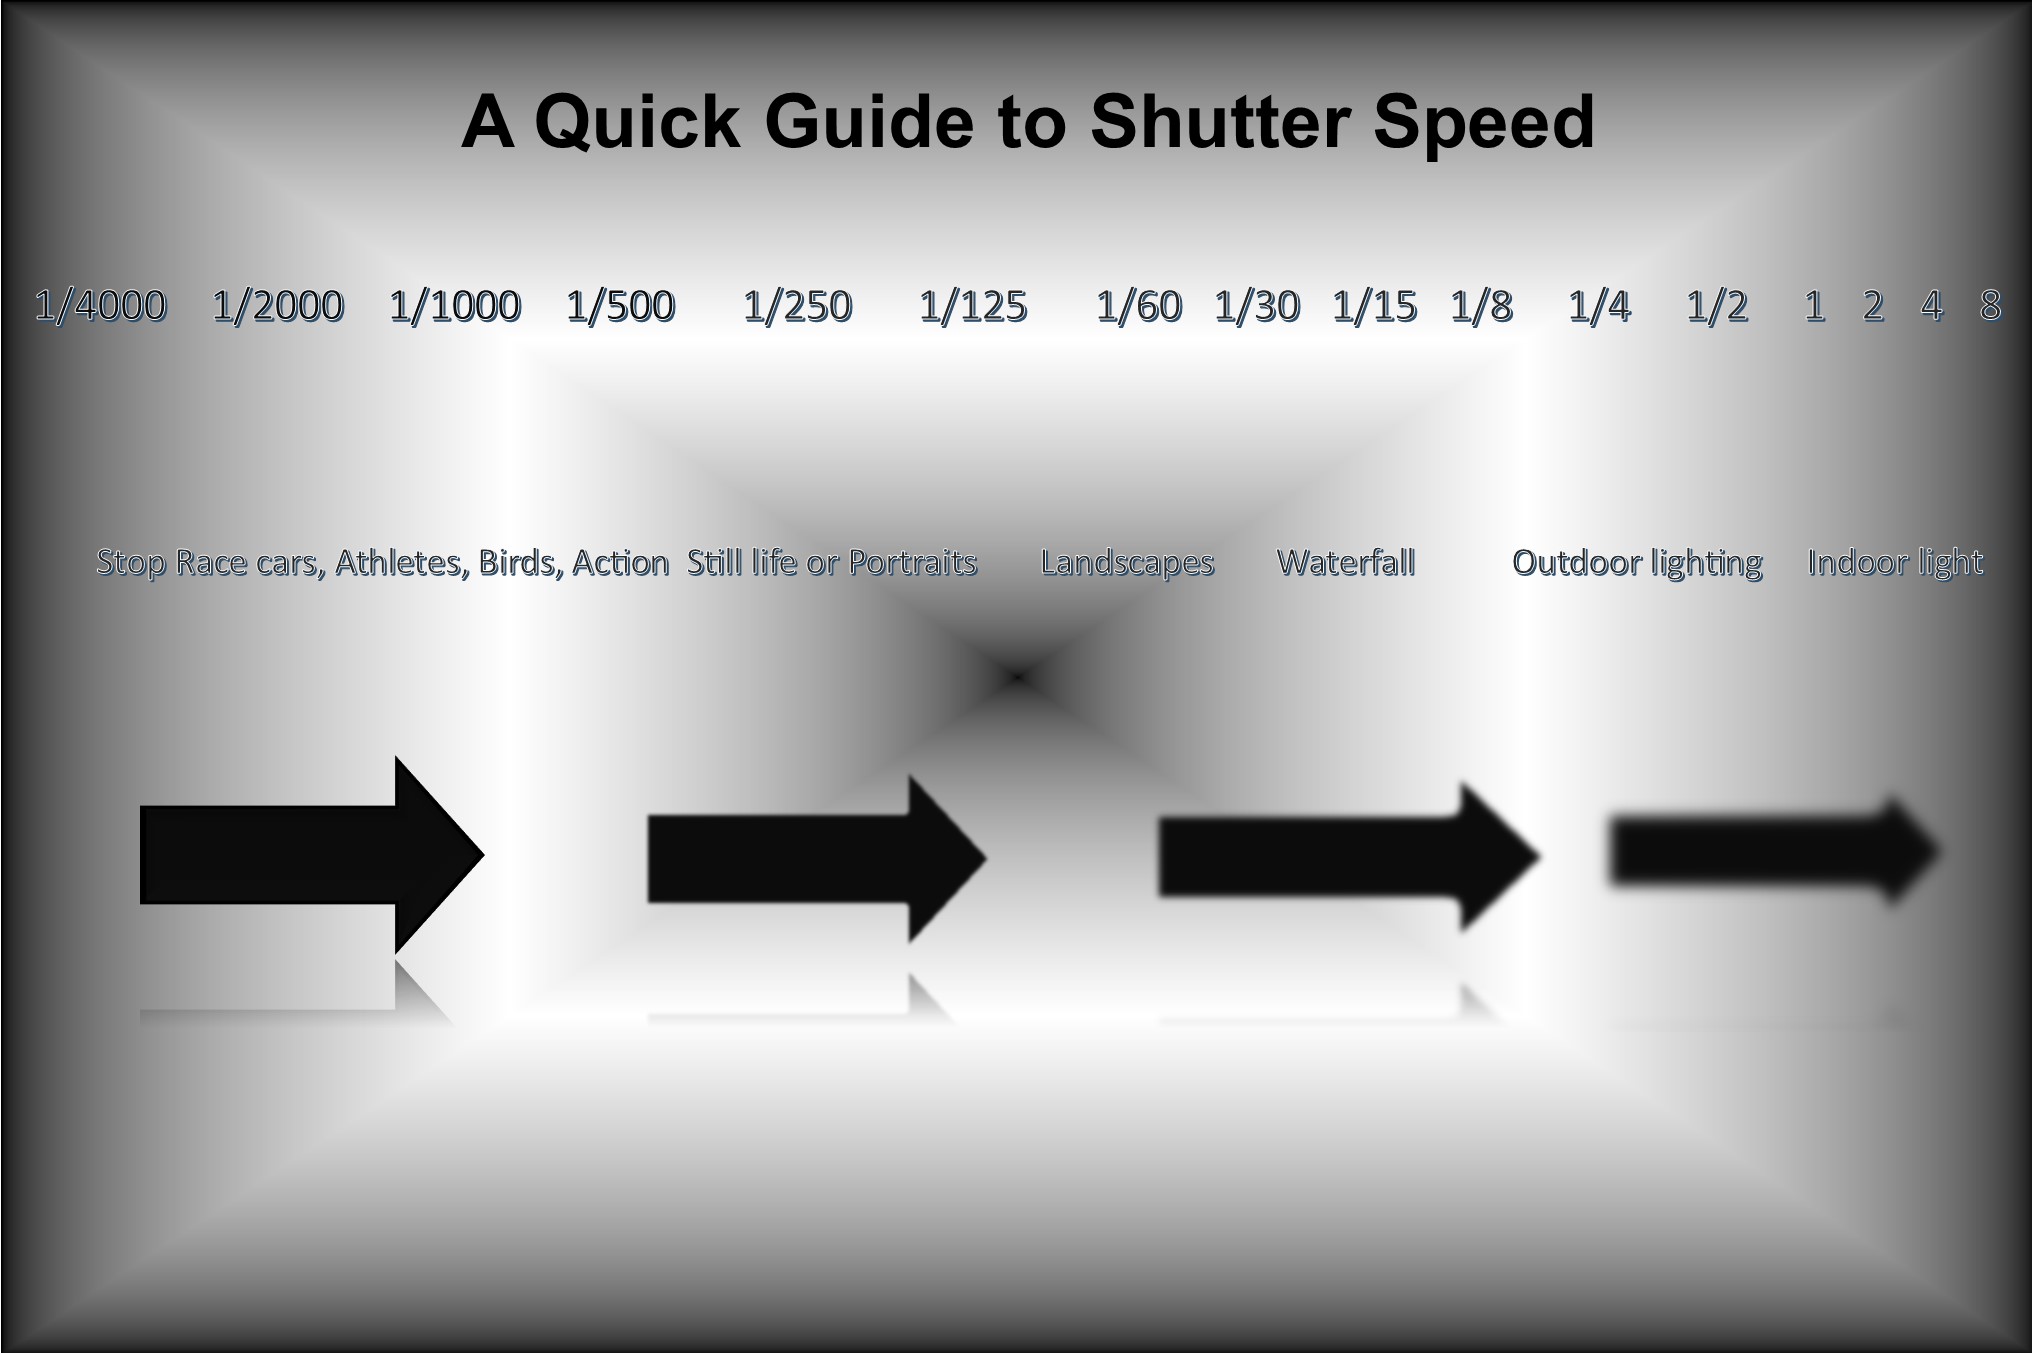
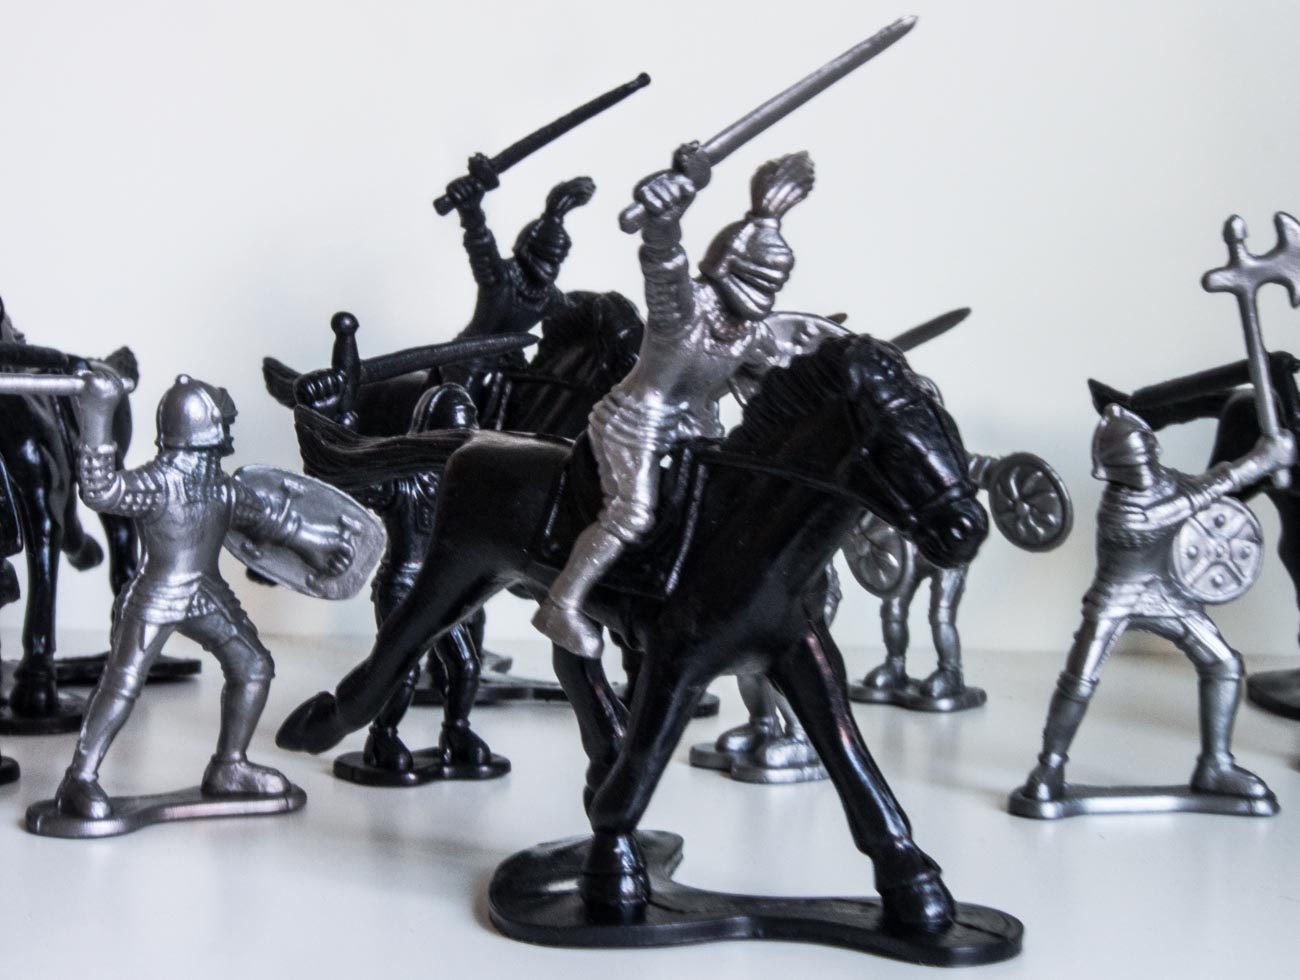
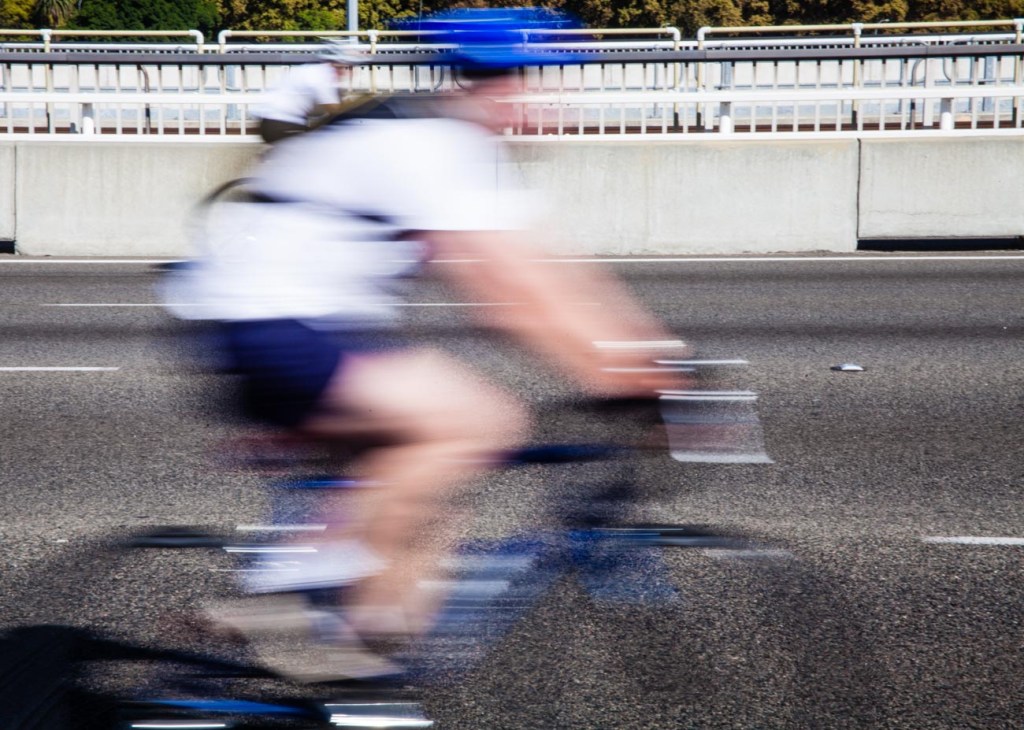
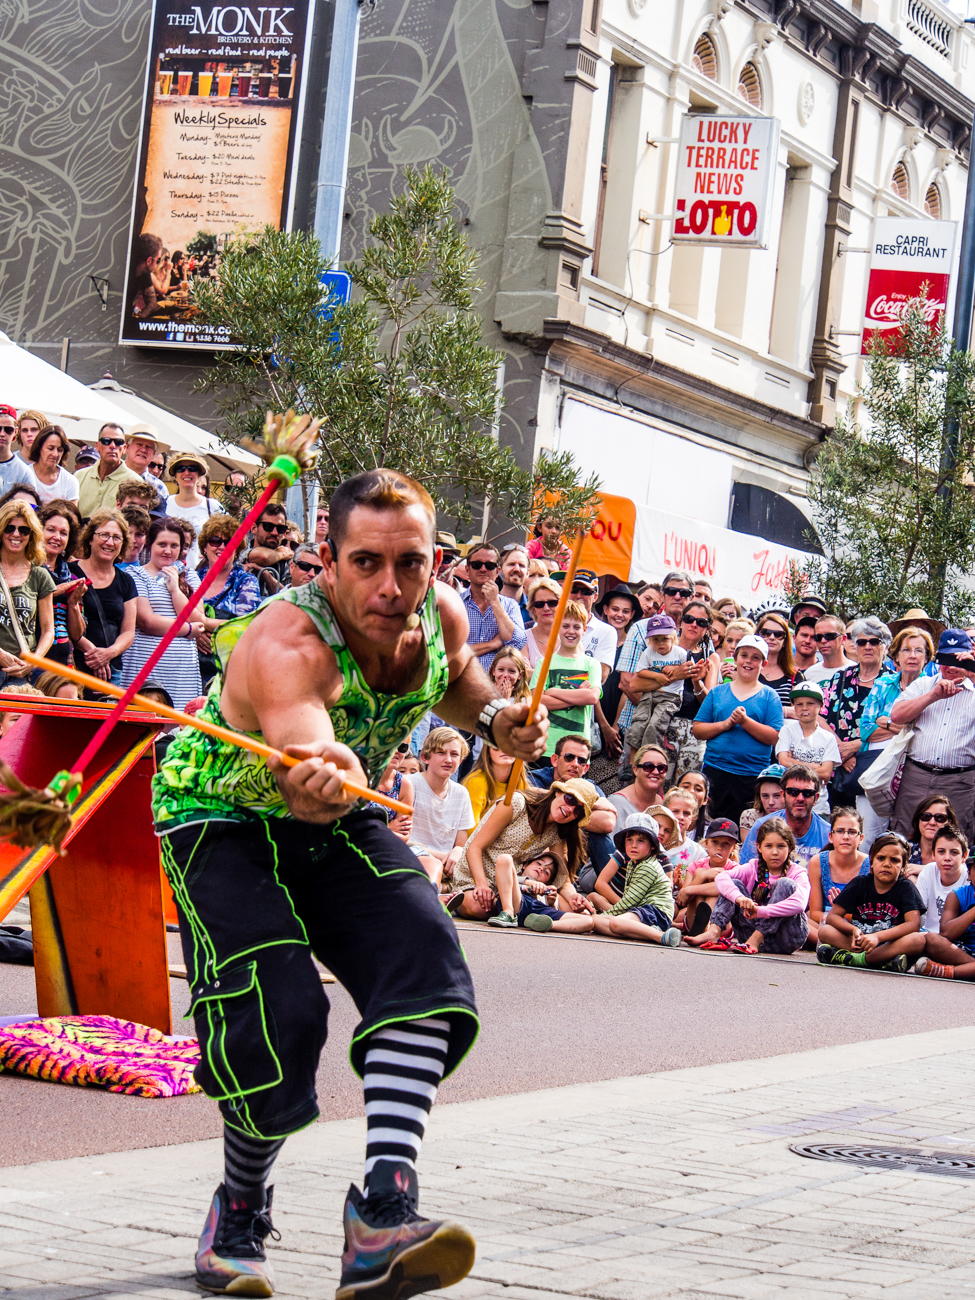
If on the other hand you want to take a photo of movement.
Let’s say, a dancer practicing or performing then you would more than likely want to adjust the shutter to capture the type of movement you want.
That can be blurred motion or freezing the action.
So, it’s handy to have that degree of control.
What’s that you say? You’re only beginning so you only need auto!
That’s fine. However I would suggest that if you want to create images that you can be proud of, then at some time in the future you will need more control.
The ISO factor
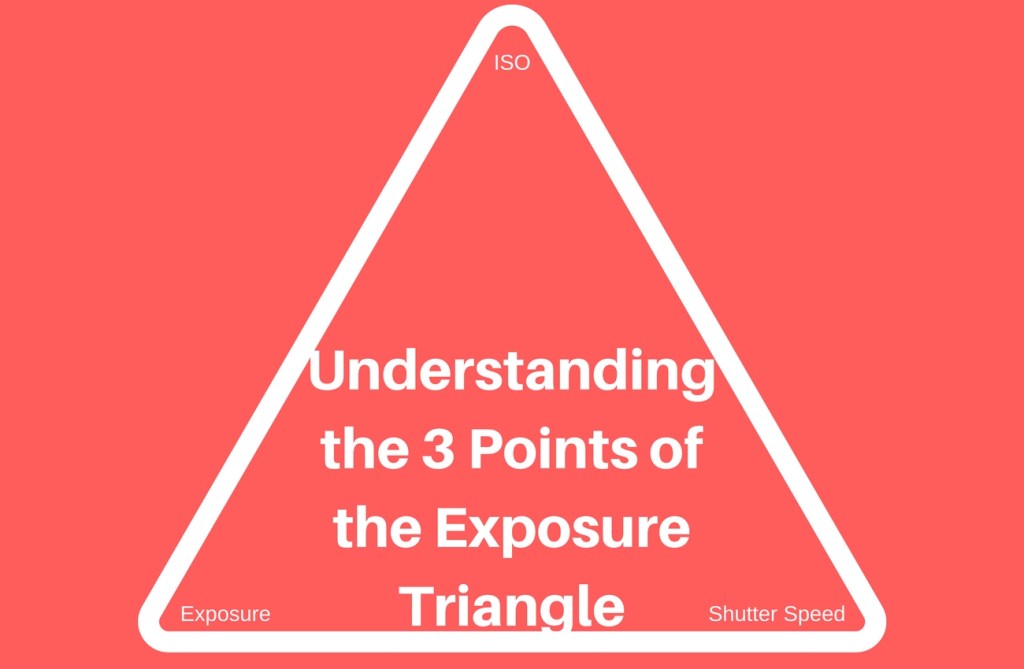
One extra control that goes hand in hand with exposure is ISO adjustment.
In fact, the aperture, shutter speed and ISO make up the exposure triangle.
That is to say that the adjustment of one affects the other two.
With each camera manufacturer trying to outdo each other, the ISO on a top end DSLR can now be adjusted to over 400,000.
Which is crazy, as now the camera can take pictures in the dark!
When you change your ISO setting, you’re adjusting your camera’s sensitivity to light.
ISO settings are normally anywhere from 100 to 10,000 (or higher). These numbers have a direct relationship with the sensor’s light sensitivity.
Therefore the affect both the aperture and shutter speed. so a low setting means you need more light whilst a high setting needs less.
Rating: A or S is 10/10
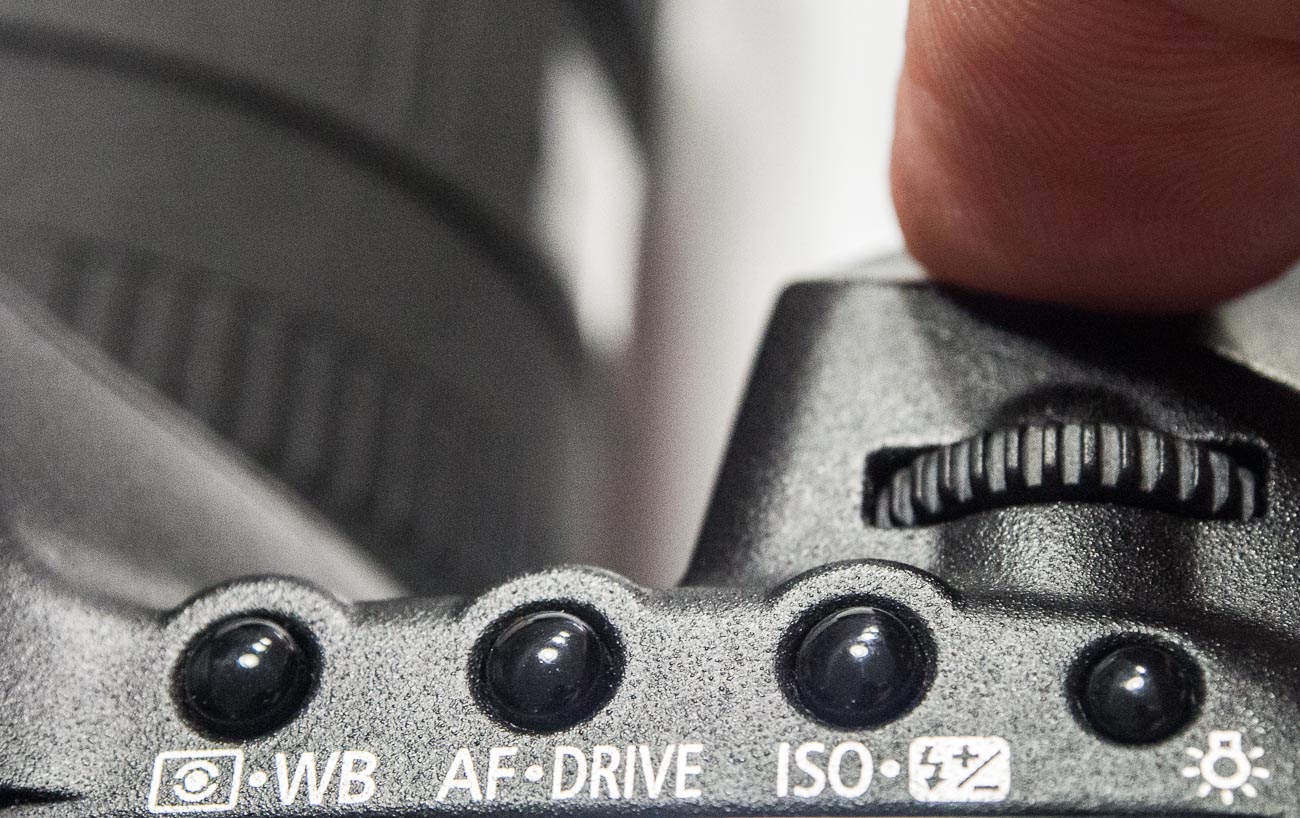
Four Camera features you need
Drive

Drive selection is the option to select single, continuous or timer shooting.
Single is one shot each time the shutter button is pressed.
Whilst continuous can be anything up to 15 frames per second (FPS) which is great for action pictures.
The self-timer option is great for selfies. It’s also handy if the self-timer has two intervals.
For example, a short, say 2 second, interval can be handy to use if on a tripod in low light instead of using a remote cable or wireless device.
One thing to be aware of is that cameras these days are really mini computers.
So sometimes there can be a lag if you shoot in continuous, especially in Raw format due to the larger file size.
Drive selection is standard on most cameras.
Rating: 10/10
Bracketing
I mentioned earlier that I’m a champion for getting the shot right first time in the camera, well bracketing helps this.
Bracketing allows you to automatically take 3 shots of the same subject at different exposures, usually by one or half a stop each. I.e. aperture and/or shutter speed settings.
You take the shot at the setting you think is correct and the camera will adjust the exposure settings for your next 2 shots to make those images lighter and darker.
Handy when taking images of scenes or subjects where there is a lot of contrast.
Some cameras allow you to bracket at different ISO, white balance and flash settings. Apart from the flash option these are a little superfluous.
Rating: Exposure bracketing 8/10 ISO, white balance and flash settings 3/10
Viewfinder
In the early years of digital cameras, very few had viewfinders.
Camera manufacturers thought that everyone would migrate to the rear screen or monitor on the back of the camera.
However, the exception to the rule was the DSLR which retained the optical view finder.
Nowadays Electronic Viewfinders have come into their own and very good they are too.
Why use a view finder at all?
Why not the rear monitor?
Well 3 reasons come to mind
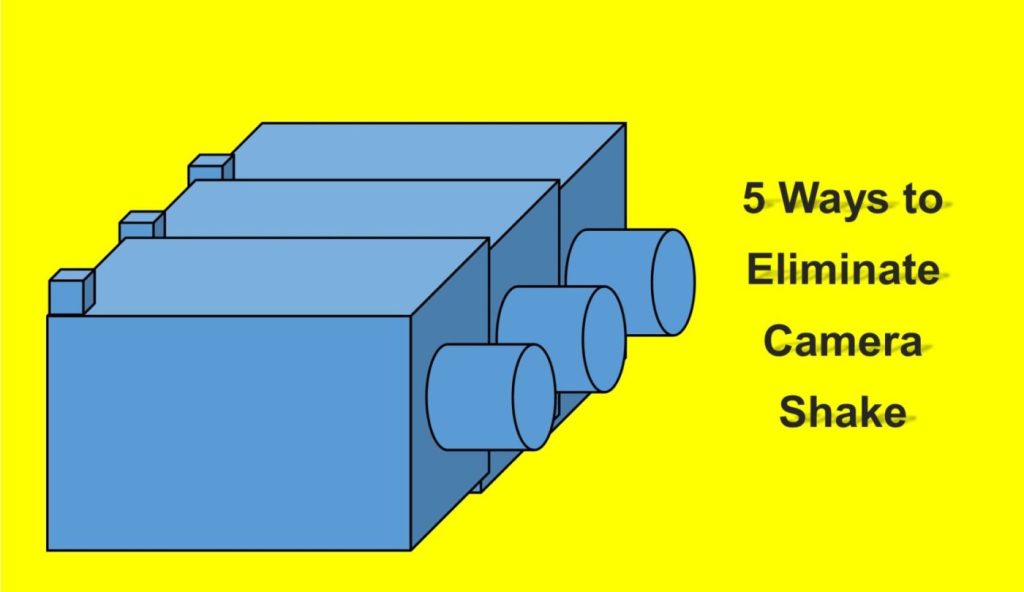
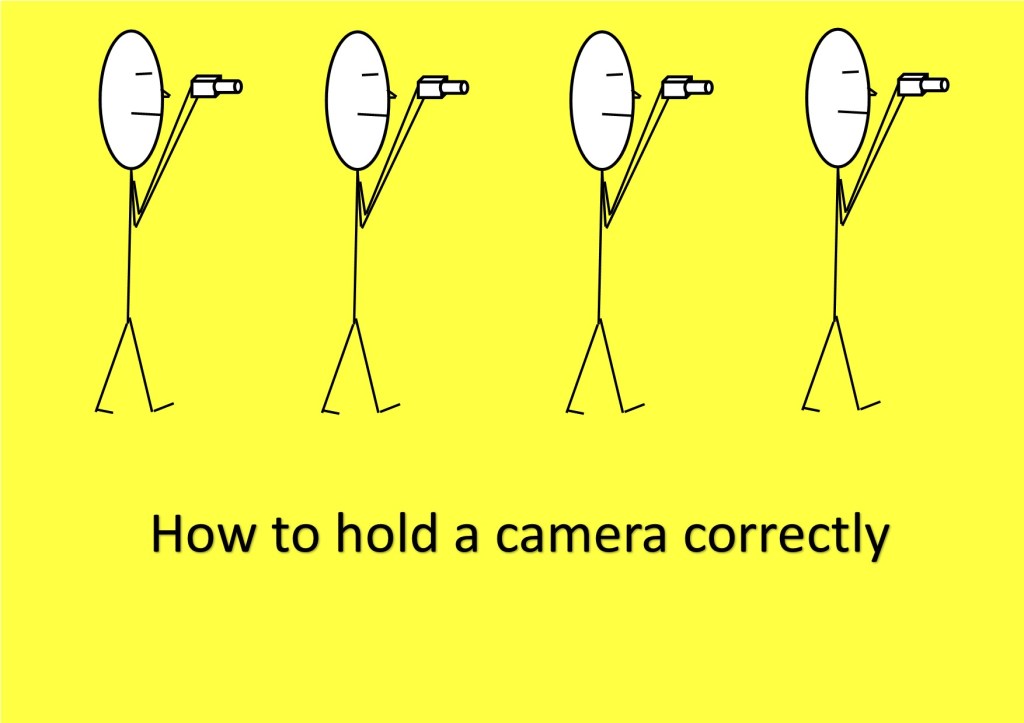
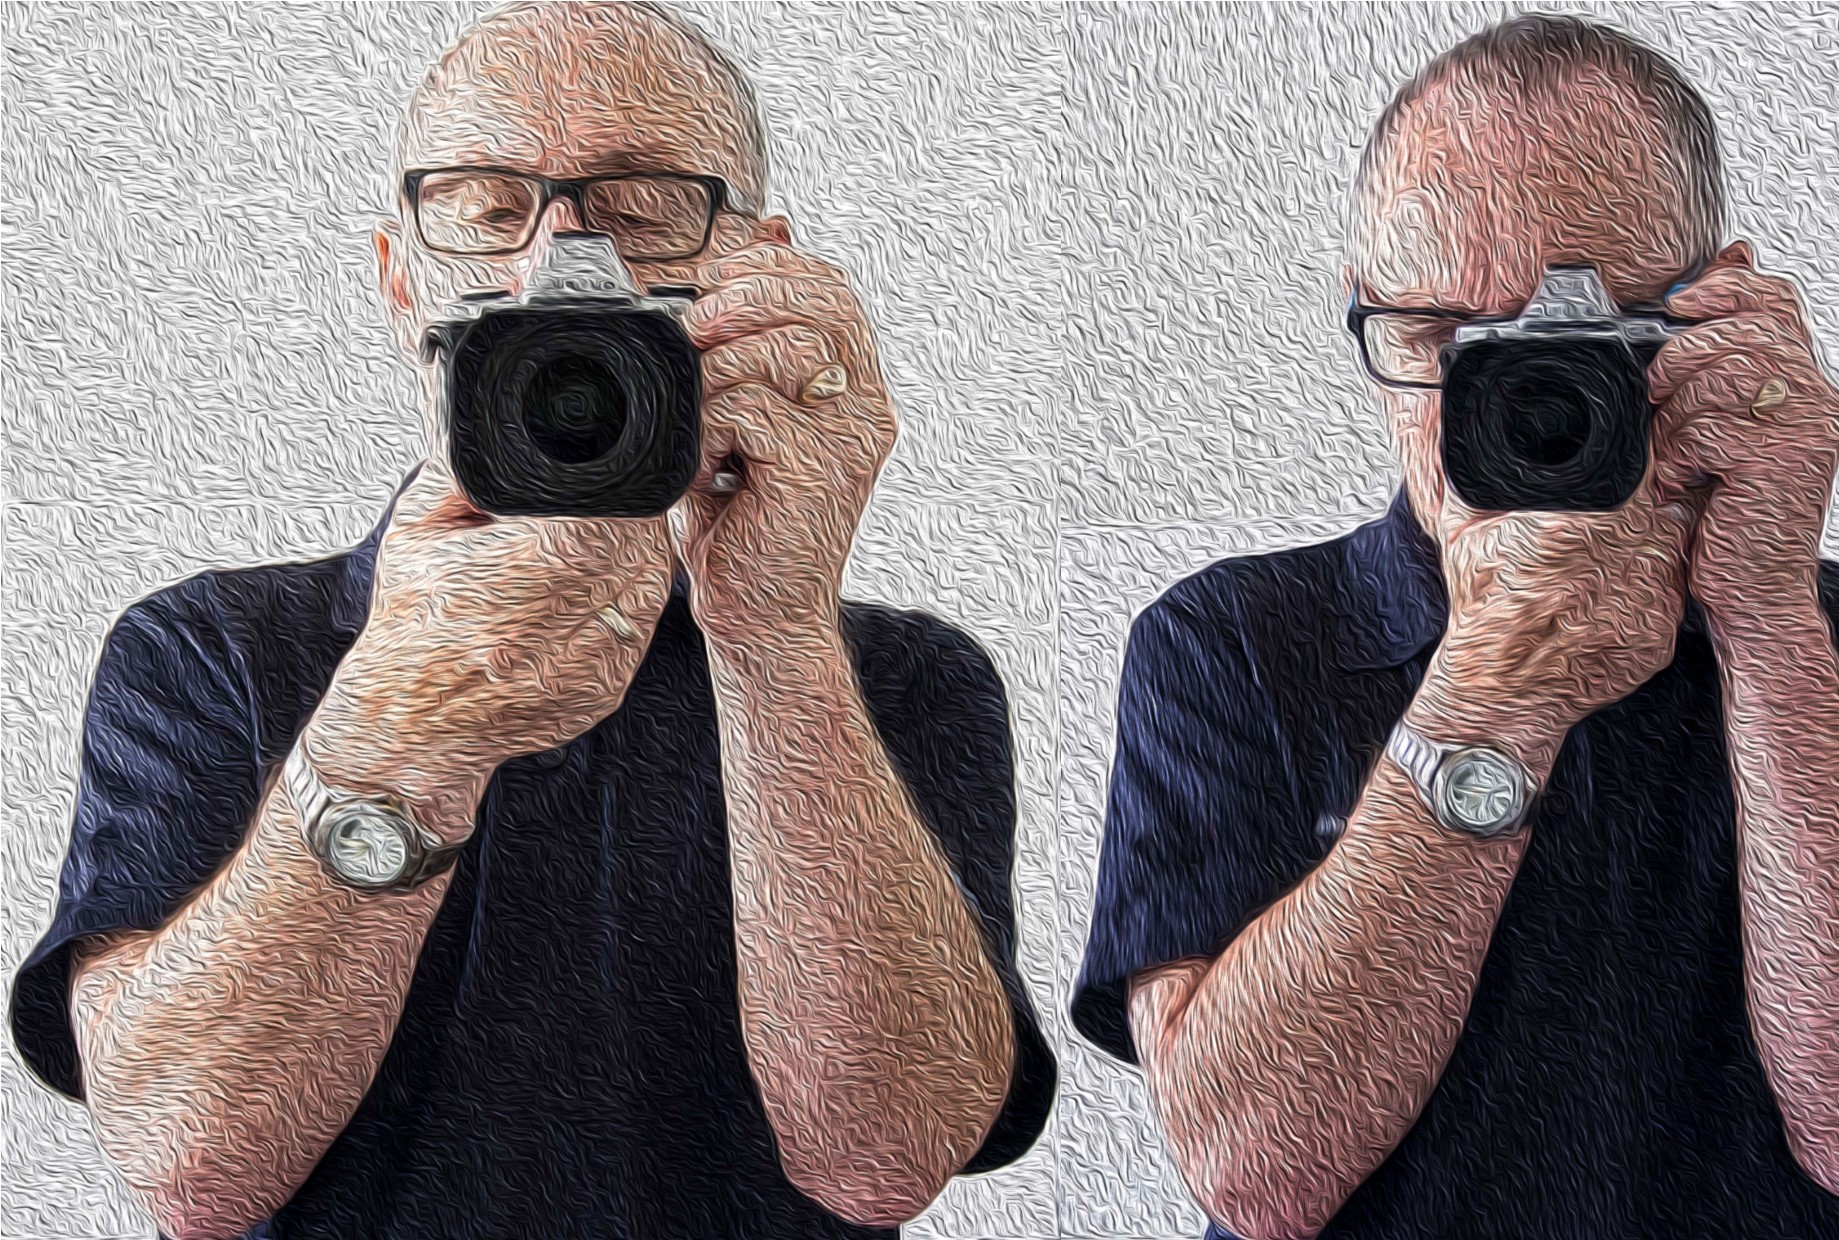
1. Camera shake is reduced. Holding the camera out from your body means it is a lot harder to keep still.
2. Competing light. Ever looked at the rear screen on a sunny day? You can’t see a bloody thing!
3. Battery power. An LCD screen will always use a lot more power than a viewfinder either optical or electronic.
But there are viewfinders and there are viewfinders.
Make sure it feels comfortable. The frame should be 100% not have any cropping, has a central view i.e. as if you were looking through the Lens.
Rating: 10/10
Shooting and viewing videos
This is usually on most cameras and is the rapidly becoming the number one medium on social media.
This is a whole article on its own so I won’t go too deep.
I would say that at this stage the only recommendation is to ensure that the camera shoots in high definition (HD) at the minimum.
A lot of cameras are now able to shoot in 4K but like 3D there are still limitations on being able to view 4K videos.
That will change as it’s only a matter of time until 4K TV’s and Monitors will be more common as the price drops.
Unfortunately, the image and video quality available is not yet matched by the audio quality that comes standard with most cameras.
So, make sure you buy a good microphone that’s compatible.
Rating: 10/10
Eight Camera features to have
Being able to turn off Flash.
Controversially I used to rarely use flash, preferring natural light.
Yet the degree of control some of these cameras allow you to have over flash means that it can be used to enhance daylight and improve the image.
Because of this, I use it more and more these days.
There are options to use flash in several different ways, Fill in, Slow, Red Eye reduction, Auto, Off or On etc.
But it’s the option to be able to turn it off, especially if the camera comes with an inbuilt flash, that’s so important.
Speaking of inbuilt flash. Avoid using them as much as possible.
The ideal flash should be off camera. Something I’ll discuss in a future post.
Rating: On camera flash 4/10. Turn off flash 10/10
Focus targeting

Another option again almost universally supplied is focus targeting.
Looking through the viewfinder and/or the rear screen you can bring up a rectangular or square grid of around 30 boxes that you can select to use as a focus target.
Options usually include single, selected groups or all targets.
Rating: 6/10
Exposure Compensation
Exposure compensation is great!
The ability with just a twist of a dial to alter the exposure or brightness without having to alter the aperture or shutter speed that you’ve already set is very handy.
Of course, it does adjust something so it should only be used for small incremental changes.
Rating: 10/10
Metering
Metering, whilst another handy option to have, is not used much.
I think that’s because it’s not understood by most camera buyers.
That too is a post for another day but suffice to say it’s a must have for the future.
Rating: 7/10
Image Stabilisation
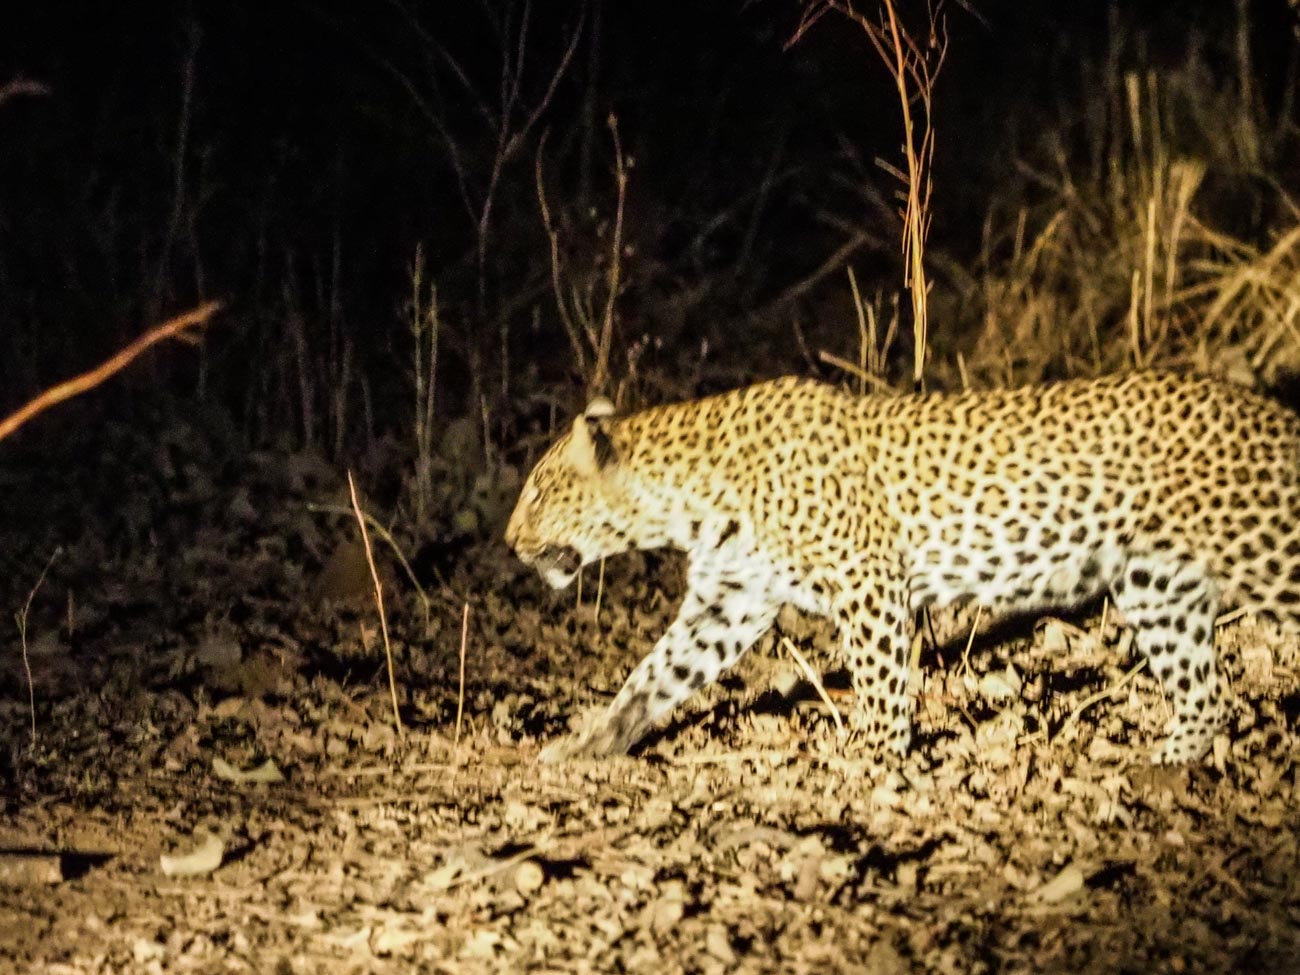
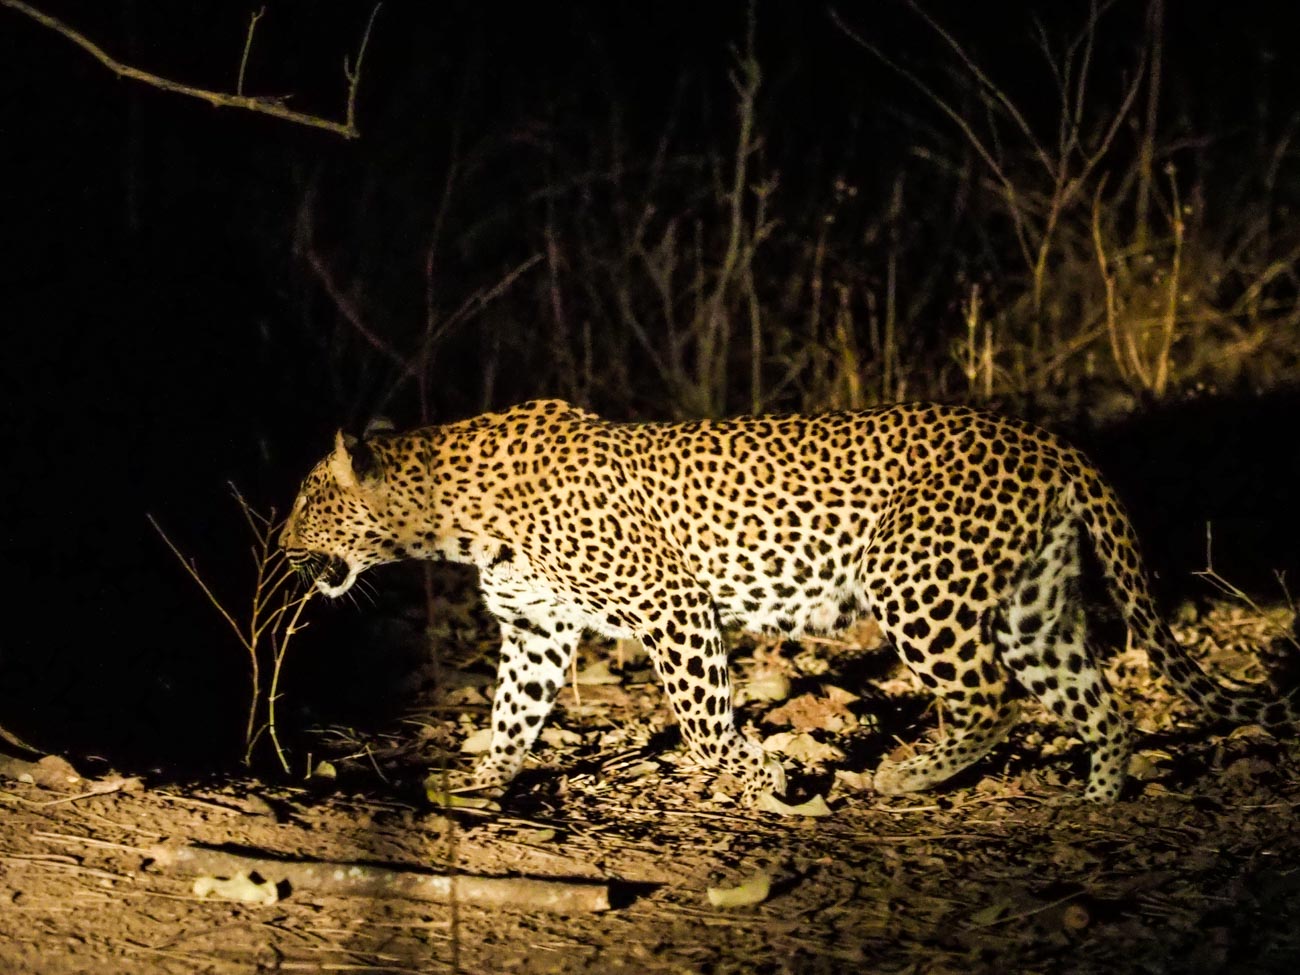
Many years ago, I met a photographer who was taking clear and sharp images of wildlife at dusk without a tripod.
That was my first introduction to image stabilisation.
Basically, it compensates for camera shake caused by slow shutter speeds and is a must have.
Initially they were only available on the lens but nowadays most cameras have it inbuilt. So now you don’t have to worry about what lens to use.
Again, a must have.
Rating: On camera 10/10
AEL/AFL Lock
(Auto exposure Lock/Auto Focus Lock)
I use this option all the time. The ability to be able to lock your exposure and/or focus is invaluable.
How does work?
Well usually there is a button on the camera that allows you lock the exposure and or the focus and then recompose.
When would you use it?
In lots of situations Landscapes, Portraits, Products, even macro work
Rating: 10/10
White Balance
What’s white balance?
Well it’s on every camera these days, so if you leave the setting on auto you don’t have to think about it.
But (always a but) there are times when auto doesn’t get it right.
For example, tungsten or fluoro lighting tend to confuse it a bit. That’s when you take it off auto and set it to appropriate setting like, duh, tungsten or flouro
Rating: 8/10
RAW Format (Image Quality)
One phrase that is somewhat misleading is the term “Image quality”. Used for having the choice of what format to use i.e. JPEG or Raw.
I’m not about to expand too much on what the difference is but if you shoot in Raw then you will need to do some post processing whilst JPEG is mostly ready to go.
That’s simplifying it but to do the argument justice I like to use a cooking analogy.
You could say that Cooking a supermarket bought ready to go meal that you sling in the microwave is a JPEG.
Whilst a meal that contains the raw ingredients you have bought at the local farmer’s market and prepared and cooked from scratch is a Raw file.
The former is what you see is what you get (unless you can’t cook and cock it up altogether).
Whilst the latter is a creation that you can manipulate to give you whatever flavour and presentation you like.
Clear? Another future post maybe.
Anyway, most cameras will give you the option to select either and/or both and other variations.
But the option to be able to shoot in Raw is a must, if not to use now but in the future!
Rating: Raw Option 10/10
The 6 features you don’t need on your camera

Interesting in Equipment for Travel Photography? Then check out this
The basics of camera equipment – Best camera equipment for travel photography
As you can see I have strong opinion on what you should have on your new (or existing) camera but guess what?
I have an equally strong opinion on what you didn’t need as well.
So, let’s get into it:
Picture Styles

Often there are picture styles, modes or scenes available and they can be countless;
Action, Portrait, Landscape, Panorama, Sunset, Candle, Fireworks, Beach & Snow, Fisheye, Wide-angle, Macro etc
Some models also give you some tips for certain photo genres in the same mode. E.G. “Tips for flower Photos”
What is often not discovered until the camera is used is that some of these modes, e.g. Fisheye, Wide-angle or Macro need to have lens that support those scenes.
There is, however, one camera that it’s probably better to have some modes available for and that’s a good smartphone camera, e.g. the Samsung, Google or Apple varieties.
Most images taken by a smartphone are shared so it can be a shortcut to getting a good image first time.
Rating: 2/10
3D
Here’s a useless option ‘3D Photography’.
3D TV’s bombed and as far as I can tell there’s not many 3D monitors either, so why would anyone want to shoot a 3D image or video.
It is used for some specific industries e.g. Computer-graphics, Architecture or Health.
However, in my humble opinion, it’s useless as it relies on the viewer having the equipment to view it.
Rating: 0/10
Multiple Exposures
Not so useless but not essential is the recording of multiple exposures.
Multiple Exposures are photographs in which two or more images are superimposed in a single frame.
If you really want to try this for your travel photography be aware that it is somewhat tricky.
In fact it’s much easier to do it in something like Photoshop.
Rating: 4/10
Digital Zooms
Digital Zooms are commonplace at the compact level and all phone cameras have it.
Personally I avoid using them as much as possible and will use an optical zoom over a digital one.
What’s the diff?
Well an optical zoom is a true zoom lens. They produce much better-quality images.
A digital zoom uses some in-camera image processing.
When you use a digital zoom, the camera enlarges the image area at the centre of the frame and trims away the outside edges of the picture.
The result is the same as when you open an image in your photo-editing program, crop away the edges of the picture, and then enlarge the remaining portion of the photo.
By using the in camera digital zoom you lose the information around the crop. Whilst if it’s cropped during post processing you can keep the entire frame for use later on.
Rating: 2/10
Face Priority
My pet irritation is Face Priority. Personally, I think it’s a gimmick.
Originally in small compacts it’s spread its way into smartphone cameras and now even DSLR’s.
If you are taking a portrait, then supposedly the camera will aid your focus by detecting the face.
Rating: 0/10
Printing
Printing is on its way back. Whilst the option to directly print from the camera could be handy, it’s also generally restrictive.
This feature often requires certain functions to be available on the printer.
At the end of the day, if you are going to do any post processing even if it’s minimal, you should be able to print from that software.
Another option is to take it to a print shop if you are looking for high quality.
Of course, you can always use the self-service machines that are everywhere.
Rating: 2/10
Conclusion
Of course, there are other Camera Features not mentioned here. But these are the main ones you will most likely come across.
As you can see there are lots of different Camera features and I didn’t cover them all.
But the one thing to remember is it’s not the camera that takes the images, it’s you.
All features and benefits do is give you more options a lot of which you will never use or use once or twice a year at best.
A short cut is to decide how much you are prepared to spend, go into a shop and test drive those within your budget, decide on the most comfortable and buy it.
When you pick it up it needs to feel comfortable.
Does the weight seem too heavy, too light or, just right?
If it has a viewfinder, does that fit comfortably against your eye?
Is the rear screen easy to see? How easy is it to see when you are holding it?
How easy is it to adjust the dials and access the menu/s?
Does the grip feel good? Is it easy to turn to portrait or landscape mode?
That’s what you need to look for in a new camera and to revisit your existing Camera.
Make your life easier and double check the features on your new or existing Camera by downloading a e-book to Camera Features. Just pop your name in the box below.