

Planning and Preparation for Travel Photos
One of the most overlooked items when preparing to go on a holiday or to travel is planning and preparing for taking travel photos.
Usually people think about accommodation, eating and transport. But never how they are will visually document their experience.
So read on about Planning and Preparation for Travel Photos
Planning
You are off to an exotic or culturally fascinating destination.
You worked out where you are going to stay, where you will eat and how you will get there.
But what about what you are going to photograph?
After all, you want to come back with memories but also memories that you can share with those who you travelled with and those you’ve left behind.
Before you go
Your itinerary should tell you what your destinations and stops are.
Now it’s time to do research on what you should and want to take photos of.
The first thing you need to have clear in your mind is what do you like taking pictures of?
Have you selected a genre? Go to Different types of Travel Photography for more on this.
Researching the destination
At any new destination there will always be lots of subject matter for taking photos of.
And in today’s online world it is easy to do research.
Check out sites like the Lonely Planet, or National Geographic. Instagram and the much-aligned Google+ have some great images as well.
There is no end of online resources for you to get some inspiration from.
Icons
Start by finding out what the big ticket items are.
These are the icons that make any travel destination famous.
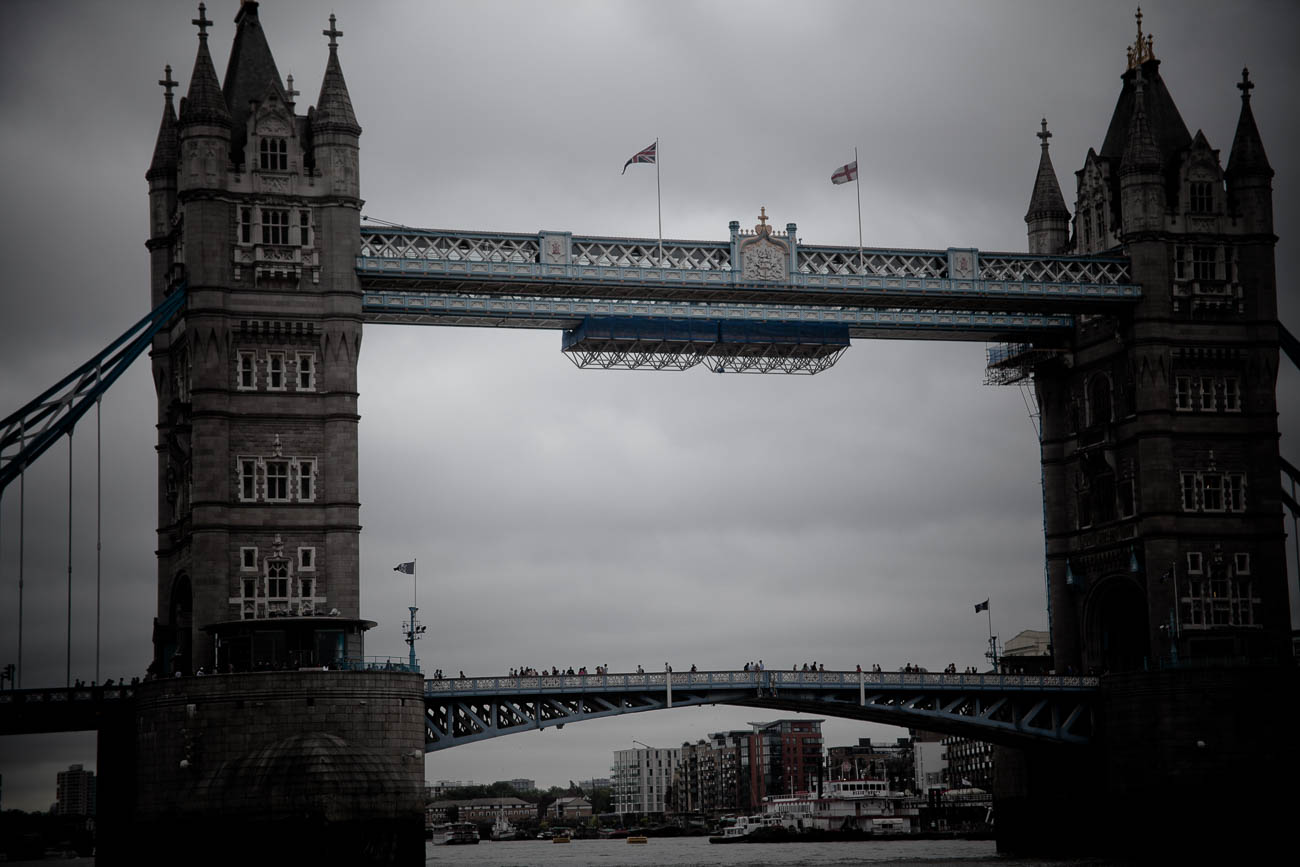
You are looking for Icon’s like London’s Tower Bridge, Paris’s Eiffel Tower or Sydney’s Harbour Bridge.
Find out what access there is. Are there restrictions on taking photos? Can you use flash or a tripod? Have a look at some of the pictures online and make a note of the angles you like.
You will want to find different angles as well, which may not be so easy to see until you are physically there.
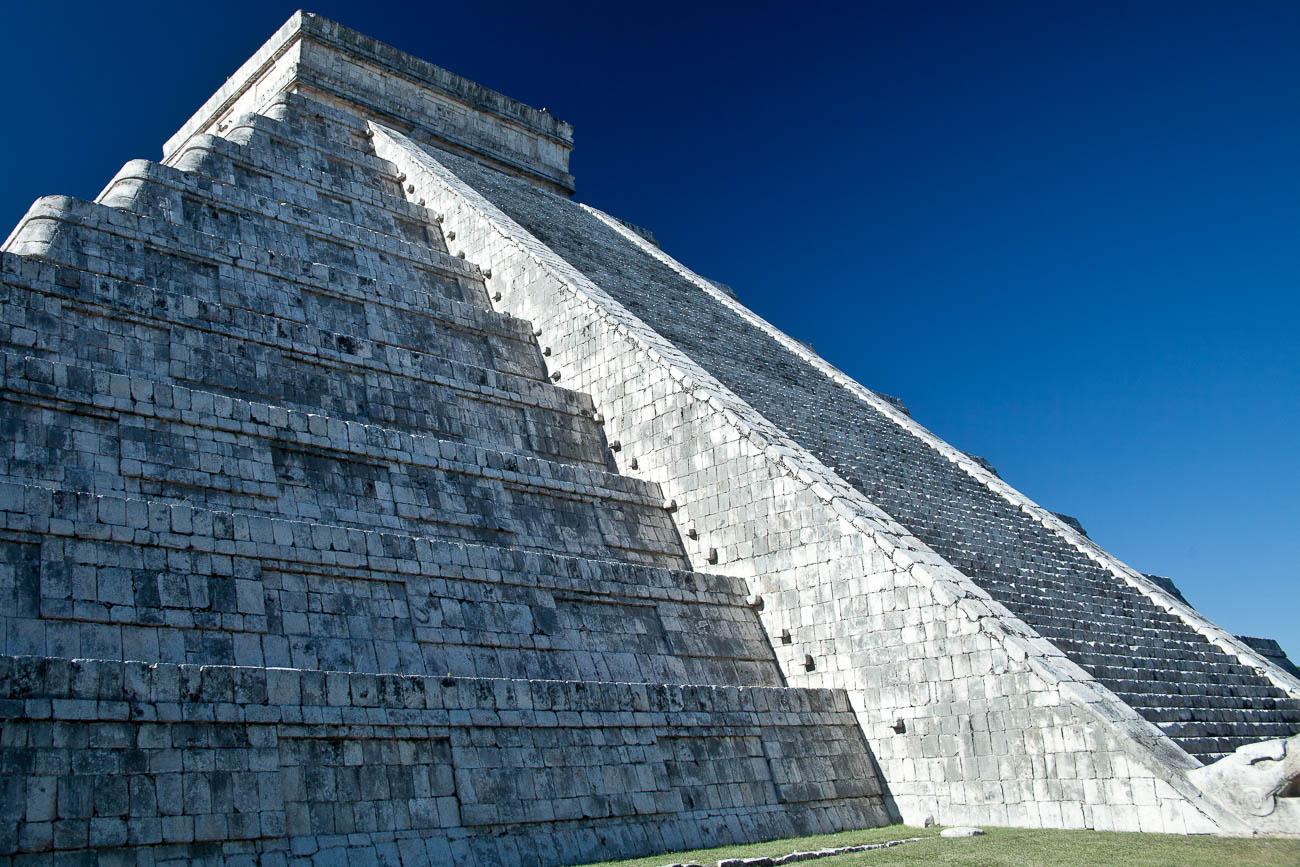
Culture
Some of the most emotive photos are of people and culture. Look for photos online of the culture of the place and again make note of how, when and where they were taken
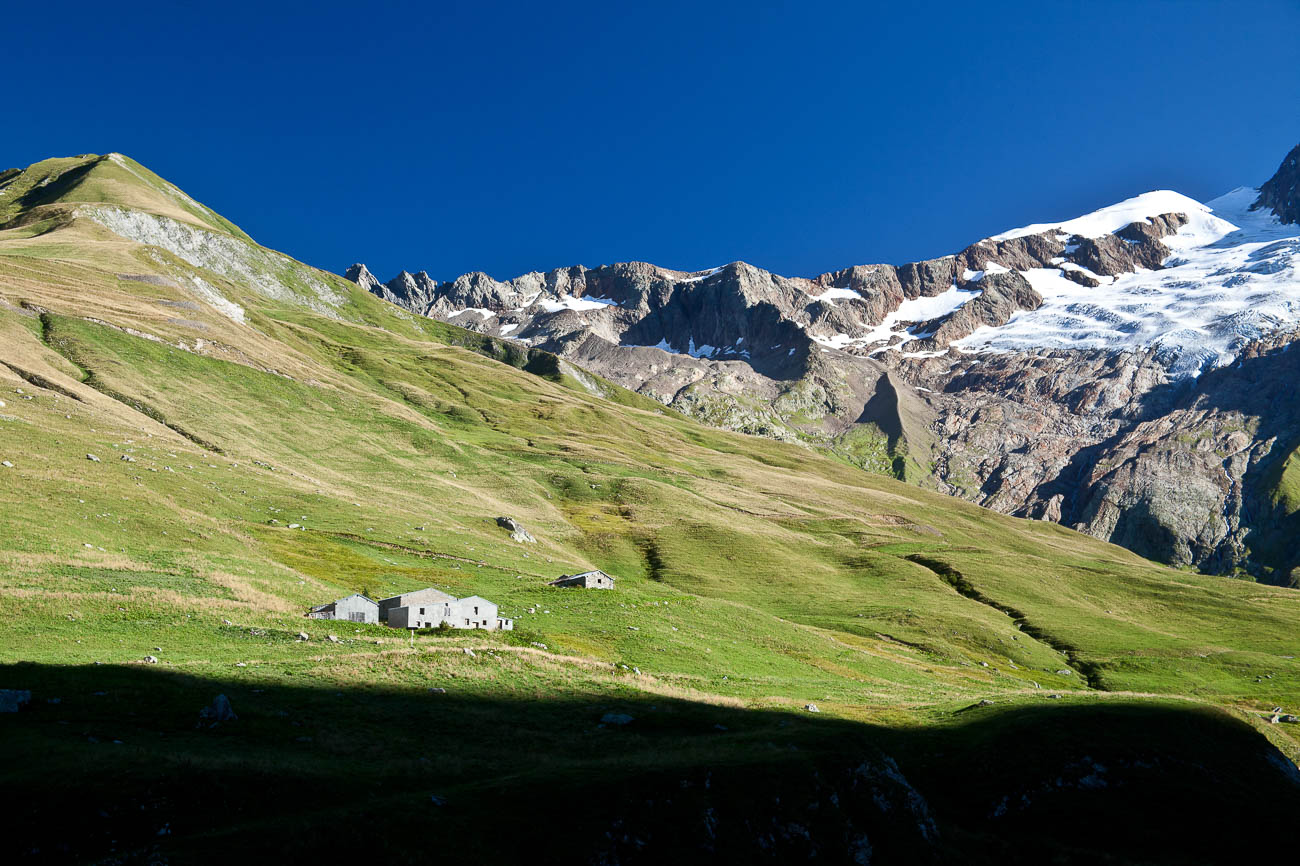
Landscapes and Architecture
Whether you are going on a safari, hiking the Tour Du Mont Blanc or discovering San Francisco for the first time, you will want to take photos of Landscapes and Buildings.
They could be anything from Mud Huts to skyscrapers, so again see what photos there are and take notes.
Transport
So now you know what travel photos you are likely to take, you must now decide what equipment will travel with you.
Now if you are just taking a smartphone, then this really doesn’t apply so I would suggest you skip this section.
For the rest, a lot will depend on what equipment you have and how you are travelling.
If you are travelling using your own car then you would think you can take almost anything.
But if you are hiking or doing a lot of walking whilst away do you really want to carry ‘everything’? And if the answer is no, then where will you leave what you don’t take with you?
You don’t want to travel on public transport, and that can be anything from a bus to a plane, with a lot of equipment.
Consider reducing what you take to what you think you will need based on what you are likely to be shooting.
Climate
One thing easily forgotten is that there’s a good chance you may be travelling to a different climate. If you are going to the tropics, then there’s a good chance it’s going to rain.
If travelling to Australia in summer it’s going to be hot, travelling to Canada in winter then it’s going to be really cold.
This topic is big enough to justify an article on its own but let’s just say make sure you take enough protection for your equipment.
Practising
If you have recently purchased a new camera or you haven’t used yours for a month or 2, it’s worth getting out and practising.
I would suggest you practice the type of shots you are likely to encounter on your travels.
It doesn’t take much to look for opportunities.
Wherever you live there’s always landscapes.
If you live near or in a city, town or even a village, there will be plenty of street, architectural and people shots to be had.
Getting your equipment ready
The Basics
Whether you are taking a compact or a DSLR, you will still need some basic auxiliary equipment like extra memory cards.
Consider taking more than one battery, a lens cloth, filters if you use them and a tripod.
I take a couple of Bags – one for travelling and one smaller one for around town.
Make sure your bag is clean and ready to use.
I always put everything I’m going to take in the bag at least a couple of days before I’m about to leave, so it’s done.
A good idea is to go through your memory cards and make sure that they are empty.
You never know how many photos you will take, so you can never have enough memory.
Don’t think that you don’t need to worry if you are using a smartphone camera.
You need to ensure that the smartphone memory is big enough.
If it’s not, then you will need to add space either by a plug-in memory stick and/or a microSD.
Batteries need to be charged.
Camera and Lens
If it’s going to be a big trip, it’s worthwhile checking to see if the sensor needs cleaning.
You can do this by shooting a white piece of paper with the focus set at infinity and over expose to get it really white. Then look at it on a computer screen and look for marks.
Select the lens you are taking and make sure you clean it with a lens cloth and then ensure it’s packed for travel.
One essential thing to take is your charger. And if going overseas a plug adaptor for your destination.
You will be surprised at how many people forget these 2 essential items.
You can’t take pictures with a flat battery!
Back Up
If you are anything like me you’ve become obsessive about backing up your travel photos. After all, often you are only there (your destination) once!
Look if you are only away for a weekend, then you could take the risk of not backing up.
But I wouldn’t recommend it.
This is a topic on its own which I will tackle in a future article.
But I do recommend that you don’t rely on cloud storage. At least take a hard drive preferably with a tablet or laptop.
Family and Friends
Most of us travel with family and/or friends. If you are travelling alone then move on.
For the rest of us though, it’s important that you set expectations.
If you are starting to get serious about your travel photography, then you will need to make sure that your fellow travellers are onboard.
Ideally speaking it is better to travel alone if you intend spending a lot of time taking photos.
Yet, for most of us that’s not usually an option and let’s face it you don’t really want to travel by yourself.
One of the great joys of traveling is sharing moments on the road with whoever you are travelling with. And I emphasise that sharing moments is pretty important.
Get out from behind the camera
Don’t let the urge to shoot away at a romantic or special monument blind you to how you should be enjoying the moment with your loved one.
If you are at the Taj Mahal for example, make sure you get out from behind the camera.
Enjoy being there with your fellow traveller/s, especially if your partner is there with you or be prepared for the consequences! (I’ve learnt that the hard way).
The next rule is to negotiate when you take photos.
That can be almost any time but there may be some special times that you want to concentrate on getting some good shots. The golden hour (just before sunset or just after sunrise) is one example. So, give some advance warning and you may actually get an assistant as well.
Another way of sharing the experience can also be by taking photos together.
But lay out what you want to do before you set off and then negotiate along the way.
Insurance
Most of us get travel insurance to cover medical and cancellation.
But it’s just as important if you have some expensive kit, that it is also insured for loss or damage. Nothing worse than having a camera stolen or damaged and realising you weren’t insured.
Now don’t get me wrong, the likelihood of that happening is remote, especially if you are careful and take the obvious precautions.
But you never know.
Hire
Whilst you are not likely to hire lens on every trip. It’s a good idea to make sure you’ve got that set up when you do.
I’ve done it several times, the last time in Canada for taking photos of Polar Bears with a large pro lens. The company had a lens waiting for me at the destination.
It was a simple process to send it back from the same place once I had finished with it. That meant I didn’t have to carry it to my next destination where I didn’t need it.
Timing
When we plan travel it’s essential that we maximise the time there.
One way to do that is to research what special events or festivals are on.
And don’t forget to find out what the weather is going to be like at the time you will be there. Special events and weather conditions can be double-edged swords. Depending on the event you may not want to be there at the same time.
For example, with weather, the wet season in Northern Australia can be a challenge.
But during most wet seasons you get some great scenes of flooded landscapes and interesting cloud formations and thunderstorms.
Summary – Planning and Preparation for Travel Photos
As you can see whether you are going travelling or just holidaying, with travel photography, there’s a lot to think about before you have even left.
Do your research and make sure you know what you are going to take photos of.
Find out what Icons, Culture, Landscapes and architecture there are to take.
From there you can work out what equipment to take.
Protect your equipment from the elements.
Practice before you go.
Make sure you take the essentials; spare battery, charger and adaptor, memory cards.
Clean your equipment and make sure it’s insured.
Take some sort of back up for you to back up on the go.
It’s vitally important that you have an understanding with your fellow travellers and family about when you will want to take photos.
Above all don’t forget to have fun and enjoy yourself!
Need some help with your travel photos?
Why don’t you pop your email in the box below and not only will you get content that’s not always posted on this site but you will get my free e-book “9 ways to improve your Travel Photography” to get you started
Any questions then please contact me here and/or please say hello at these places:
Facebook: Twitter: Instagram: LinkedIn:
Feel free to share this to your social media of choice
Just click on any of the above images to view a larger version and for other options


Leave a comment