


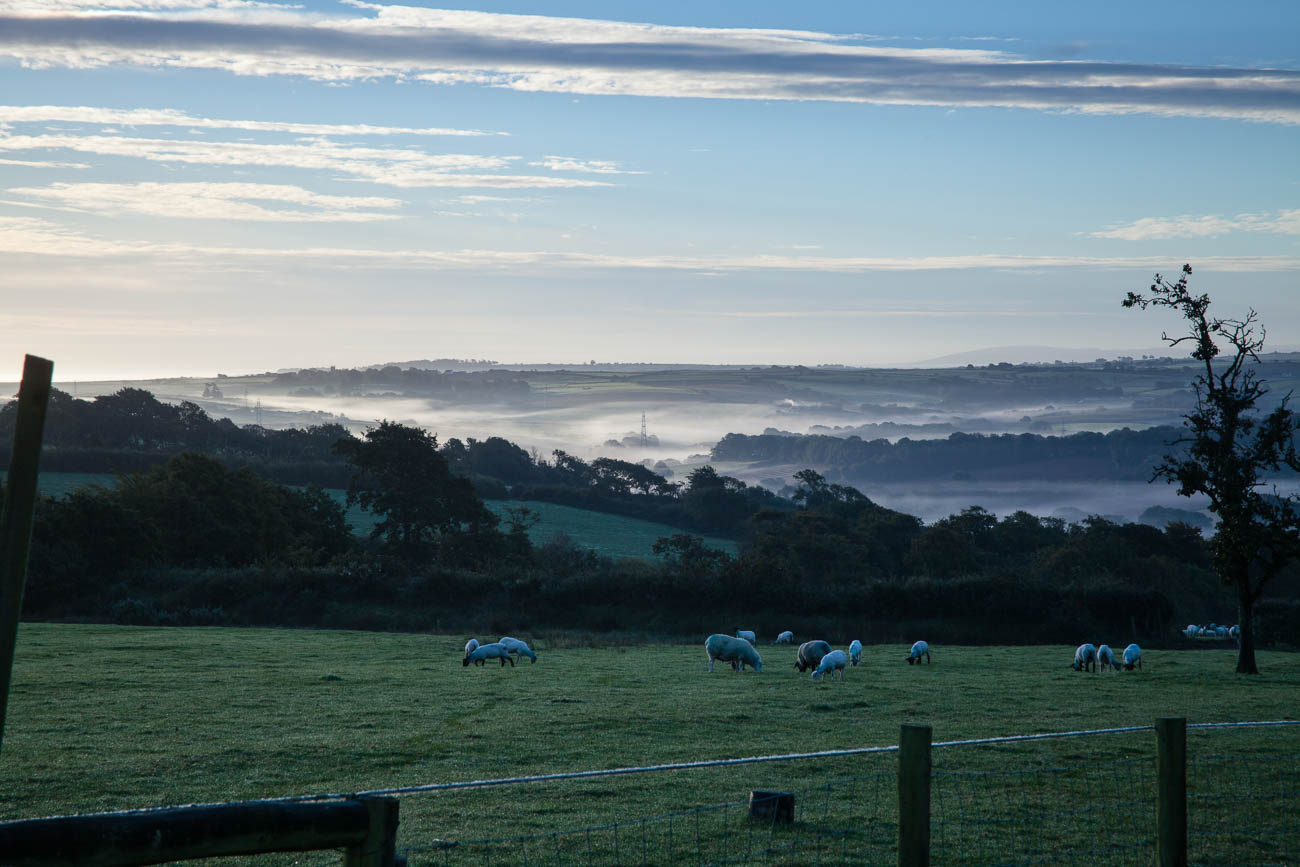
So now you’ve come home with a hard drive full of travel photos. You’ve followed my article 7 Travel Photography Workflow Tips to use on the road. You can’t wait to have a good look at them and show them around. But where do you start? Well, read below to find 7 ways to organise your travel photos.
1 Back up before you get home.
If you have been following my articles or even if you haven’t, you should have backed up everything you took whilst you were away.
Each image should have been renamed and in some sort of order and/or folder and on a hard drive and on a computer. If you haven’t done that then it’s not too late you can do it right now. This is something you should do before you get home and usually as you go. What no back up! You might want to go to How to Back up your Travel Photos.
There are lots of ways to achieve this of course. But the simplest is to use software that will make it easy for you. Adobe Lightroom is one option and I’ll come back to that.
2 Rename
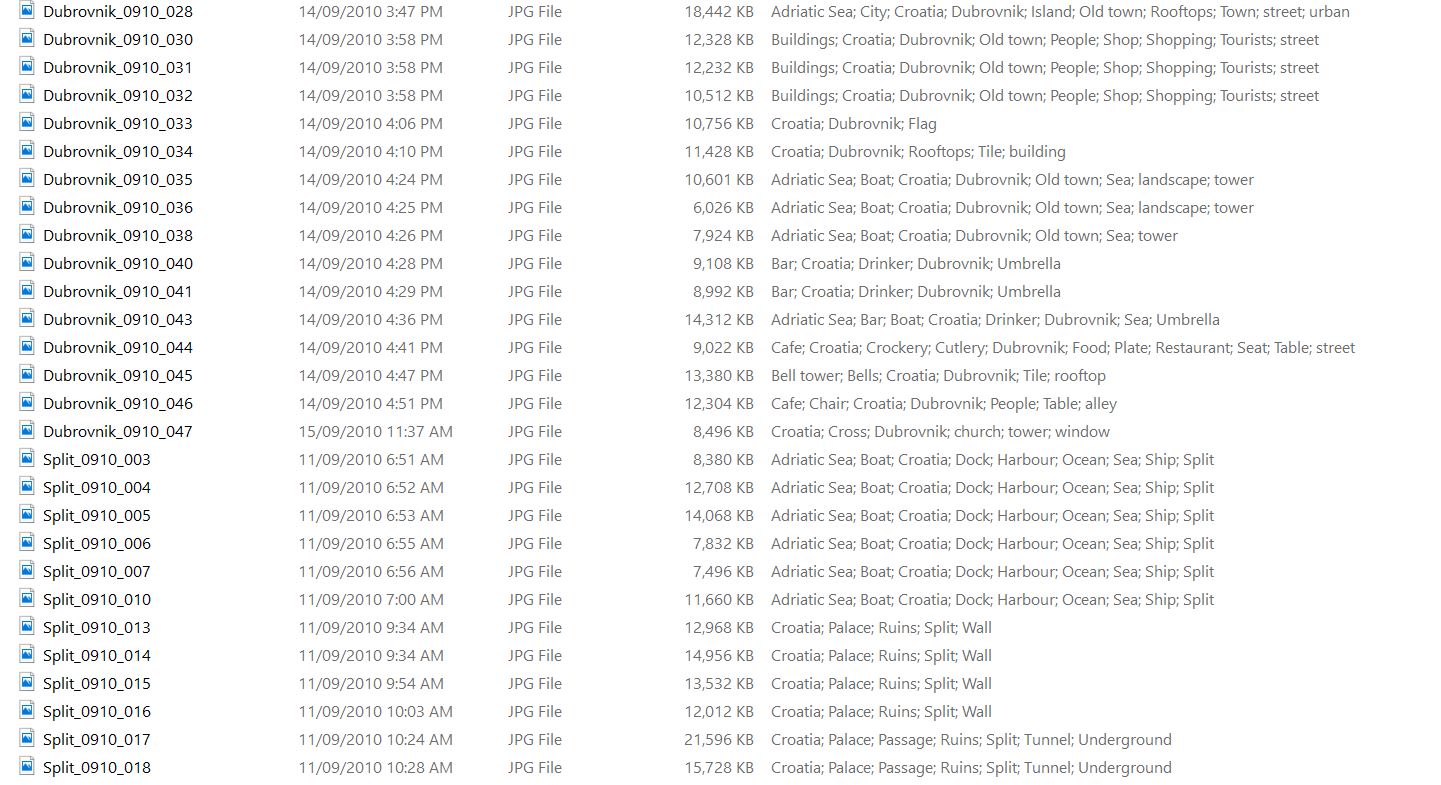
You may think what’s the point. But trust me renaming your photos to something more meaningful will save you a lot of heartache. PB081477.ORF or IMG_6649.CR2 does not even start to give a you clue what it is unless you have dumped it into a suitable named folder.
The first thing to think about is what you will rename it to. There are various options. Some of these can be confusing, others are simple and easy to remember. You can get as simple or as complex as you like. Here are some examples: Date_Number_Place or Shoot Name. Number_Date_Place or Shoot Name. Place or Shoot Name_Date_Number. The date can 2017_08_12 or 12_08_2017. As all photos have a date in the metadata then you only really need the month and year so 08_2017. However, the object should be to keep the length to a minimum so 0817 or 1708 is fine. The number is obviously the image count and you should look to start at 001 or 0001.
3 Optimise
I use Place or Shoot Name_Date_Number. That is name of the place, area or country. Doesn’t sound consistent? You’re right it’s not. But the selection of the hierarchy is dependent on the number of photos. Let’s say I’m in New York and I take 30 photos of the Brooklyn Bridge, then I will probably select “Brooklyn_Bridge”. If on the other hand I take 30 photos in New York of 15-20 different subjects, then I will use “New_York”. To take that up one level. Let’s say I travel around England for a flying visit and took 30 photos in several different areas. In this case I might even use “England”. The latter is less likely for me but you get the point.

I follow that up with the month and year so 0818 – August 2018 and then the number starting at 001. Putting it together you get England_0818_001. So that would be the first photo I took in England in August 2018. What you do have to be careful of is, that if you return to a place in the same month, you need to make sure that you don’t start at 001 again. Start at one number after wherever the last batch finished, e.g. England_0818_215.
4 Rename Historically
You’ve probably looked at your existing travel photos and have promised yourself that you will get them into some sort of organisation. Part of that job is to rename them in some sort of order. Well fear not, there are some useful ways of renaming multiple files in bulk. If you have Adobe Lightroom you can do that quite easily. Alternatively, if you are a PC user Windows 10 can help you with that. Likewise, Mac users with version Yosemite or better can also get the MAC OS to do it. The links are to a couple of tutorials
Failing all these there is specific software that is either free or inexpensive to buy. As a PC user I have used Bulk Rename Utility which I think is still free. For Mac users A Better Finder Rename comes highly recommended.
5 Use folder hierarchy
The other challenge to organising your travel photos, is the dreaded folder hierarchy. Again, opinion is mixed on this. As with the actual file names you can create folders that have the date or name and various combinations. I usually create a folder when I’m loading through Adobe Lightroom with the Place or shoot name. This folder is a sub folder of the year. So my hierarchy looks something like ImagesRaw ImagesRaw 2017Trip_2017Zambia_17. But you can do it in date order e.g. 2017108_ZambiaRaw Images.
It’s really about how you look for your images. Whether you look for them in batches of dates or subjects. Both Windows and Macs search options will cover either way. But they are not foolproof and nowhere as good as Adobe’s Lightroom.
Whichever way you decide to follow you need to stick with it. Changing it later can be very time-consuming and tedious.
6 Keyword
A really excellent way of finding images is to enter keywords (or tags) when loading them onto their final resting place. The only thing is that it is time consuming. Once again, the easiest way is via specialist software, in particular Adobe Lightroom. You can assign keywords (or tags) via Windows 10 or the Apple OS but in comparison it’s pretty painful. Go to Native Organising, Part 2: Sorting Photos with Custom Tags in MacOS or Native Organising, Part 3: Tagging Photos with Keywords in Windows if you must.
So what sort of keywords do you need? Well again that depends on how you are going to search. If you have some wedding photos and you want to see all the ones with Uncle Joe, then you would use “joe” or “uncle joe”. If you wanted to see all the images you took of the Eiffel Tower, then you would use “eiffel” or “eiffel Tower”. My system is usually country, locality, town, subject, type, anything else. If I took a picture of the Brooklyn bridge, then the keywords I might use would be USA, New York, Brooklyn, Brooklyn Bridge, Bridge, River, East River, Water. If there were people in it, I could add people, street, tourists. Any word that you may at some future date want to use for searching can be used.
7 Use other tags
If the camera you were using has face recognition and/or Geo-Tags, then that’s another form of creating searchability. You will still need to refine it depending on how you want to search. The algorithms for face recognition are good but not infallible.
7 Ways to Organise Your Travel Photos – Summary
It’s important for future searches to make sure that you organise your travel photos.
First things first backup, then look at how you will rename your photos. (Don’t use the camera generated file names – you’ll never find anything!)
Optimise the names so you understand them. Once you have a system of naming and optimising, you may want to consider renaming some of your existing photos to maintain consistency.
Of course, naming them is one thing but you also need to be careful of how you store them. Having a logical folder hierarchy is the best way.
There are other ways of searching for photos using keywords and tags, such as Geo-Tags.
How does that make you feel about travel photography? Do you want some help with your travel photos? Why don’t you pop your email in box below and not only will get content that’s not always posted on this site, but you will get a free guide to get you started
Any questions then please contact me here and/or please say hello at these places:
Facebook: Twitter: Instagram: LinkedIn:
Feel free to share this to your social media of choice

Just click on any of the above images to view a larger version and for other options


Leave a comment