

Following on from 7 Ways to Organise Your Travel Photos and How to Back up your Travel Photos, we now move on to displaying your travel photos.
After all it’s all very well to have them organised and backed up but what about showing them off.
Let’s see what the best ways are for displaying your travel photos
Physical or Hard Copies
The most obvious one is to print them out and then display them in several different ways.
Printing
A word on printing. Printing is very much one of the dark arts.
Getting the calibration correct so that what you see in print matches what you see on screen is no easy feat.
At some later date, I will cover this and if you have never delved into printing, then I suggest you get them printed by a third party.
Of course, that’s not that straightforward either. You will need to decide three important elements:
Quality
Quality can be subjective.
Make sure that the digital photo you want printed has had some post processing and you are happy enough with the result to want to get it printed.
There are many different organisations that will print your beloved photo.
This is where quality comes in. If you want to have something that you can mount on your wall (or even someone else’s) then I would recommend that you go to a specialist printing lab. They have varying degrees of quality that you can choose according to your budget and requirements.
For example, they can colour match and also will offer different process’s that will enhance your photo.
There are still some Shopping Mall Photo Printing Labs that will give your photo some attention before printing.
But most stick it through their process and you get what you get.
As in most things you get what you pay for.
Some of these also have DIY booths or machines where you can do some of your own ’tweaking’ like contrast and brightness.
You can also find these booths at some department stores like Walmart or K-Mart,
Paper
Again, depending on what you are looking to achieve, choosing the correct paper will be very important.
There are multitudes of different papers available.
To decide on which paper to have you will need to take into consideration things like wear and tear, framing, reflective surfaces etc.
There are 3 main types of paper; Gloss, Lustre and Matte. Gloss is punchy, Lustre is a bit more subdued and Matte will tend to be used to evoke a moody and artistic feel to a photo.
Size
You will need to decide whether you are going to frame the photo and where you will display it.
If you intend to display it you want to make sure it’s a reasonable size, at least foolscap, which is A4 or USA Letter.
If on the other hand you just want to show and tell, then 6 x 4” is adequate.
One tip about framing is that unless your budget is big, go for paper sizes that suit standard frames. Going to a framing company is not necessary these days.
I like Ikea frames as they are a reasonable quality at an inexpensive price
You want a simple frame that enhances the photo without being a distraction.
Digital
The more likely option of displaying your photos is digitally.
Often, we will get our memory cards, load them on our computer and then forget about them.
Let’s assume you are organised. That your images are all sitting in well organised folders on your computer.
If they are not then go to 7 Ways to Organise Your Travel Photos to get some tips on how to do that.
Private Display
What do I mean by private display?
The most important person to see your photos is you.
We can all get carried away in the moment of taking photos without looking at them.
You need to view them on a large screen and learn what worked and what didn’t.
I would suggest you do that before you have even edited any of them, otherwise you will never look at them.
Like most photographers, I run well behind my post processing. but I still like to view them even if they are not at their best!
JPEG Double Up
If you shoot in RAW, which you should be, then a good idea is to also shoot in a small JPEG format, which is usually around 1280 × 960Px.
Then when you take a photo you have 2 versions, the RAW untouched version and a JPEG.
The Camera does do some minor processing on the JPEG version which is what you see on the camera rear view screen or monitor.
That way you can dump the JPEGs into a separate folder.
Note: If you intend printing the JPEG then it’s best to go full size.
Display Options
There are lots of options for displaying at home.
From a physical point of view, you can use a computer or TV screen.
The bigger the better, so a TV screen is usually best.
So now how do you get them on your TV?
There are many ways of displaying your photos on a TV. Let’s list the most common of them starting with the most basic:
1 Plugged in Flash Drive. Load your photos onto a flash drive and plug it into your TV
2 Plugged in Hard Drive. Load your photos onto a hard drive and plug it into your TV
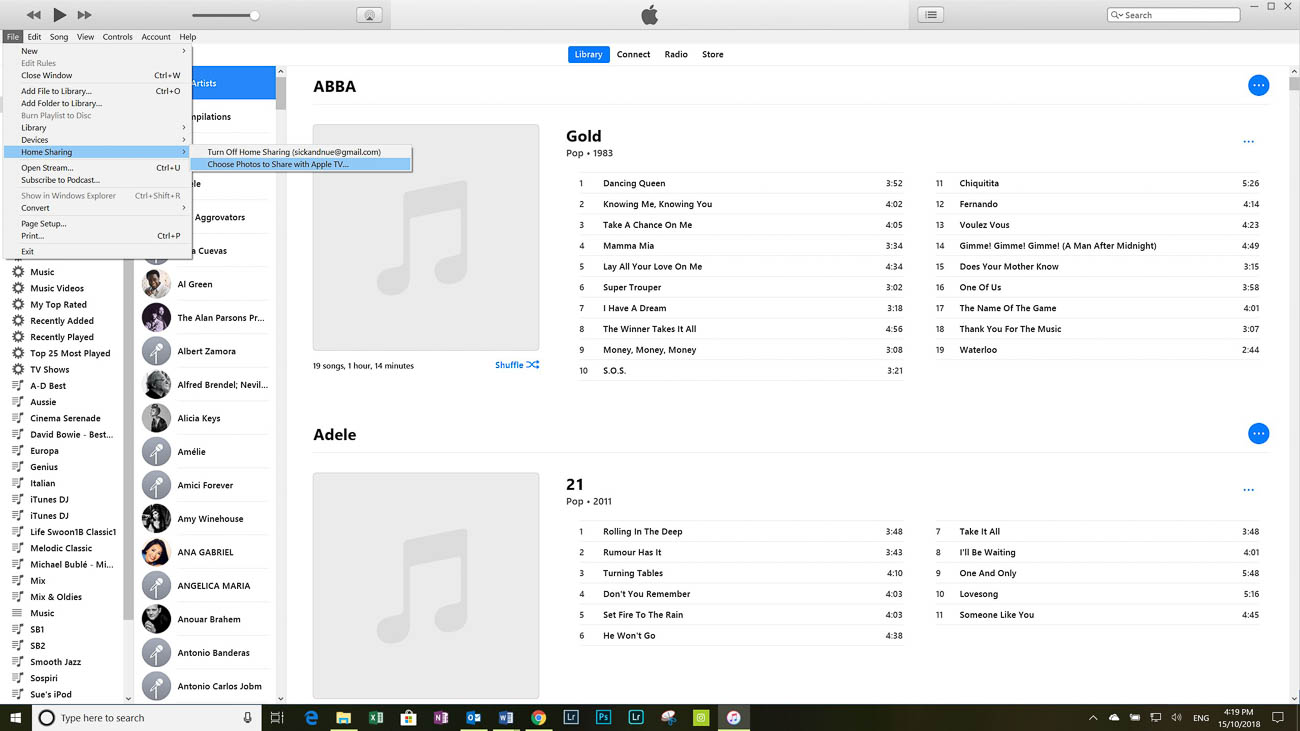
3 Apple TV. Using iTunes select file – home sharing – select photos to share with Apple TV
4 Google. You can cast your photos if you have a Chromecast from either your mobile device or Laptop
5 Plex. Plex is free software that allows you to play music, video and view photos on your TV.
There are other smart TV apps that do the same as Plex but not as well.
6 Home Network. One of the best ways to display your photos on TV is to have them on drives or your computer on a home network.
But you will need a smart TV or a device that makes your TV ‘Smart’.
Depending on your TV and which of the above methods you use, the images can be set up to have continuous slide shows.
I do that with the Apple TV. If I’m playing music via the Apple TV, the screen saver kicks in.
Or If I’m not watching my TV I can just have the Apple TV scrolling the images in the background.
Viewing on a computer monitor
If you have a decent size computer screen. By that I mean anything from 18” upwards then looking at your photos is a snip compared to a TV.
If you are either a PC or Mac user, you can view them from the default photo viewers.
Both have pretty good photo viewing apps. There are also plenty of free and paid options of course. Ones like Gimp and Ifranview have been around for a while.
Whilst Google has Polarr (which is more of an editing suite) and Photos.
However the market leader, Adobe, has the best options for viewing, organising and editing. Especially with it’s very popular Lightroom.
Sharing 
If you are using a smartphone to take your travel photos, then there are a lot of ways of sharing your photos. You can share using MMS (text messages) email, social media, Dropbox, iCloud, One Drive, Google Photos and Bluetooth.
The list is endless
If there is an application missing, you can change that by granting the app permission (assuming you already have it installed).
Sharing your photos to multiple social media and photo sharing sites can be made easy by using apps like Buffer, Hootsuite and Meet Edgar
So that’s pretty easy but what if you are using a camera that has a memory card?
In How to Back up your Travel Photos I talked about wireless memory cards and cameras that may also have wireless built in.
This is a big advantage as it gives you the option to share to your mobile device and then on to other places.
With older cameras without wireless capabilities you have to remove the memory card.
Once removed you can use an adaptor and load it onto your mobile device or Laptop and again share it from there.
There are also wireless hard drives like WD’s My Passport Wireless Pro. You can load the contents of an SD card on to it and then stream or view its content on another device turning it into a media server.
Photo Sharing Sites
Another way to share is via a photo sharing site like Flickr, Smugmug or 500px.
There are several ways of uploading your photos to one of these sites.
With Smugmug I counted around 20 different ways.
The most common is via Adobe Lightroom. The Smugmug Lightroom Extension will mirror your galleries and photos.
Once you have loaded your pics you can copy and share a link for a photo or gallery.
Go to How to Back up your Travel Photos for more on photo sharing sites.
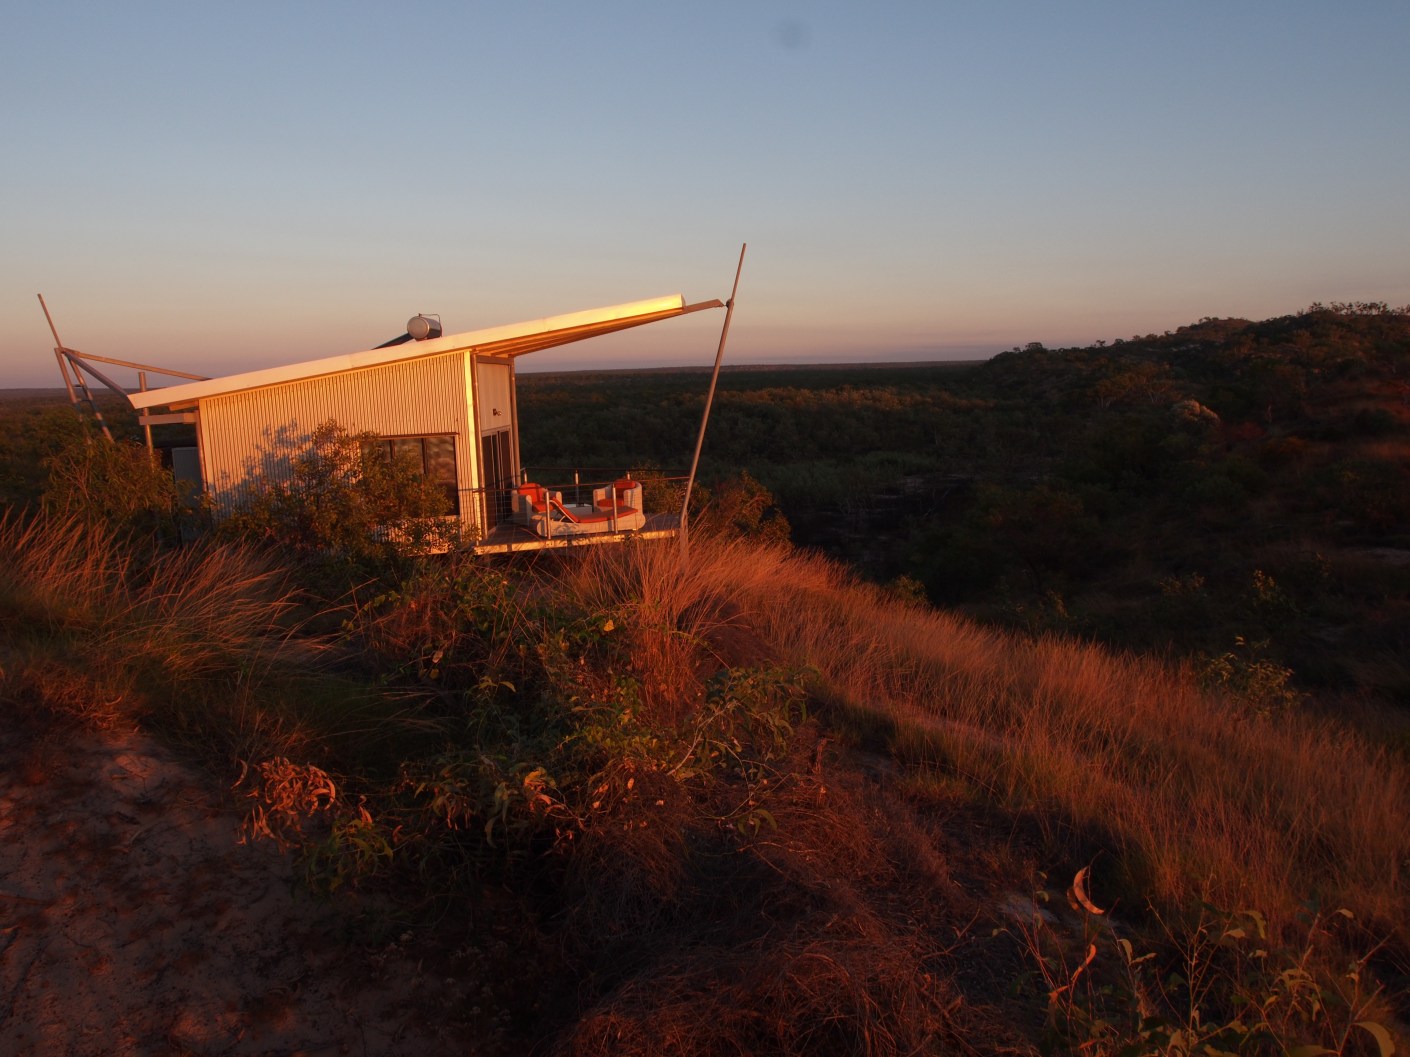
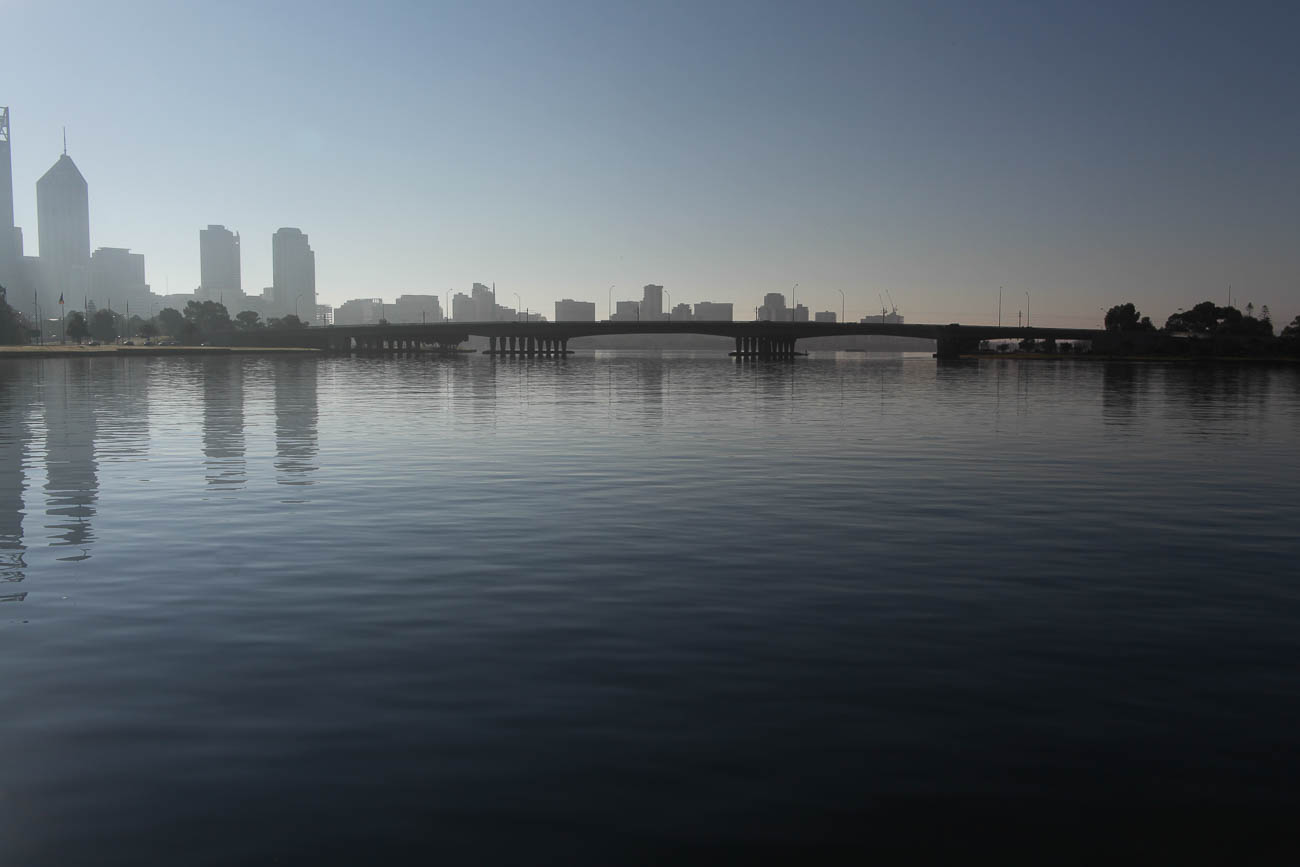
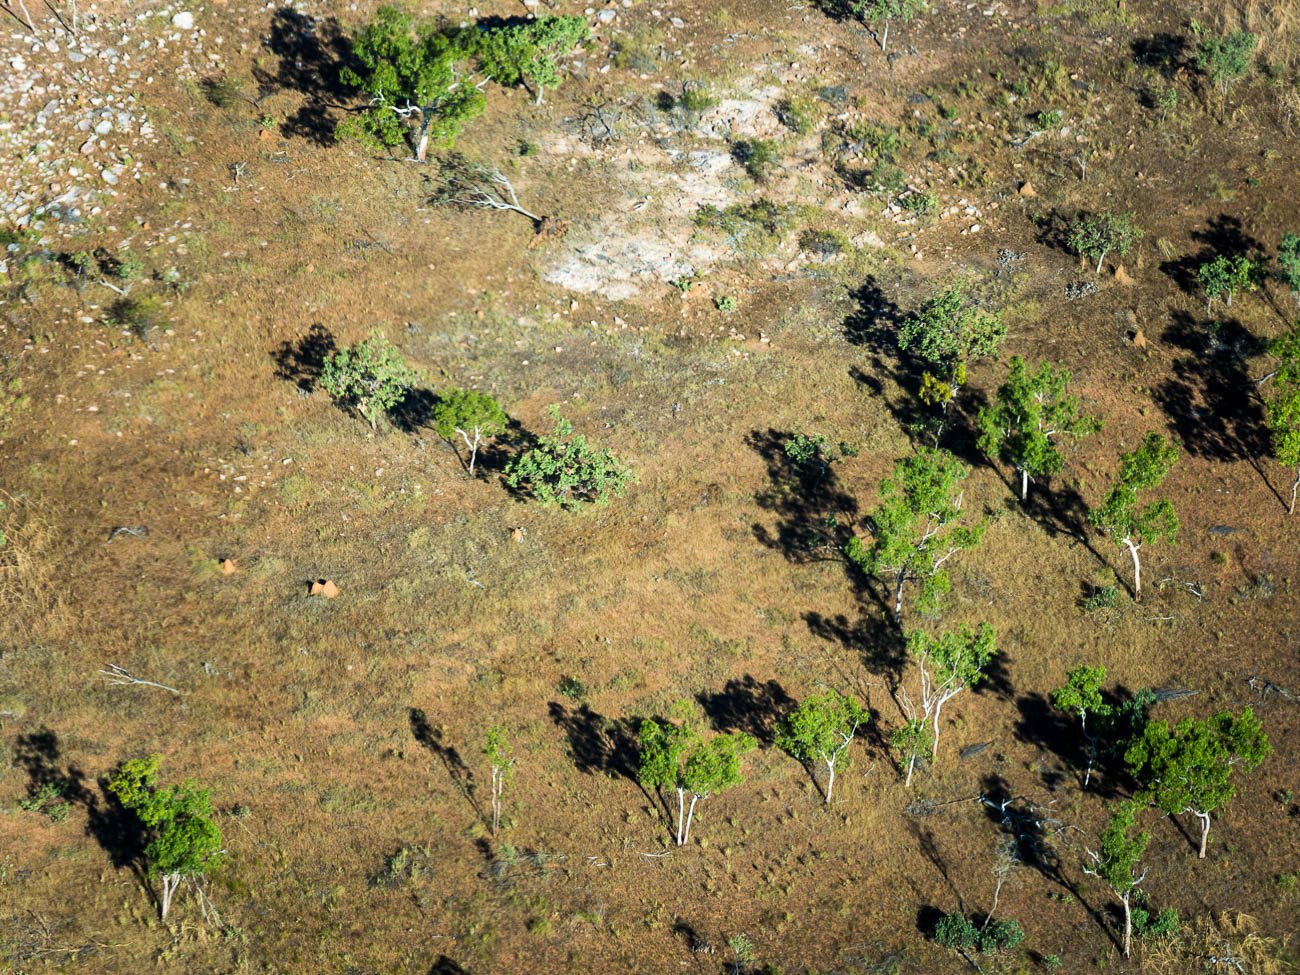
Click on the image below and you will be taken to one of my galleries on my Smugmug Site.

Displaying your travel photos – Summary
There are many ways of displaying your photos:
Whilst printing is not so popular these days, with the right print, paper and frame you can enhance a really good image
It’s best to have your own way of displaying your photos for your own personal consumption whether it be through a Smart TV or a large Monitor.
If you don’t, you’ll never look at them again which is a shame.
Like a good wine, age can improve them and bring back fond memories at the same time.
Once you have selected photos for others to view, then it’s time to share them, whether it’s via Social Media, Photo sharing sites or via cloud services.
Most sharing is via a mobile device.
If your camera doesn’t have wireless facilities then there are several workarounds that allow you to share your travel photos on a memory card.
So how do you display and share your travel photos?
I’ve come clean and told you what I do. What about you? How do you display and share your travel photos? I’d love to hear from you. Leave your comments below
Do you want to come home with great Travel Photos?
Pop your email in the box below to learn how and for your trouble, get a free E-Book. 9 ways to improve your Travel Photography”. You’ll also get exclusive content that’s not posted here or anywhere else.
Any questions then please contact me here and/or please say hello at these places:
Facebook: Twitter: Instagram: LinkedIn:
Feel free to share this to your social media of choice


Leave a comment