
When taking any photo, it’s the done thing to have rules.
Now I don’t go along with rules all the time after all, aren’t they made to be broken?
But this one is an essential rule for anyone starting out or even still learning (not that you ever finish learning but you get my drift)
So, what is the rule of thirds?
It’s way of ensuring that the photo has some sort of balance.
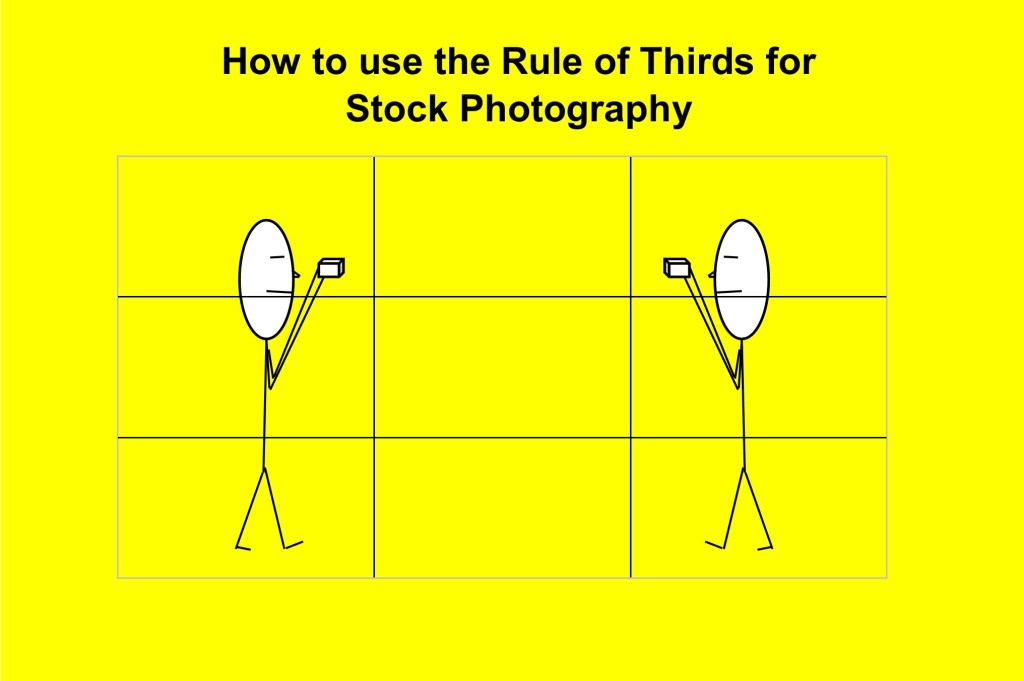
Basically, you divide the photo frame into thirds.
You have a top third, middle third and a bottom third, plus you then have 2 vertical lines that divide the frame into 3 going from one side to the other.

It’s like an imaginary empty noughts and crosses box overlayed on your photo
The idea is that you position your subject along one of these lines.
For example, generally speaking, a horizon shouldn’t be right in the middle, it could be on the lower third or upper third line depending on what’s interesting in, usually, the sky or the foreground.
Basically, the rule of thirds promotes that the main elements of a composition in any photo should be placed one third away from the edges of the frame.
The idea behind it is that our eyes are naturally drawn to the intersecting points, how we are drawn to the balance of an image. This is all theory of course.

But it is a good start. The example of avoiding putting the horizon smack bang in the middle is probably the most obvious.
Other examples could be having a model over to one side along, let’s say, the right-hand line, the moon in the right-hand corner or a lone tree to one side.
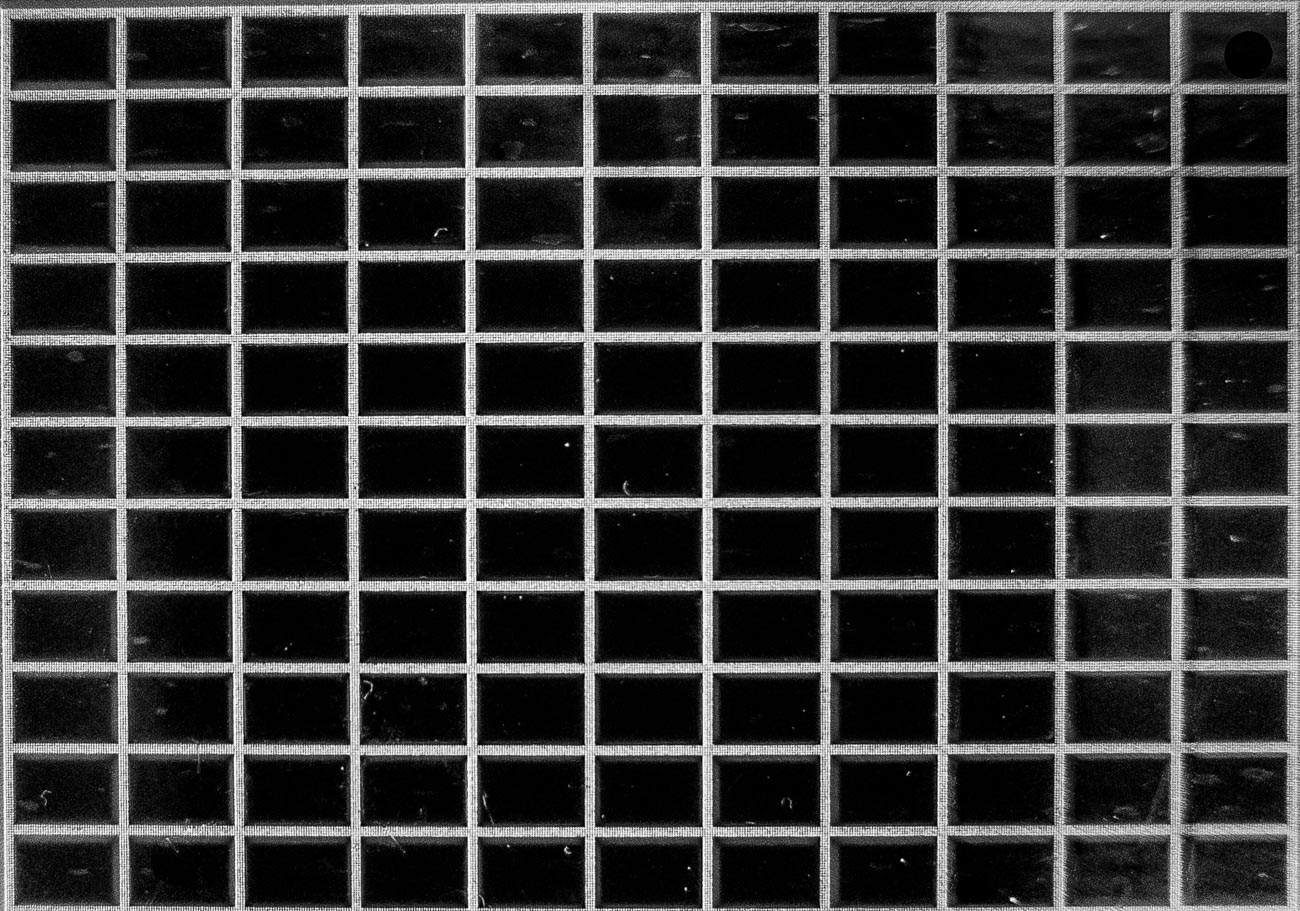
Here’s three more examples:


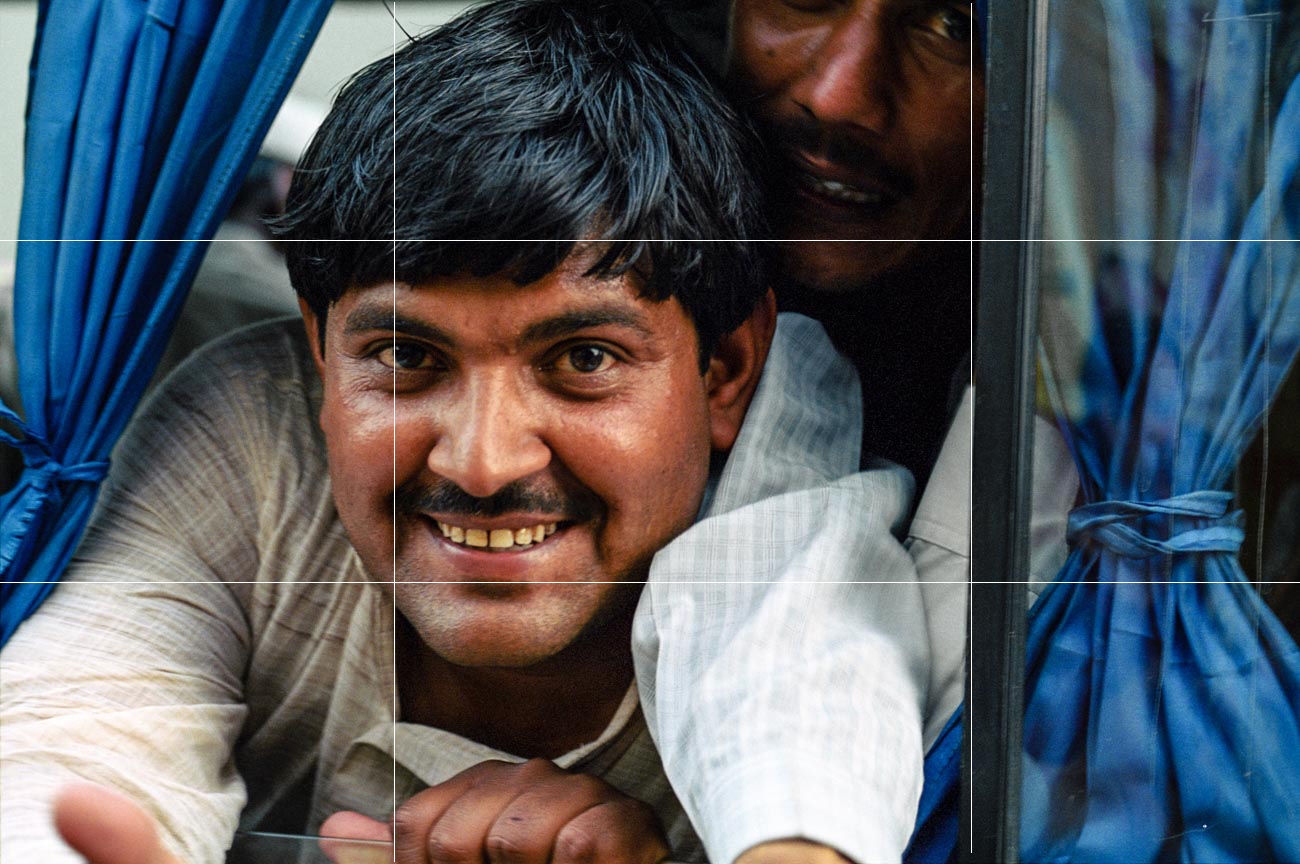
You can see by these examples it’s really all about keeping the main elements to one side and not smack bang in the middle.
So how to use it?
Well from a purely technical point of view the easiest way if you want to see when composing an image is to use the focus points.
On every camera and even some smartphones there is now the ability to display multiple focus points and/or a grid similar to the thirds grid which can see through the viewfinder or rear LCD screen.

And that’s fine when you are trying to get the hang of it but once you get into the habit of where to put the imaginary lines roughly I suggest you go back to using the points more naturally.
For stock or marketing photos your composition you may have to take into account any captions you want to overlay over the photo.
No point putting it across a vital part of the image as you will lose the impact of both the image and caption or message.
Of course, as I stated at the beginning it’s a rule that doesn’t have to rule every photo you take (excuse the pun).
It should really be called a guide to creating composition using thirds or something like that as not every situation lends itself to this rule.
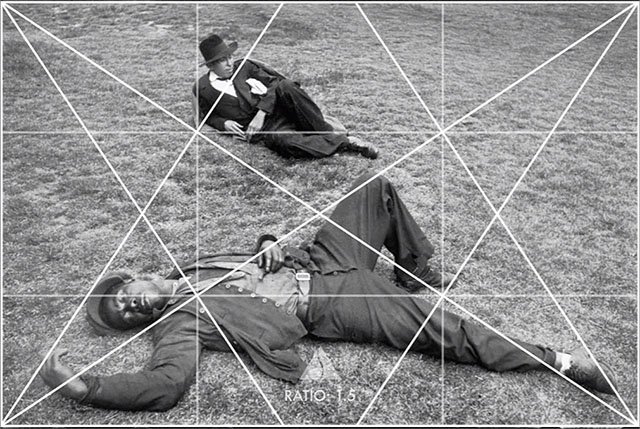
Of course, you can go overboard as well.
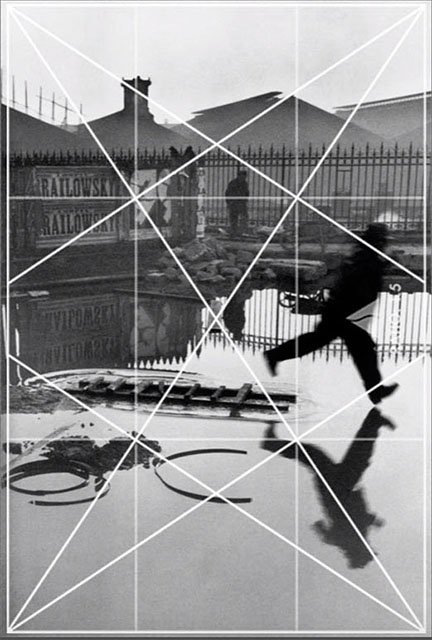
The image lines below, that have been drawn anonymously, are an analysis of the how supposedly of one of the greats, Henri Cartier-Bresson, framed his images.
That I’m not convinced about.
He was a natural talent and I’m sure in his mind’s eye he composed around the frame but I don’t think it was to as detailed.

So to summarise
The rule of thirds is a is a way of making sure the viewer focuses on what you want them to by dividing a photo frame width and height into thirds.
Thanks for reading
Post any comments below. I’d love to hear them.
And do us a favour! Please share any way which works for you.
If you want more like this then please subscribe below and you will get a
free guide on how to improve your stock photography.


Leave a comment