
How many times have you looked at those beautiful images only to realise on closer inspection there’s a slight blurriness about it. It’s just not as crisp and clear as it should be.
That’s called softness and is usually caused by Camera shake.


In my last post How to hold a camera correctly on this topic, I went through the best ways to hold a camera to try and reduce camera shake. Now lets’ look at 5 other ways in order you can help eliminate camera shake
1 Use a fast shutter speed
Typically, Camera Shake is caused by the shutter speed being too low.
Selecting the correct shutter speed can be a challenge. On most cameras, you can select the shutter speed and a rule of thumb, depending on the camera is the focal lens x 1.5 or 2 = the shutter speed.
So, if you have a focal length of 100mm then you will need a minimum shutter speed of 1/160; a 200mm focal length would be 320 etc. etc…
Now on some compacts and a lot of Smartphone cameras you can’t adjust the Shutter speed so the next best thing is to either adjust the exposure compensation or the ISO.
If you are going to shoot a lot of images at low light, then experiment so you know how your camera performs.
2 Use image stabilisation
Many years ago, I met a photographer who was taking clear and sharp images of wildlife at dusk without a tripod. That was my first introduction to image stabilisation.
Basically it compensates for camera shake caused by slow shutter speeds.
Initially they were only available on the lens but nowadays most cameras have it inbuilt. So now you don’t have to worry about what lens to use.
Having it inbuilt also means that most cameras have options and settings that can give flexibility.
Smartphone cameras also have them built in but usually only have the option to turn it on or off.
Just a little warning – some manufacturers advise you to turn off stabilisation if using a tripod.
An image stabiliser only goes so far. At the end of the day if the shutter speed is too low for the conditions then it won’t help.
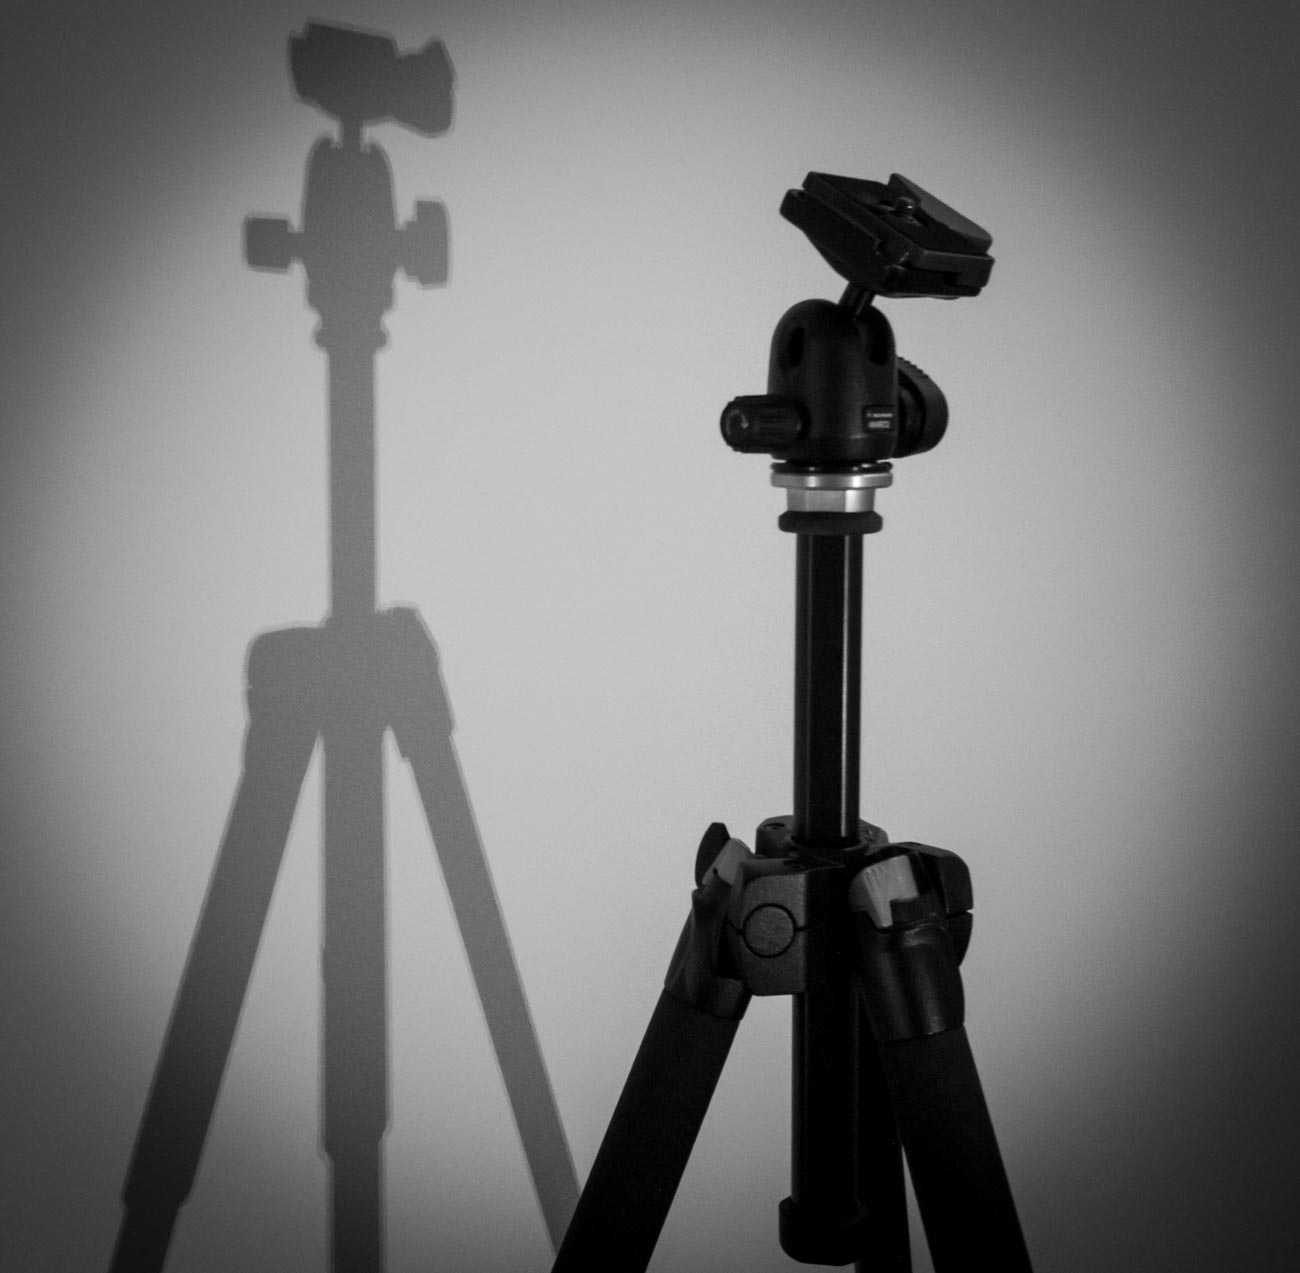
3 Use a tripod
This one is obvious. After all, if you don’t have to hold it then it’s not likely to move. Right?
Well yes and no and I’ll explain in the next tip but for now putting a camera on a tripod is always going to be better than hand holding.
Nowadays there are lots of different tripods out there. Some are designed for different applications and cameras.
For a mirrorless, compact or DSLR cameras there is a few considerations such as the weight, ease of use and sturdiness.
And it also depends on the use. As an example, I have 3 tripods, a studio tripod that never leaves the ‘studio’ a heavy duty one that I use for assignments and a lightweight one which I take travelling or on assignments where weight is an issue.
For smartphone cameras, there are also a lot of choices but they are usually chosen on convenience. I use the Joby Grip Tight Micro Stand, a great little find that has a mini stand. It can also be fitted to a standard tripod head.
4 Use the timer
The other main reason for camera shake is the shutter button action. When you press down on the shutter button the camera moves. Even if you are gentle it still moves. Of course, if you have a fast-enough shutter speed then it’s not a problem but if you are shooting in low light then it will create vibration which equals camera shake
Another option is to use the timer. In all seriousness, you wouldn’t use the timer if you were hand holding. The idea is to use it when on a tripod or if you have the camera mounted on something sturdy.
Most cameras have 2 or 3 timer settings. Use the lowest unless there’s some reason you need time like taking a self-portrait. After all, 2 seconds is not a lot of time to get into position.
5 Use a remote
For the same reason as the previous point (5) using a remote will take that that heavy human press out of the equation.
There are a lot of types of remotes out there.
From the old-school release cable for a DSLR to using a smartphone app to trigger your mirrorless camera to using a Bluetooth remote trigger for your smartphone.
Choose the one that is right for you or choose a couple for different applications.
Did you understand all that? I’m happy to clarify anything you’re not sure of.
Just post in the comments section below. Don’t be shy.
While you are at it why not subscribe for future updates below.
You’ll get my free guide “Eleven easy ways to improve your marketing photography”.


Leave a comment