8 Tips on how to use a Smartphone Camera
Smartphones are amazing things. You can live your whole life on one. From doing your banking to checking your email to turning on your lights; hell! it even talks to you now!
It’s a great device for managing almost anything on the go.
The one thing that it was lagging on was the camera. But over the last 2-3 years that’s all changed.
Samsung and Apple lead the race on this but Google, Nokia and HTC are catching up quickly.
Is the Smartphone as good as a DSLR or Mirrorless I.e. Interchangeable lens camera or high-end compacts?
Not yet.
The quality of the image and more importantly the flexibility and options are not there yet and whilst I’m reluctant to say it, they may never be.
So how do you get the best images from that small device you have in your hand.
Here’s 8 Tips on how to use a Smartphone Camera
1 Hold the camera still
In my recent article How to hold a camera correctly there is some detailed information on how to hold a smartphone camera but it’s worth repeating some of that here:
Most smartphones these days have the option to operate the shutter with a physical button like a volume control instead of tapping the screen.
So, if you have that option then use it for the landscape position. It’s a big more awkward in the portrait position so the virtual button is better to use in most situations
Tuck in your elbows and bring it close to you. Holding it away from your body makes it much more difficult to hold still.
Use both hands. It gives me nightmares watching some people take photos one handed.
In low light use a Tripod. I love the little Joby GripTight Micro Stand. It folds down flat
2 Turn off that flash
Ever taken a picture of a loved one and they look like a rabbit caught in headlights. Yes. Well that’s cos you had the flash on.
As with any camera with a built-in flash they are not in the right position for most shots. So, if you can, avoid using it.
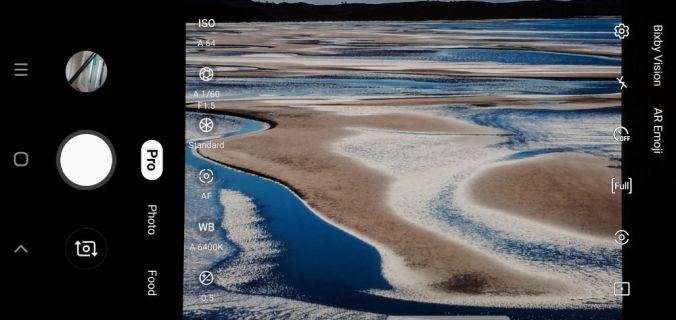
3 Familiarise yourself with the settings
These days the smartphones come with lots of different settings.
They are there to give you options rather than just leave it on auto.
Nothing wrong with auto of course but if you can improve an image by using a different setting then why not?
For example, the Samsung Smartphone camera has a “Pro” mode. This allows you to change the ISO, White Balance and shutter speed amongst other things.

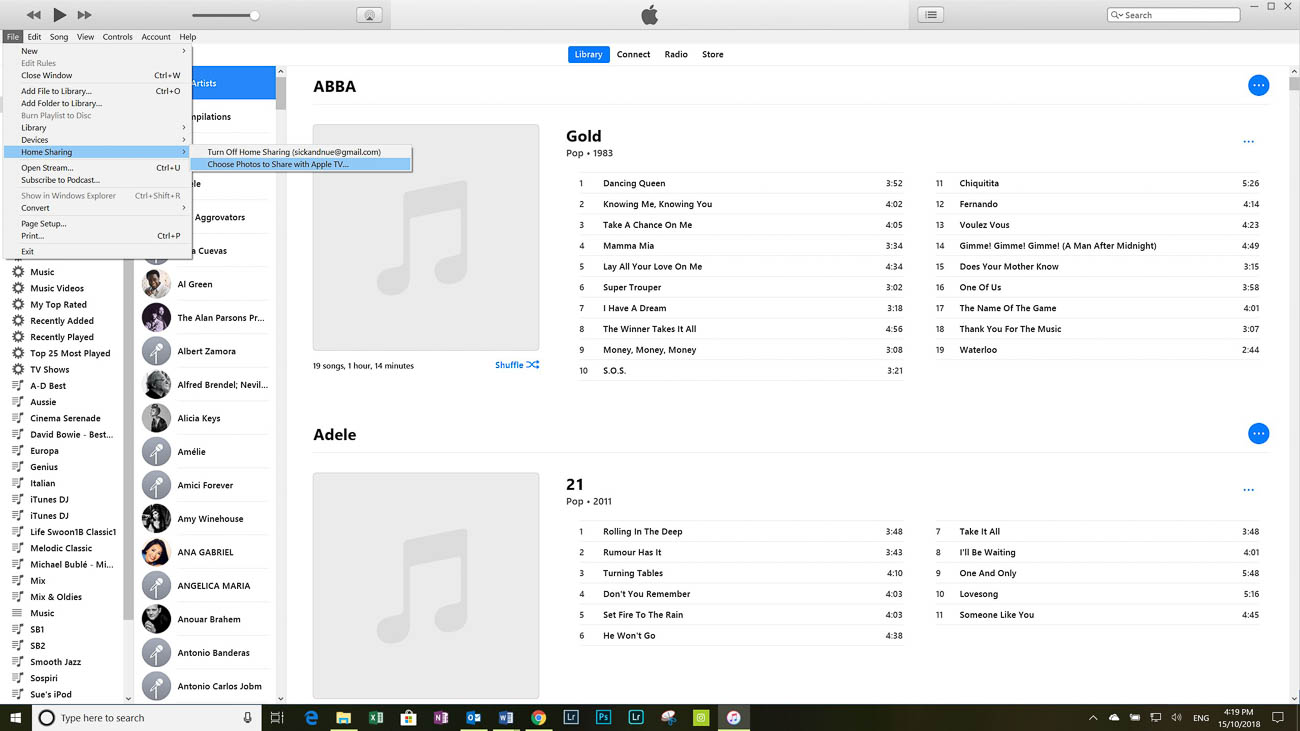
4 Use apps
The Camera Apps for the smartphone, as I mentioned before in 4, are improving and coming up with more ways that allow to you control your image.
However, there are a number of apps out there that not only give you ways of filtering and editing but shooting as well.
My favourite is Lightroom but you need to have Lightroom on a desktop or Laptop for it to sync to.
What I like about is that it allows you to shoot in RAW using the Adobe DNG format. That way when you sync to your desktop version you have much more flexibility in editing.
5 Photo size
Now you should always shoot with the maximum size selected so that you have options on the size print you can have.
The camera setting will allow you to choose this so select maximum size id if you are only sharing by text or on social media. Sharing apps have the algorithms necessary to automatically reduce the size.
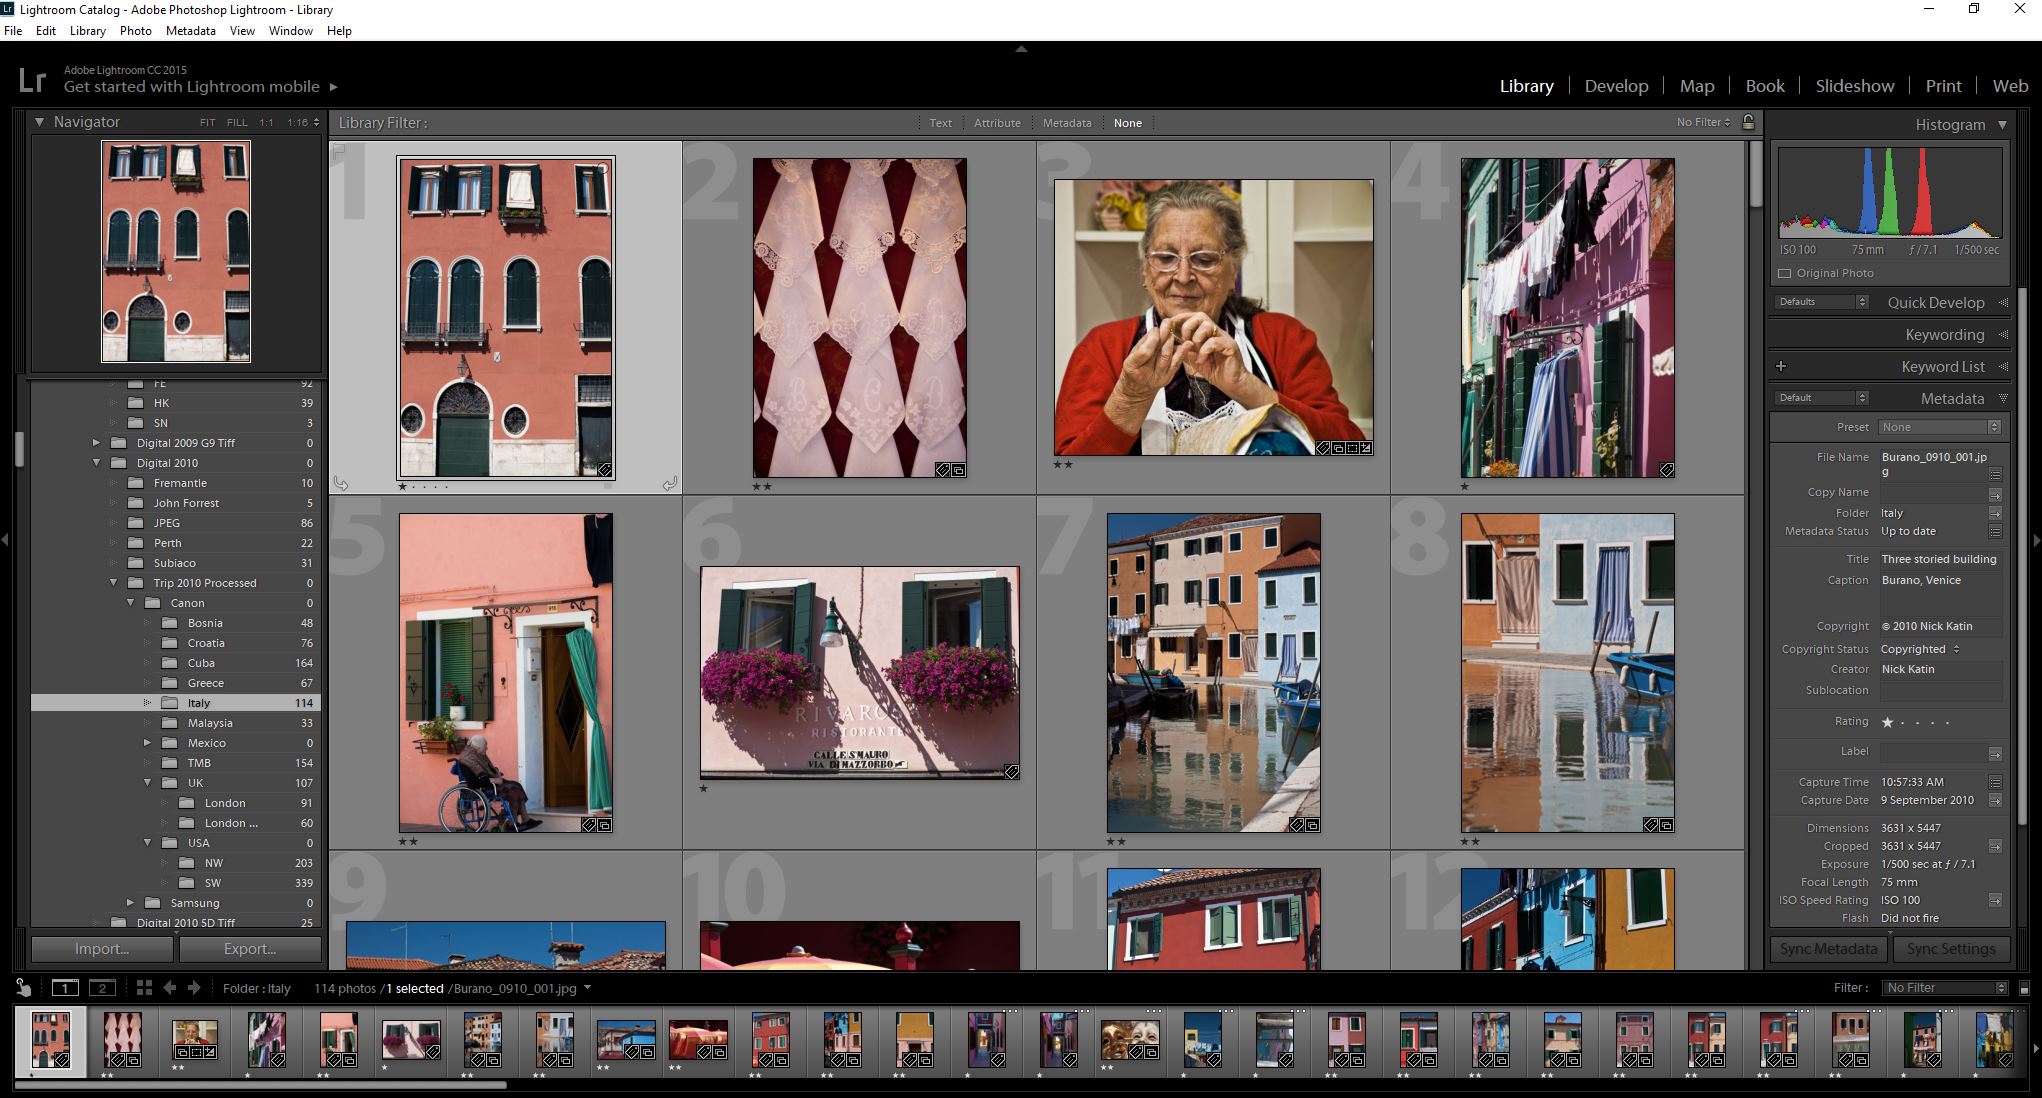
6 Watch your storage
Once you start increasing the size of your photos then storage can be an issue.
But these days there are plenty of ways to overcome this. The obvious one is to increase your storage with a mini SD or equivalent.
However, some phones won’t allow you to do this so cloud services are the next, in fact they are probably the best, option. I mentioned Lightroom earlier.
When it syncs with the desktop version, it downloads into a folder on your hard drive.
Other more well-known ones though are Google Photos, Dropbox, iCloud or OneDrive.
So, once you’ve uploaded (usually you set the service to do this on auto) delete the ones you don’t need on your smartphone.
You should be able to view the photo via the app rather than your gallery.
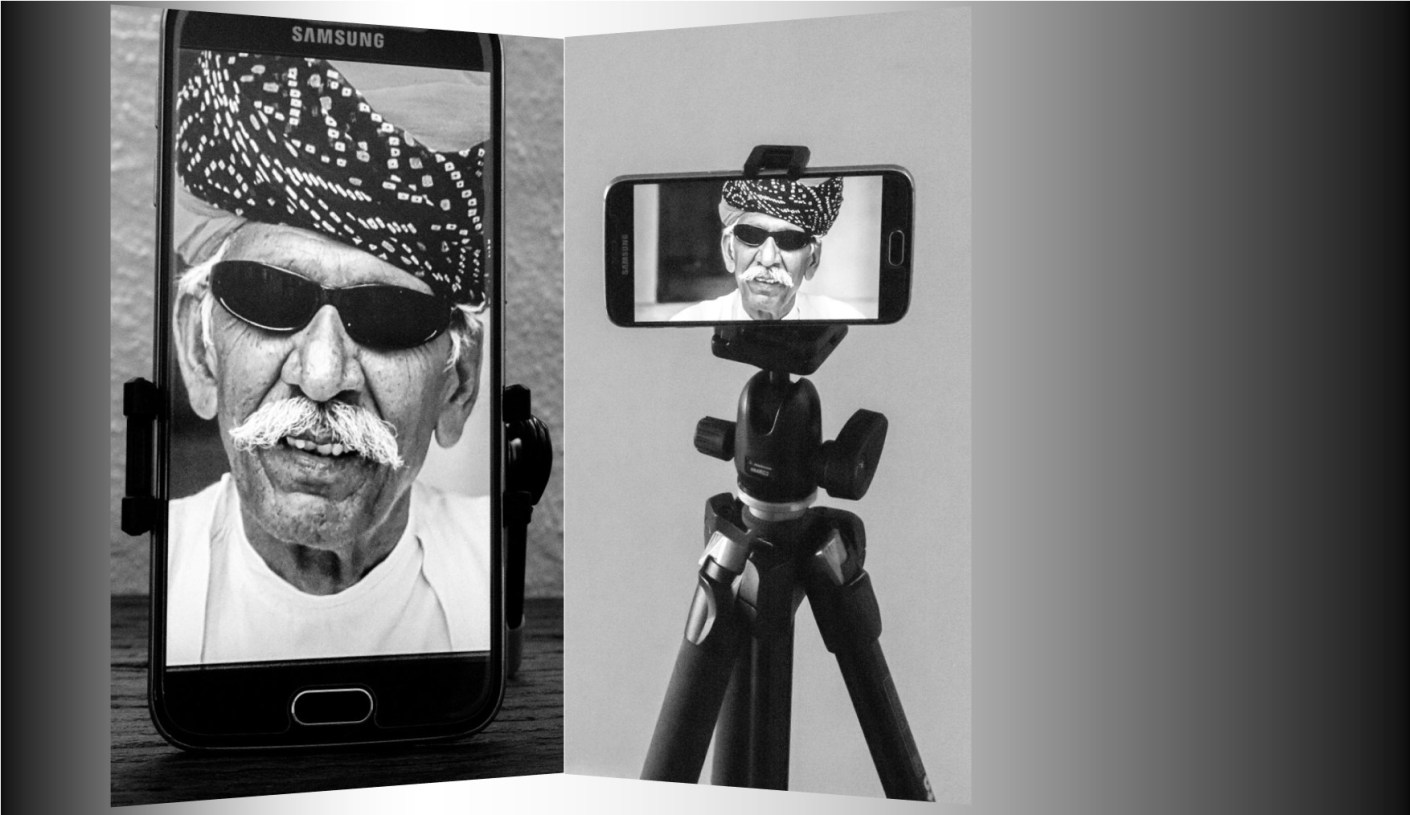
7 Remember that the Camera Lens is at the top of the Phone.
This is something that can be confusing.
Usually the Camera Lens on a Smartphone is, when looking at it vertically or in the Portrait position, about 25mm (1”) from the top.
Not a problem if you are taking what you see but if you are mounting it on a Tripod or propping it up just bear it in mind otherwise you will end up with a lopsided photo or you might not capture what you wanted.
8 Forget Bokeh unless you have the latest Model
Bokeh what’s that? Well it’s the picture of the flower with little or no focus in the background but a good focus on the flower.
I’m not going to go deep into that here but if want that ‘effect you need to find a decent app that will do it after the shot has been taken. Alternatively the latest smartphones such as Googles’ Pixel, Samsung S10 or the iPhone X etc. have duel or triple lens with some grunty alogoritms that will create that bokeh effect. However outside of those you are not going to get good results with a smartphone when you attempt to get that sort of image.
The sensor is just too small.
However, I did say you can use an app. These apps can be easily found but have varying reviews and I haven’t really found one that performs as well as a DSLR or Mirrorless camera for Bokeh.
The problem is that they simulate by software and that is a long way from being perfect – Yet!

So, in conclusion if you follow some or all of these tips, you should end up with a half decent image
Summary for 8 Tips on how to use a Smartphone
- 1 Hold the camera still
- 2 Turn off that flash
- 3 Familiarise yourself with the settings
- 4 Use apps
- 5 Photo size
- 6 Watch your storage
- 7 Remember that the Camera Lens is at the top of the Phone.
- 8 Forget Bokeh unless you have the latest model
Remember if you want to take great travel photos
- that you can share and display.
- that help you relive your travel experience
- that give you a chance to have your travel photos published
then sign up below and subscribe to my exclusive Travel Photo Tips Newsletter.