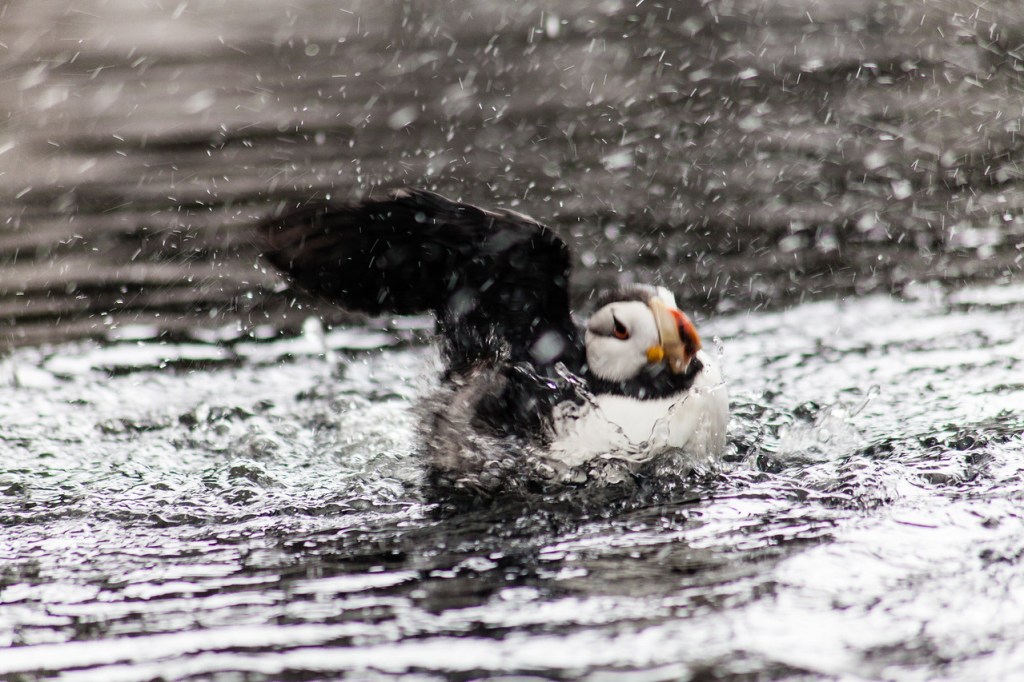
Pufin at the Alaska Sea Life Center in Seaward, Alaska
Tag: Wildlife*
-

African Fish Eagle

African Fish Eagle. To get this as a print click on the image. African Fish Eagle taking off in South Luangwa, Zambia
Share this:
-

Luangwa river

Luanga river. To get this as a print click on the image. Sandpipers in a pool at Luangwa River in South Luanga NP, Zambia
Share this:
-
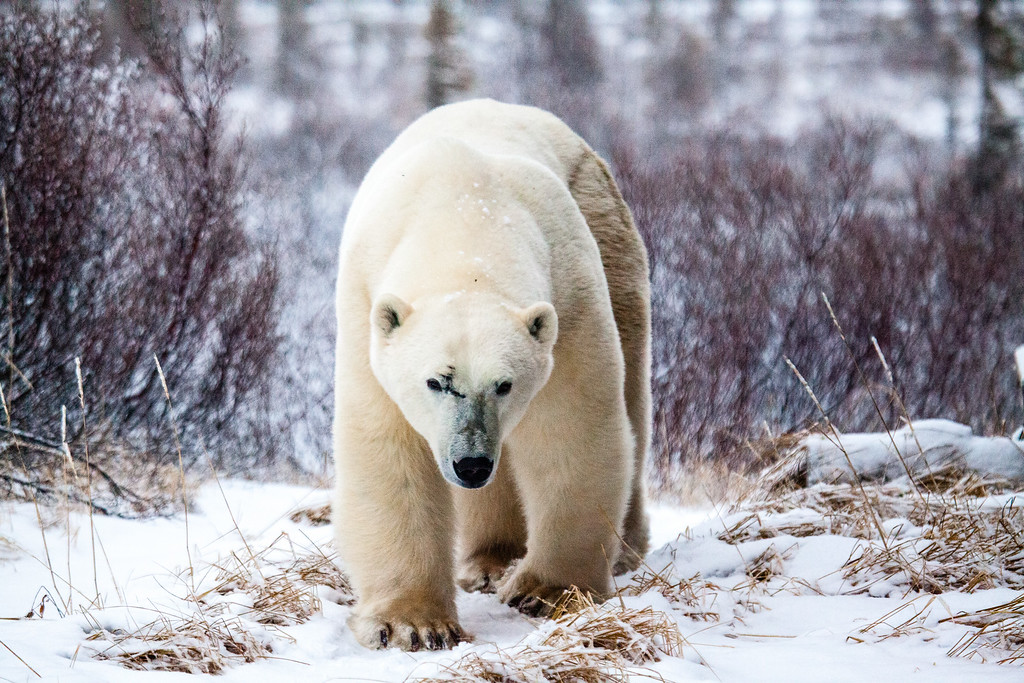
Polar Bear Walking

Polar Bear Walking
Click on the image for a larger view and more optionsPolar Bear at Diamond Lake Lodge near Churchill, Ontario, Canada
Share this:
-

Polar Bear Peer

Polar Bear Peer
Click on the image for a larger view and more optionsPolar Bear in Churchilll, Canada
Share this:
-

Sunset over the Goldfields

Sunset over the Goldfields.
Click on the image for a larger view and more optionsSunset over a Gum tree on the Goldfields Hwy near Kalgoorlie in Western Australia
Share this:
-
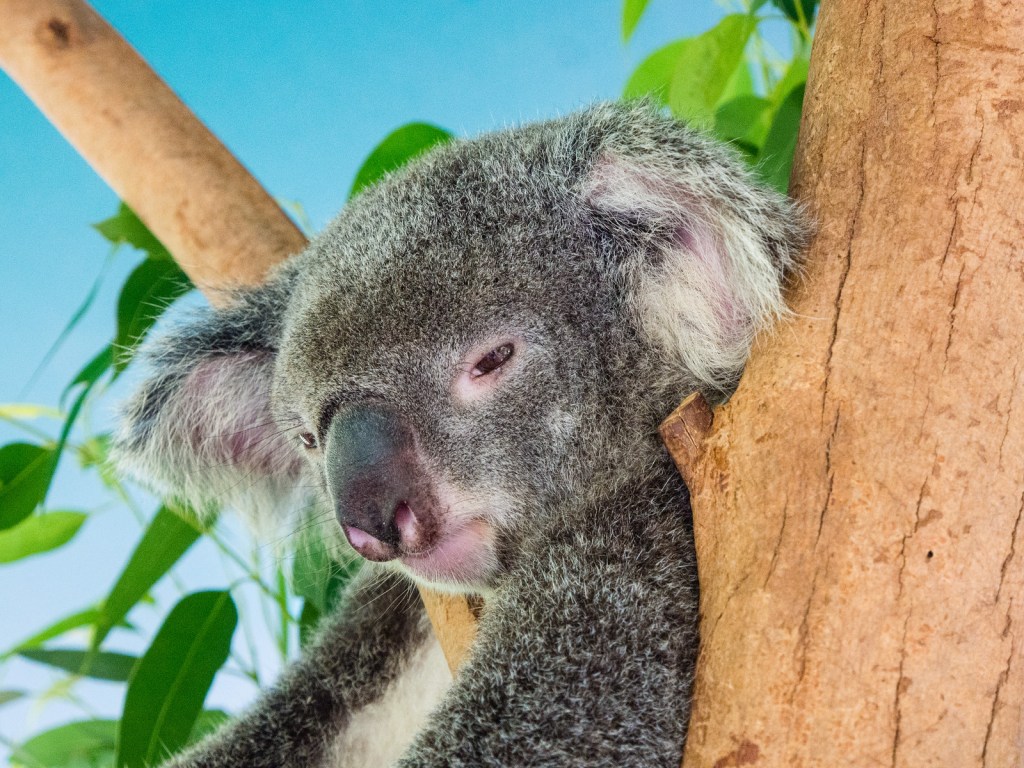
Sleepy Koala

Koala in a eucalyptus tree in a Queensland forest. Click on the image for a larger view. Share this:
-
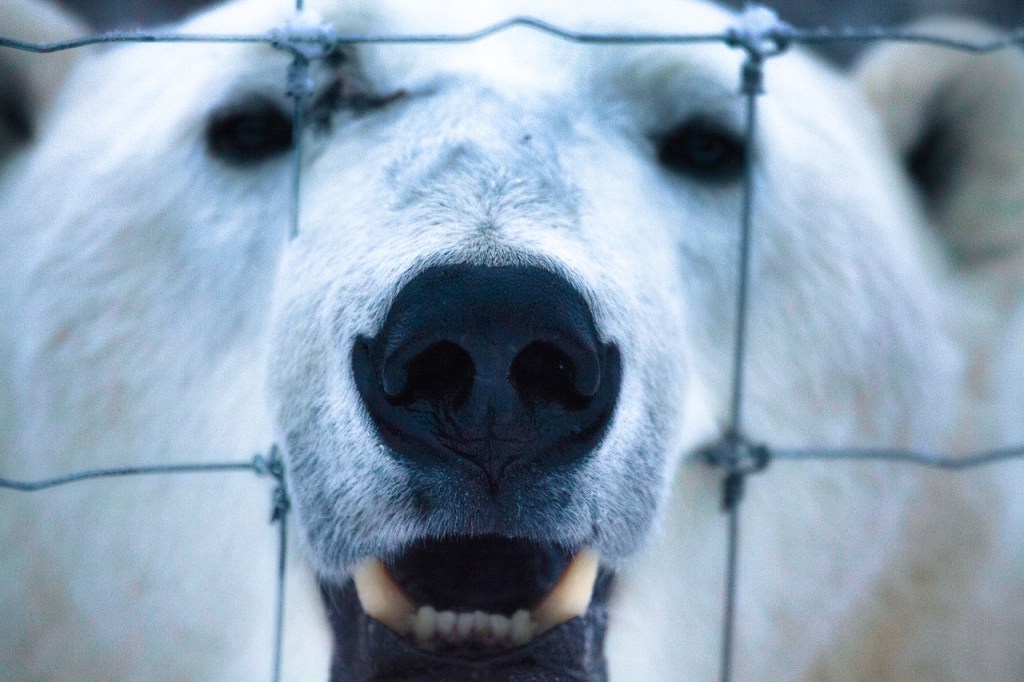
Fenced Bear

A Polar Bear looks through a fence in Churchill Canada. Click on the image for a larger view Share this:
-
How to Back up your Travel Photos.
How to back up your travel photos.
In the days of film, the only form of back up was to guard your film and slides as if you’re life depended on it. Nowadays with digital imaging there are many ways of backing up your photos.
So, follow me along as I give you some ideas on how to back up your travel photos.
History of Back up
The term back up only really became used when computers began to take over the world.
With paper you could make copies and file them off-site.
As we all switched from paper to digital, Business’s started to have tape, then floppy disks followed by CD’s for backups of the day’s work.
Now you have back up servers some of which are in the cloud.
Photography back up
Before digital, you were able to have extra copies made of photographic prints and file them somewhere else.
Not so with negatives and slides. Well that’s not strictly true, you could get copies, but it was expensive. It was not until digital came along that we began to realise that we had the option to back up all our precious photos.
We could even do it retrospectively, if we had plenty of time or money, by scanning film and slides.In those early days the floppy disk and then later the CD or DVD were the main back up mediums.
But as with film and slides we all ended up with boxes of DVD’s. Whilst smaller than boxes of Slides and Negatives they still took up some room.Let’s take a look at what options we have now.
Direct backup to a Laptop or Computer
The simplest and most convenient way is to connect directly to a Laptop or computer. This is done via the cable, now mostly a USB-C, that each camera manufacturer supplies to a laptop or computer. Once you have it on the computer you are free to copy it anywhere else.
All camera manufacturers give you that option. The main disadvantage is that some of the cables supplied are not usually off the shelf if you lose them. Additionally, some of the older camera ports tend to be non-standard or at best not common.Memory Cards
When you take an image with a digital camera it sits on the memory card that you have in the camera.
With a smartphone that image will generally sit on the phone’s internal drive. However, you can change it to sit on a microSD, if that’s available.Memory cards can also be used to back up your photos either via a computer or in some camera models.
How does that work?
Well you remove the memory card from the camera and insert into either a computer memory card port or a card reader that plugs into the computer.
Likewise, the same applies with a blank memory card. Once both cards are loaded you copy from one to the other.Backing up in camera is usually confined to some of the more high-end cameras. These now come with two memory card slots that you can use to either extend the memory or use the second slot as back up. When the latter is set, each time you take an image, it not only sits on the first memory card but also on the second.
Another option is to transfer it in camera periodically but that can be dangerous if you forget to do it.
The system of using memory cards as a backup medium is not used that often unless you are looking to immediately back up and that’s your only option.
One recommendation I would make is to use something similar with a smartphone.
Smartphone backup
With a smartphone, the potential to lose it or drop it is much higher than a camera. I would suggest a microSD if that’s easily removable (otherwise you will lose it with the Smartphone!)
Another option is a small flash drive that can be attached, usually through the charging port.
Why would we need to do that when we all rely on the cloud to backup our photos on a smartphone?
Services like Google Photos, or iCloud work well when you have connectivity. But what about when you don’t have connectivity?A few years ago I stayed a few days in a remote resort called Berkley River Lodge in the Kimberley region of Western Australia.
There was no phone signal at all and WIFI was limited to 50m from the reception hut. We were on a helicopter trip heading back to the resort. One of the other guests was taking pictures of the sunset with an iPhone when he lost it out of the window. I might add that the phone wasn’t his, it was his partners!
We had also all been warned not to take your phone too close to the window during the flight as, you’ve guessed it, it could get sucked out.
Anyway, apart from looking like a Kangaroo in headlights, he lost the phone.
All the photos that they had taken in the last few days were only on that phone.
And as they had no way of backing them up other than using iCloud they were lost with the phone.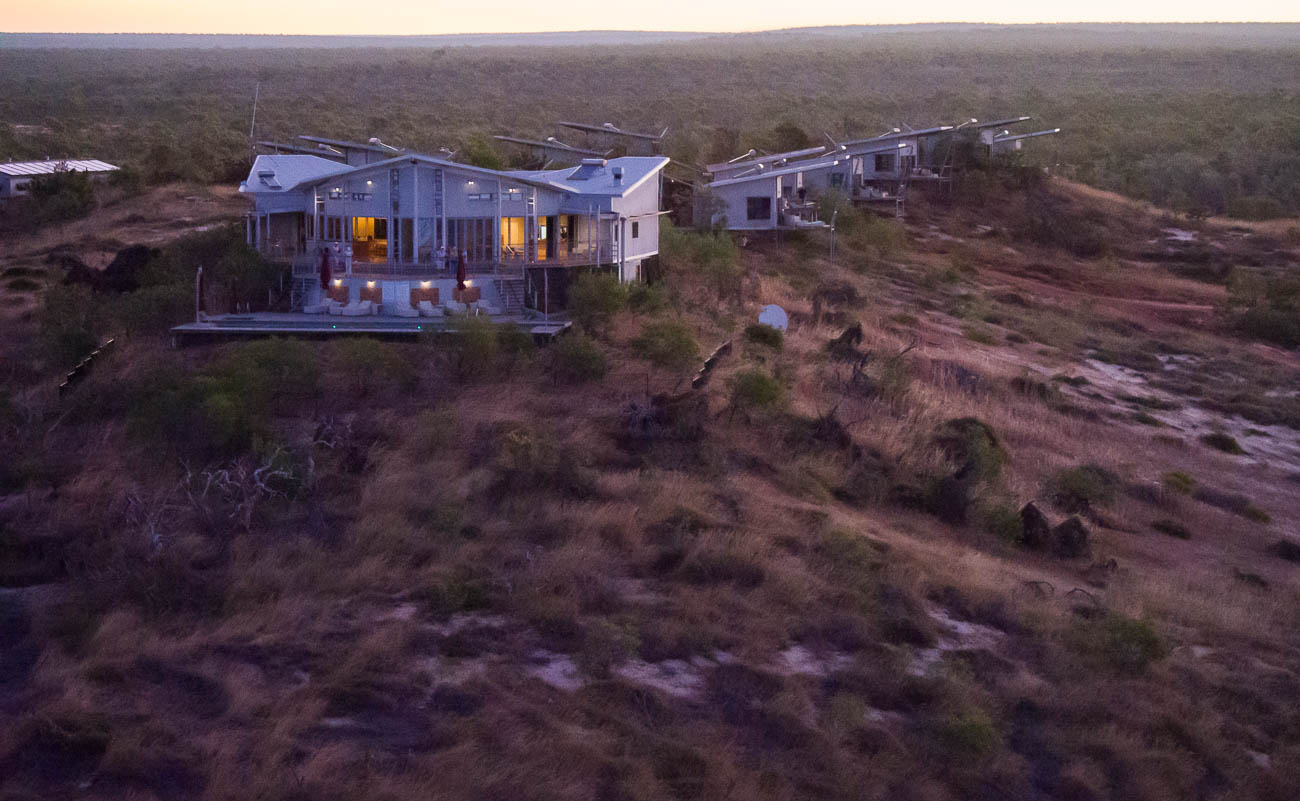
Berkley River Lodge from the air Lesson from that is not to rely on the cloud as back up for smartphones or indeed anything else.
If you have another device like a tablet, then you can set up a hotspot that will enable you to transfer or copy your files to the Tablet.
But if you are likely to be without the tablet and have no connectivity, then a Mobile flash drive is a no brainer.WIFI SD cards
An option to standard Memory Cards are WIFI cards. Even if your camera has Wi-Fi capability this still allows you to back up your images to another device.
If you have a fairly new camera, then chances are it will have WIFI capability anyway, so you can backup via WIFI without a special WIFI Memory Card.
However, in both these instances the issue is space.
Most Smartphones or tablets are around 128GB and if you are shooting RAW over a 2-3-week period it doesn’t take long to max out. For example, last year at a African Game Park I shot around 64GB of RAW and JPEG images.Physical back up devices
There are a lot of devices out there that you can use to back up your photos. Most of them are portable hard drives
There is the basic hard drive that you plug into a laptop or some tablets. You then copy the files to the hard drive via the Laptop or Tablet
Some hard drives have a SD Slot for your memory card. You insert the card and it automatically copies to the drive.
So, in theory you don’t need another device. Yet, unless you plug into another device you are not going to know whether it has backed up all your photos correctly.Another option is the wireless Hard Drive. This is like a hybrid. They have SD slots as well as having the option to wirelessly copy images via the hotspot I mentioned before.
This has the same disadvantage of not being able to see what images have been copied across. Although some do allow you to view the contents of the drive from a smartphone or tablet as well as a computer.Then there are hard drives that have a screen that lets you view the images even if they are RAW.
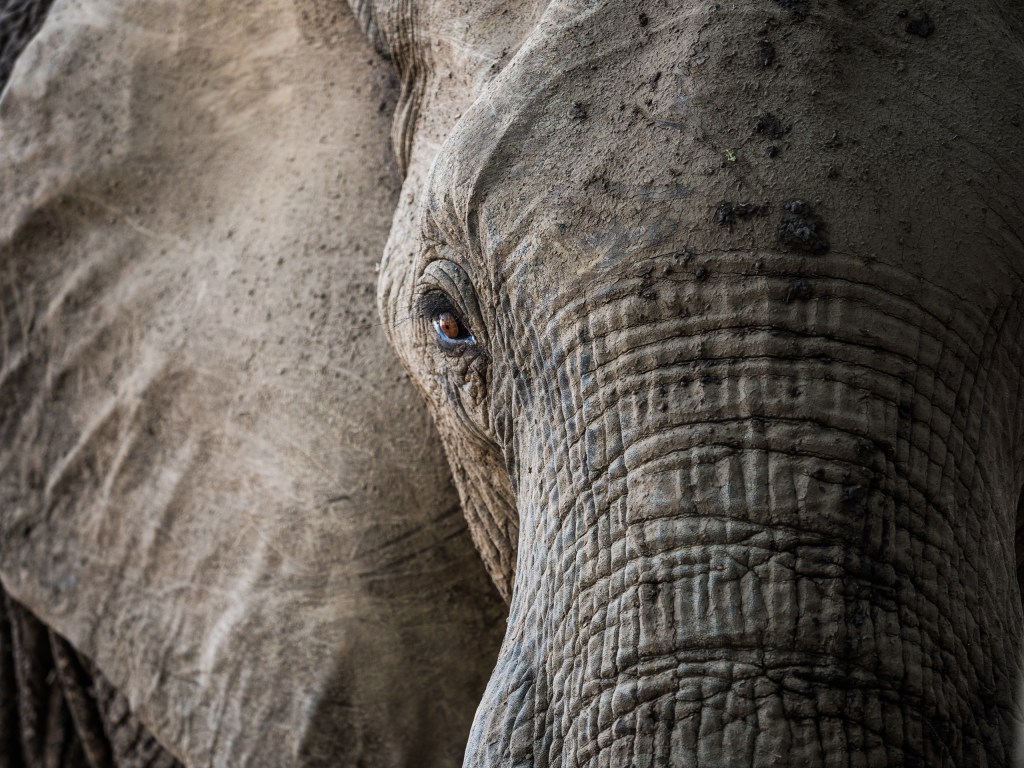
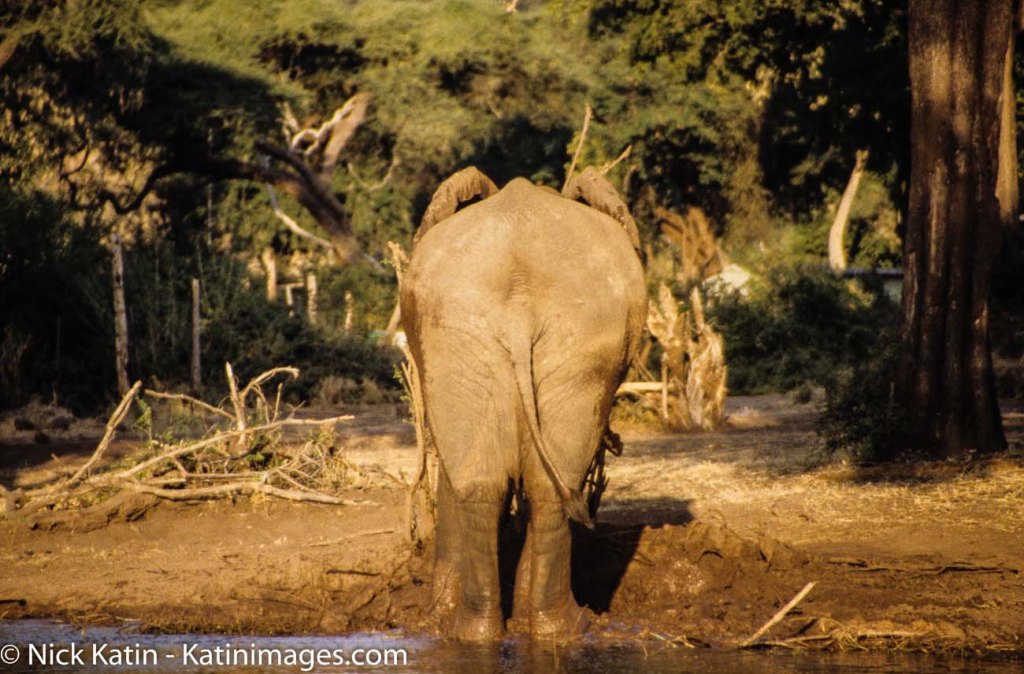
African Elephant in South Luangwa NP, Zambia. Click on the image to view a larger version and for other options Hard drive types
Lately hard drives come in two types, HDD mechanical Hard Disk Drives or SSD Solid State Drives.
The differences are basically that SSD’s are faster but more expensive.
In a computer or laptop then I would go to an SSD every time. With portable hard drives, where there is only data being stored, then it’s really a personal preference.For more on the difference read this article on PCMag.
Cloud Backup
How many cloud services are there now? There’s Apple’s iCloud, Microsoft OneDrive, Dropbox, Box, Google Drive, Crashplan, Backblaze, Carbonite and there are the Photo Sharing Sites (more on that below).
Of course, all cloud backup services depend on the internet. So if you are travelling, you are relying upon there being an internet connection. That is often beyond your control.
There is much better connectivity than there was 5 years ago and I’m sure that there it will improve even more.
But as I mentioned earlier there is always somewhere that the internet is not connected.Even with an internet connection, the bandwidth or speed can be poor. Meaning that the time taken to upload your photos can be long and arduous, and therefore frustrating.
Using the cloud
Whether you use the cloud or not is dependent on a couple of things:
One is the Camera equipment.
For instance, a Smartphone has inbuilt cloud capability and relies heavily on there being an internet connection. That is either by the phone signal e.g. 5/4G or a wireless connection.
On the other hand, unless you have a 2-3-year-old camera, then there is every chance that the camera you have will not have Wi-Fi capability. Even a lot of the new ones only allow you to upload to a phone or tablet from which you then have upload to the cloud.The other reason is the interface and ease of use. I haven’t tried all these services, but of the ones I’ve used, iCloud and Dropbox seem to me to have the best interface and ease of use.
Cloud cost and security
There is one further reason and that is price. Prices vary so much with specials and add-ons that comparing them is likely to be totally inaccurate by the time you might read this.
The other thing to consider is security. I hesitate to say it but using the likes of the big guns like Microsoft, Apple or Google does give a sense of security, compared with the smaller players.
That may well be false.
But it’s worth asking a few questions. I.E. where are their servers? What happens to the data if a server goes down or heaven forbid the company disappears?What do I use? OneDrive. Why because Microsoft gives me 5TB with my Office 365 subscription.
Photo Sharing Sites
The other cloud-based storage systems are Photo Sharing sites. These are likes of Flickr, Smugmug, Google Photos, Pixbuf , Photobucket, 500PX, My Portfolio, Amazon Prime Photos plus a few others.
These add a bit more to the concept of back up.
Usually it’s a subscription service that allows you to view and share all your photos. Some even have their own social media interface meaning you can browse other user’s photos and comment or share.Flickr was the first of these and now has been gobbled up by the expanding Smugmug.
Take a look at my site on Smugmug to get an understanding.
Unlike the straight cloud backup services, some of these sites don’t support all file types.
So, if you are looking for a complete solution to house and view your RAW files for example, do your due diligence.
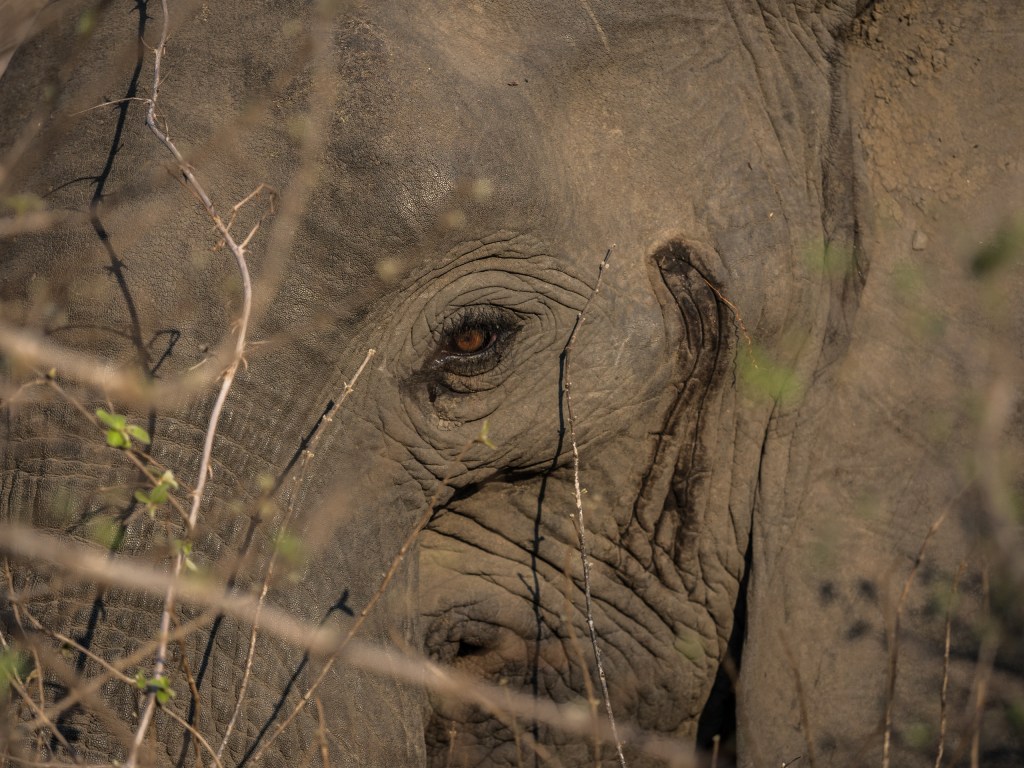
African Elephant in South Luangwa NP, Zambia. Click on the image to view a larger version and for other options How to back up your travel photos – at home
We’ve covered a broad summary of what there is out there to back up your travel photos whilst you are on the move.
What about when you get home?
All of the above apply to your home base as well.But you can also add in Desktop Drives
Desktop Hard drives
Desktop Drives used to be fixed to one certain location. But with the growth in portable hard drive storage, the fixed and portable are overlapping.
Most of us these days have Laptops instead of desktop computers which gives us freedom to work pretty much anywhere.
So, plugging in a portable hard drive as not only an expansion to the laptop storage, but also as a backup is easy.For the fixed you have three main types.
Standard hard drives that connect via USB or Apple’s Lightning and have their own power supply.
Cloud based drives that connect into a network also called NAS (Network Attached Storage)
This is different to the cloud services mentioned earlier. These are hard drives that are physically in your space but can be accessed remotely via an internet connection.
They also come with a power plug for an independent power supplyThe last type is called a RAID system (redundant array of inexpensive disks) that also have their own cloud. This is a trickier system to manage and install.
Basically, it is several hard drives usually in multiples of 2 that back each other up. Where it can be confusing is the many different set up combinations available.
It’s a way of ensuring that should one back up drive fail then there is always another one that has identical data, so that you can sleep easy.What I use
Now I think it’s time for me to give you my system.
On the road
Depending on the duration and the reason for the trip, I will carry either one or two SSD Drives, my surface pro and a memory card reader. I also now carry, since seeing the guy at Berkeley River lose an iPhone, a portable flash drive that fits my Samsung S10.
How do I use them?
I am fortunate that my Olympus OMD1 MKII has dual memory card slots, so I use one of these memory cards as back up. Additionally, every evening or at least every couple of evenings, I back up one of the memory cards to both SSD’s. If I have been diligent enough to clear the hard drive on my surface before travelling, I back up to my surface as well.
I back up my Samsung S10 to my surface if I am confident that I have good internet for the cloud back up to my OneDrive service. If I ‘m unsure of the connectivity, then I will back that up to my portable flash drive and later the surface.
I have used the iPad Pro as back up in the past. But due to the number of apps it has, it only has a small amount of spare storage compared to the surface.
How to back up your travel photos – Summary
Back up is a relatively new concept in the photographic world. It has only been around since the advent of Digital photography
There are many forms of back up for the travel photographer
Memory cards can be used for short term back up
Smartphone Cameras rely on cloud services, which can be unreliable when travelling.
A flash drive or microSD is a more reliable medium
New cameras can upload photos via different WI-FI systems to the cloud but only via another device
There are many different hard drives that can be used as back up devices.
They can be like small computers with their own screens and flexible connectivity.
Speaking of Cloud back up, the number of services available is huge. So, you need to select carefully before using one of these to ensure it meets your needs and security
Photo sharing sites like Flickr and Smugmug can also provide a level of back up for your photos
Then we get into the heavy duty physical hard drives. These use sophisticated software and multiple drives that you can create your own cloud with.
Any questions then please contact me here
Feel free to share this to your social media of choice
Share this:
-

Standing African Elephant
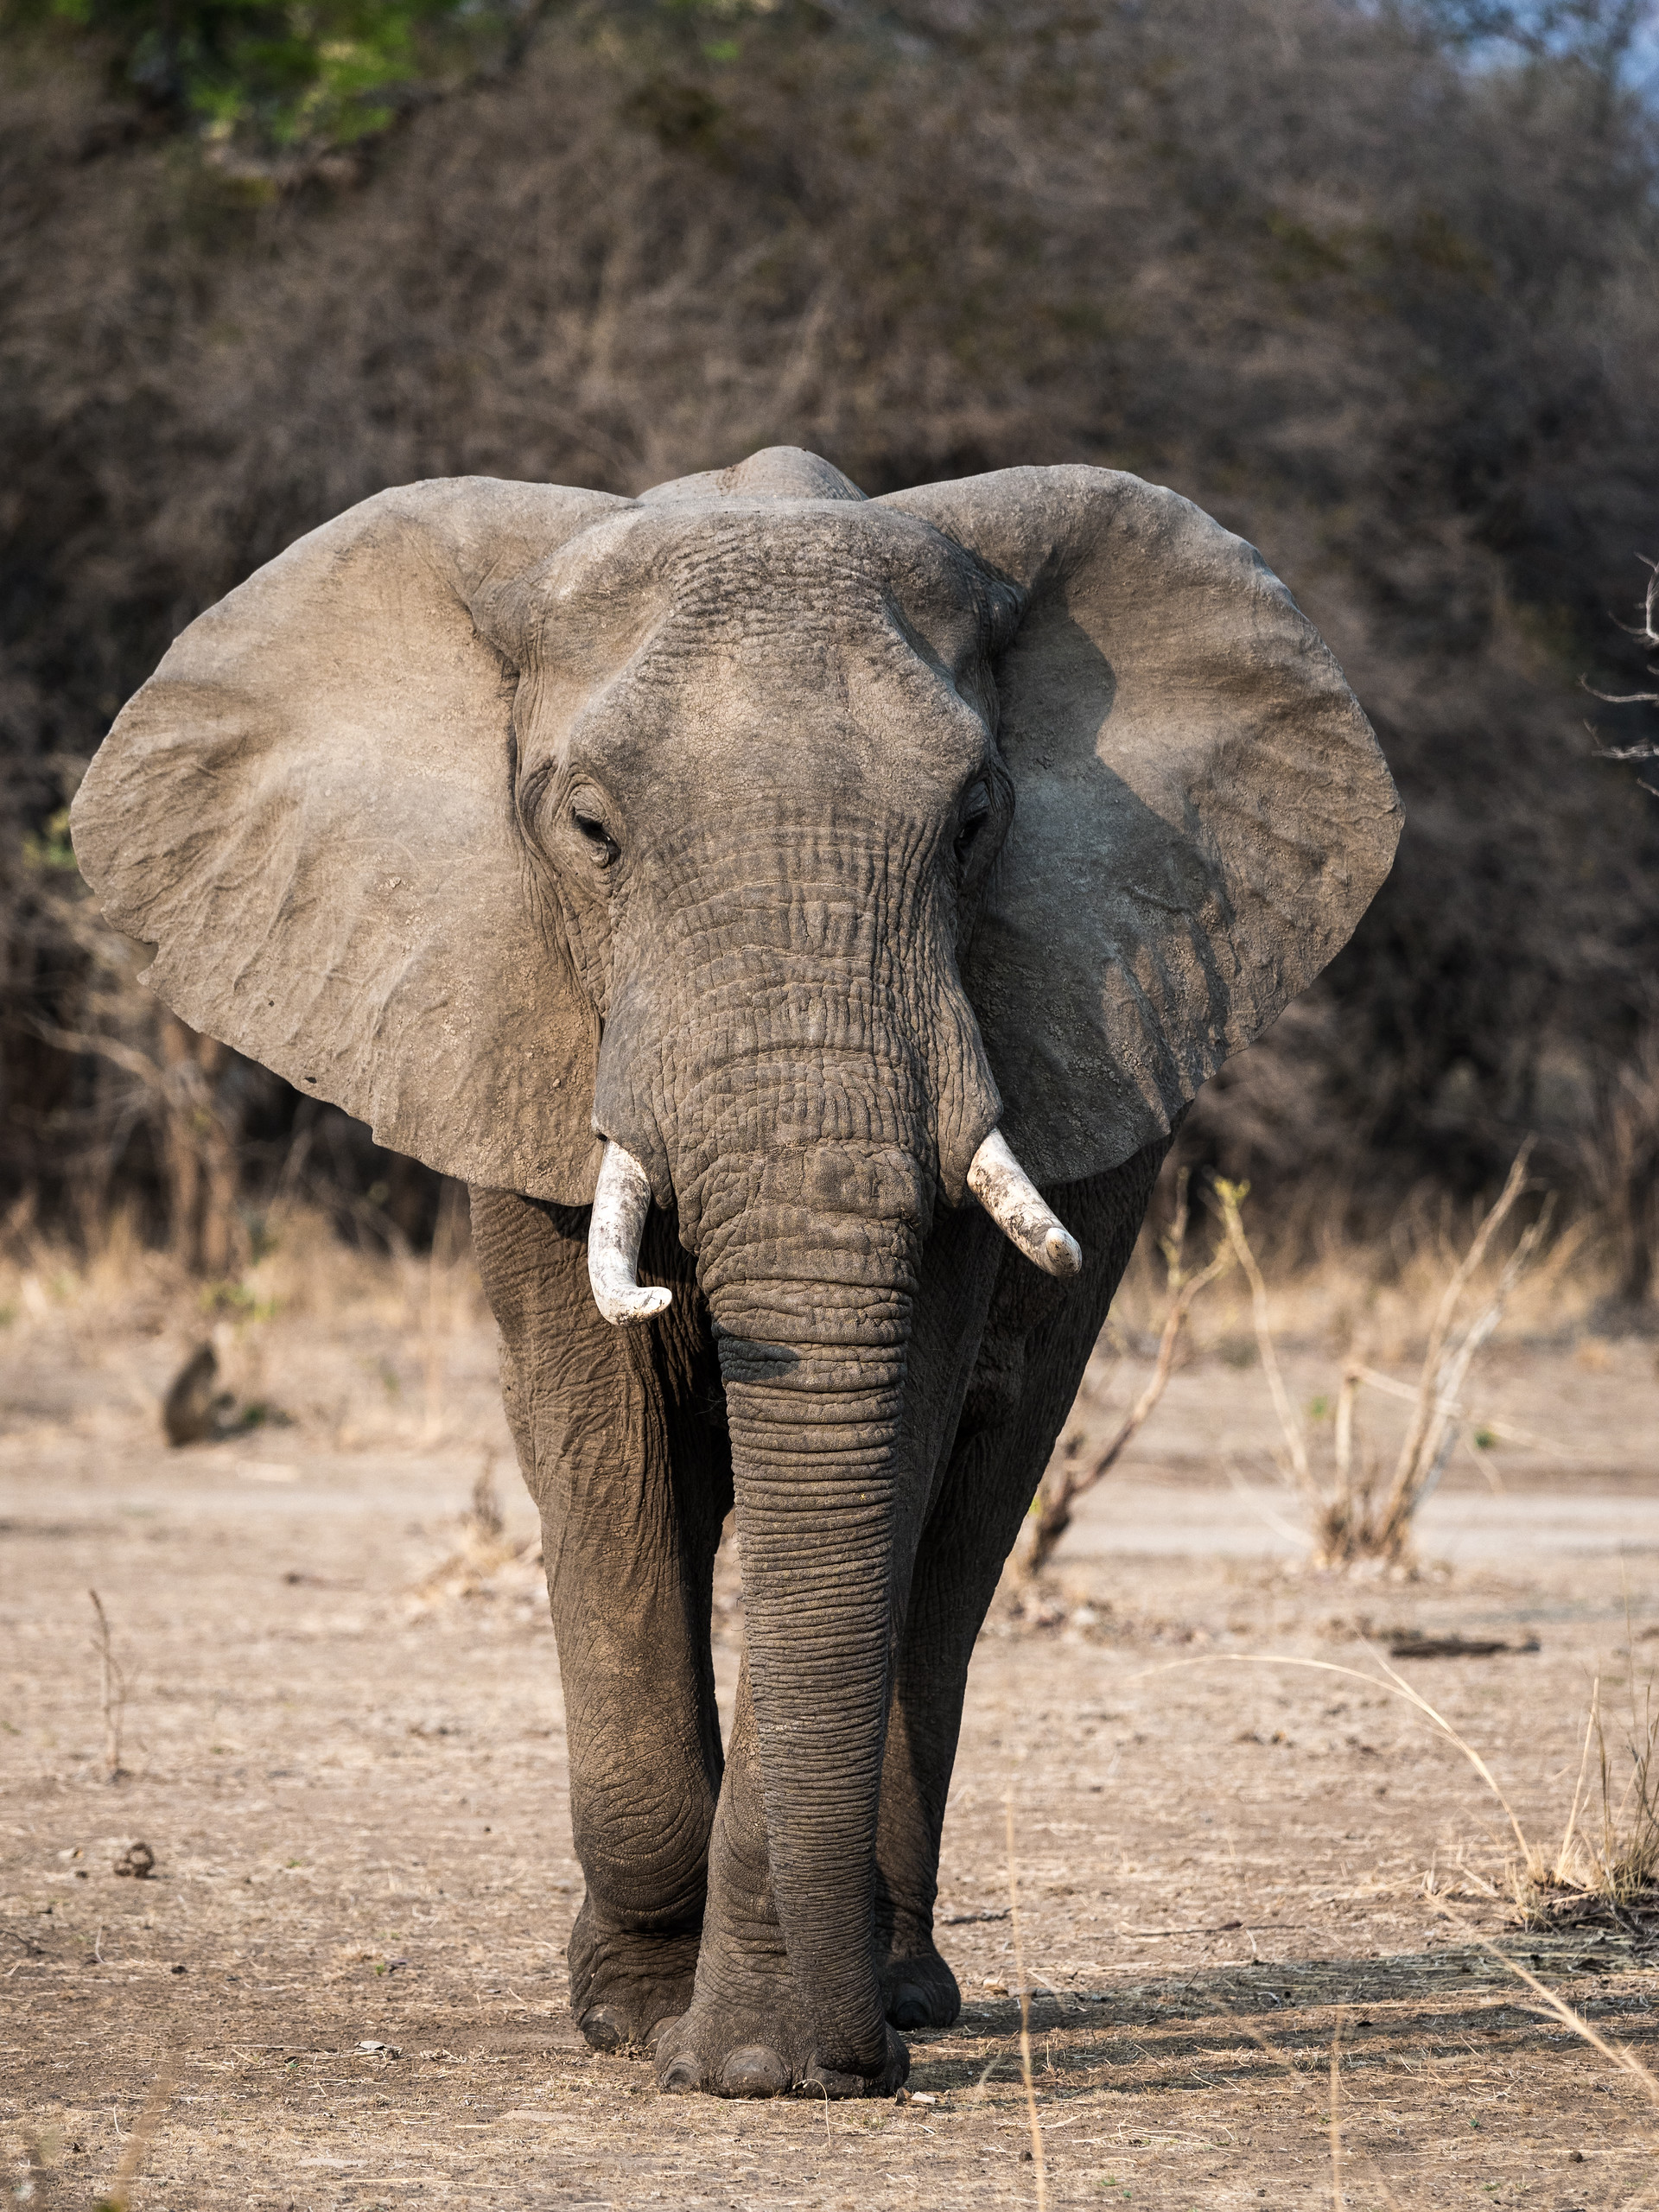
African Elephant in South Luangwa NP Zambia. Click on the image for a larger view Share this:
-
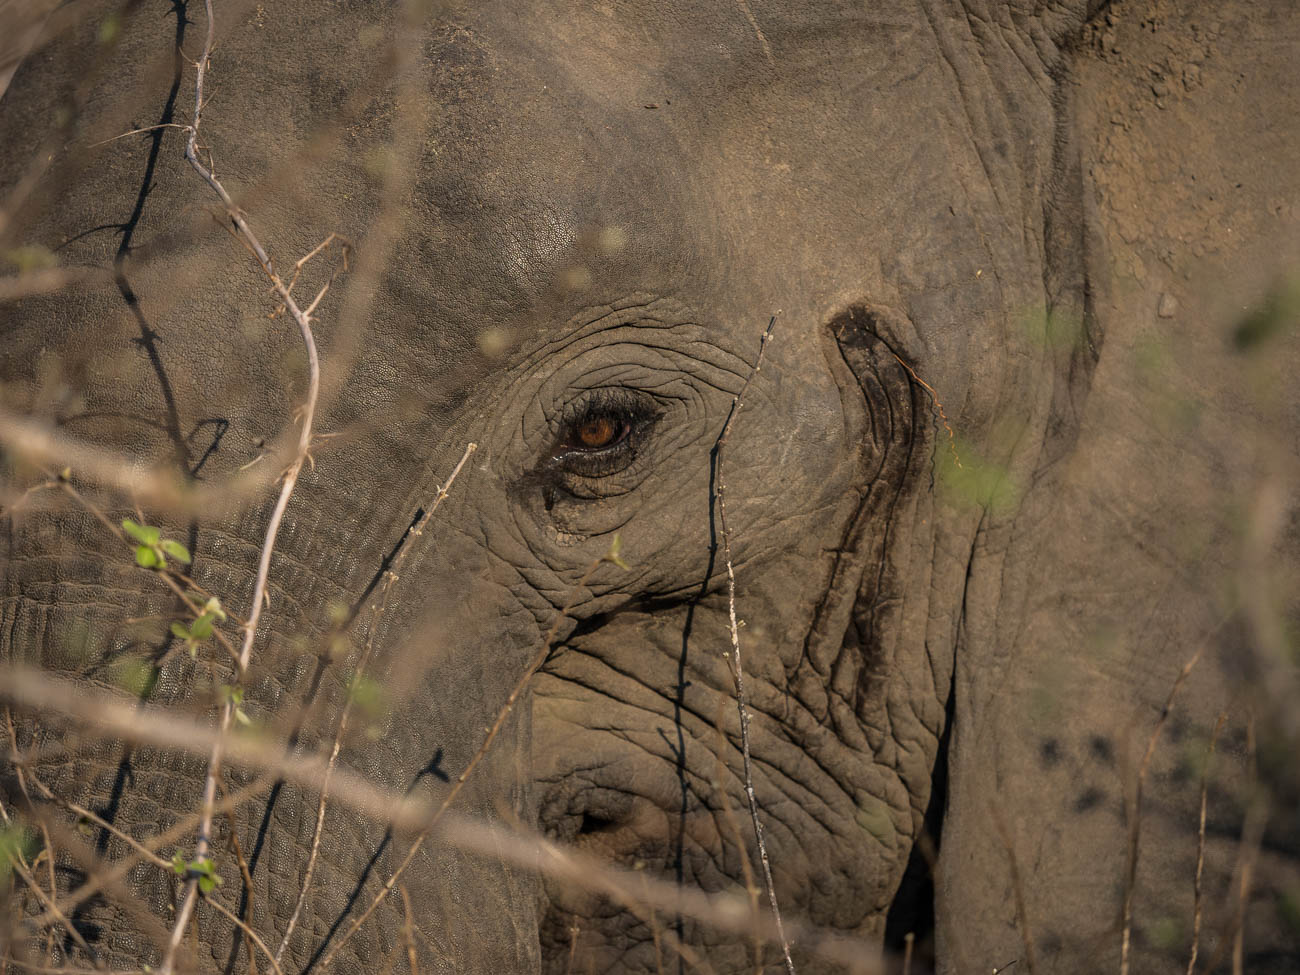
Another African Elephant

African Elephant in South Luangwa NP, Zambia. Click on the image for a larger view. Share this:
-
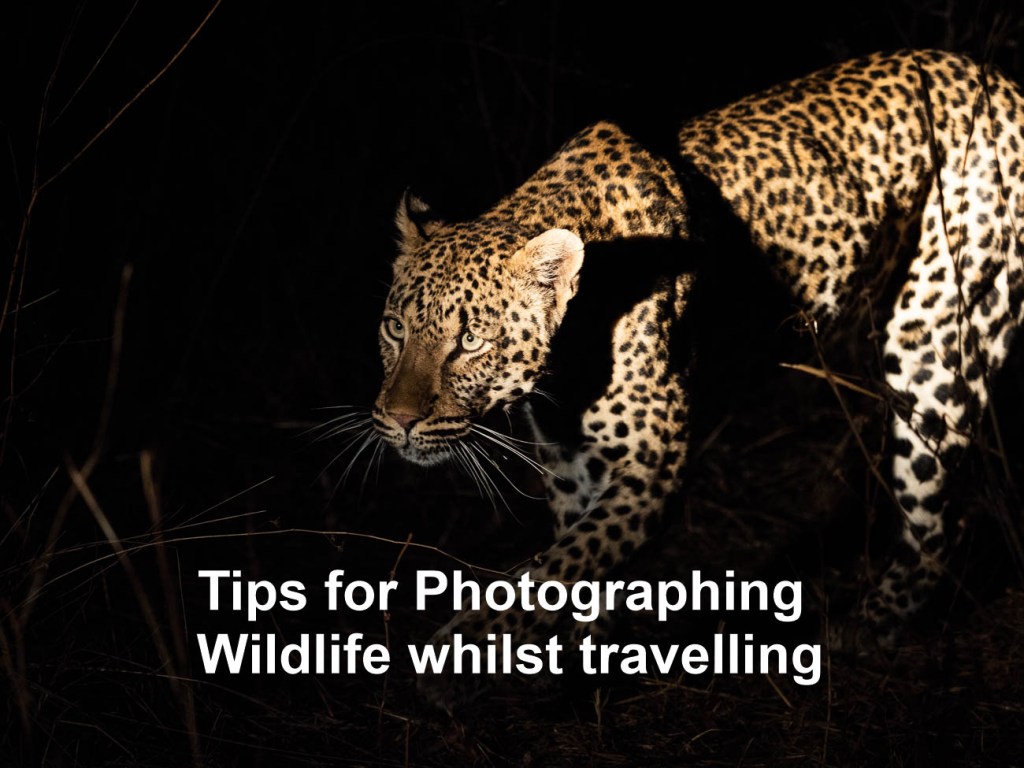
16 Tips for Photographing Wildlife whilst Travelling

Leopard stalking his prey in South Luangwa NP in Zambia In Tips to Prepare for Photographing Wildlife while Travelling I gave you some handy tips on preparing for photographing wildlife while travelling. Now it’s time to give you some tips on actually photographing wildlife whilst travelling.
So if you have read Tips to Prepare for Photographing Wildlife while Travelling you will know what sort of wildlife you may get an opportunity to photograph whilst you are on your travels.
As I stated in the previous article travellers like us will never reach the level of expertise of a wildlife photographer. Of course, if you aspire to be a wildlife photographer that’s different. But in general, there are photographers out there who specialise in photographing wildlife. They are meticulous in their preparation. They leave almost nothing to chance, have lots of patience and spend a huge amount of time trying to get that “shot”.
So now to the tips
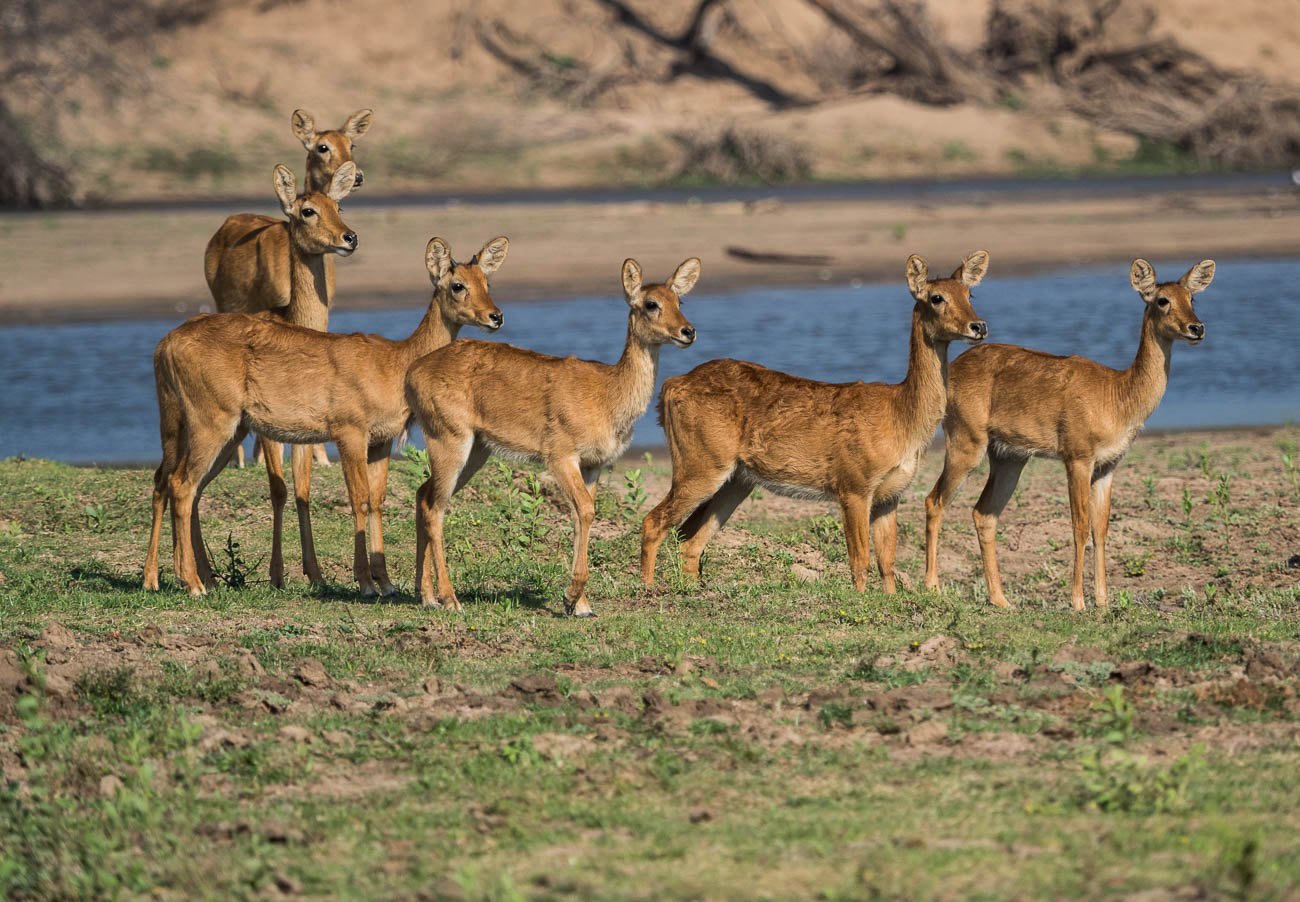
Puku near a riverbed in south Luangwa NP Zambia Basic equipment.
1. Zoom or Telephoto lenses. This is non-negotiable. Sure you can take pictures without a zoom if you have a long fixed or prime lens. But that’s restrictive as you can only be a set distance away. Having a long zoom of at least 300mm (in 35mm) gives you flexibility.
2. Either a DSLR or Mirrorless camera so you can swap out lenses. You also get better control of the exposure and focus with an interchangeable lens camera.
3. Smartphone? Well unless you going to get really close, which in most cases is not recommended, leave it for the happy snaps.
4. If you want to get serious get a fast write speed memory card. Nothing worse than shooting away only to find the camera is buffering.
5. Weather protector like a hood or a Rain and Dust Cover for your camera. Going on safari or wildlife spotting can often be dry and dusty or wet and raining. Don’t forget to protect the rest of your gear as well. Most backpacks come with rain covers that offer a reasonable amount of protection against both the rain and dust.
Settings:
1. Aperture Set to wide open (lowest F-Stop). And on Aperture priority (A). Why?
A couple of reasons:
You want to make sure that you eliminate any background distractions as much as possible.
You also want to allow plenty of light in. See also no 2.2. ISO
Set to auto
Even in the tropics or sub tropics, light can vary from bright sunshine to dark shadows. More often than not, animals tend to be in the shadows. Where it’s quite dark you may need to override the auto and set the ISO to an even higher setting.3. Shutter
As you should have the camera set on Aperture priority the shutter will take care of itself. Unless of course you are looking to try some advanced motion techniques which is outside the scope of this article.
4. Focus
Think you can take wildlife photos with your camera set to manual focus? Think again!
You need your focus set to auto. Animals are always on the move. Even if they are lying down, they can jump up quickly leaving you struggling to maintain focus on auto, let alone manual
Lilac breasted roller in South Luangwa NP Zambia 5. Frame Speed
Set your frame speed to continuous or sequential or whatever your camera’s equivalent is. You’ll need to do some controlled spray and pray in some instances.
Note: Check the camera default setting for continuous. I didn’t check the number of frames per second on a new camera. I ended up with 100 shots of an elephant hardly moving, as the default setting was 60FPS.Last tip: GET UP CLOSE
There are some basic rules in getting up close to wildlife:
1. Be very careful in choosing what wildlife to get close to. They are WILDlife which means they can be unpredictable. So stay safe
2. Where possible use a telephoto lens to get a close up shot.
3. Be quick. Wildlife is always on the move. If you are close you will need to have your wits about you. It’s easy to get distracted when you are behind the camera.
4. Consider using a shutter speed of 1/250 to reduce the chance of blur
5. As I mentioned in point 5 of the previous section, it’s worth setting your frame speed on continuous or sequential.
6. Sometimes the wildlife is behind a fence or in a cage, or you are the one in a cage or compound, as I’ve experienced. In these cases, it is possible to reduce or totally eliminate the wire of a fence or cage in a photo, by going up close. Same applies to any glass enclosures found mostly in Zoos. Get up close and have your lens, or lens hood, touching the glass to reduce reflections.

Hyaena in South Luangwa NP in Zambia Extra tip on this one is that you can also use a polariser filter to reduce reflections
For more about getting in close go to The One Big Creative Travel Photo Idea
Summary of 16 Tips for Photographing Wildlife whilst travelling
· Unless you are prepared to invest in a lot of time and patience it is extremely unlikely that you will consistently take ‘National Geo” quality photos
· For best results use an interchangeable lens camera with a Zoom lenses
· In most cases it’s best to have a wide-open aperture (small F-Stop), ISO set to auto, Focus on Auto and Frame speed should be set to continuous
· Get in close, if not physically then with your telephoto zoom lens
Thanks for reading this article
Do you see yourself taking some great travel photos that you can share or display?
Or can you see yourself reliving your travel experience by bringing home some emotive travel photos?
Maybe you aspire to getting your travel photos published.
If one or all of these is YOUR goal, I can help. Sign up in the box below to subscribe to my exclusive Travel Photo Tips Newsletter.
You’ll also get my free eBook “9 ways to improve your Travel Photography”.Remember if you want to take great travel photos
- that you can share and display.
- that help you relive your travel experience
- that give you a chance to have your travel photos published
then sign up below and subscribe to my exclusive Travel Photo Tips Newsletter and for your trouble get my eBook “9 ways to improve your Travel Photography”.
Share this:
-

Tips to Prepare for Photographing Wildlife while Travelling

Seals and Icebergs, near Sawyer glacier in Tracy Arm Fjord, Alaska. Click on the image for other viewing options. One of the most exciting and challenging genres is Wildlife.
When we travel, we often find ourselves in a situation where there is an opportunity to take wildlife pictures.
This is the first article of two about this subject.
Part two is Tips for Photographing wildlife whilst travelling.
This article offers some tips on the preparation for photographing wildlife while travelling.First things first
Before we begin.
It’s important to understand that there are photographers out there who specialise in photographing wildlife.
They are meticulous in their preparation and leave almost nothing to chance. Unless you aspire to be a wildlife photographer you will never reach their level of expertise. Sure, you might get lucky and get a great shot by being at the right place at the right time.
But in the main you will find wildlife photography disappointing if you think you can get a winner every time.It’s a bit like golf. Unless you practice continuously then most of your golf shots will anything from poor to just OK. What keeps you coming back is that one great shot you hit every 5th or 6th round.So it is with Wildlife Photography.
Wildlife photography takes a lot of patience, time and it has to be said, luck, to come home with some great shots. Animals are elusive and do not behave as you would like them to.
Having said all that, being on safari or a wildlife tour with a camera is an exciting experience. One that cannot be measured by the number of great photos you get.

Puffin in the Alaska SeaLife Center in Seaward, Alaska. Click on the image for a larger view and other images Some Basic Preparations
You should know beforehand, whether your destination will offer you the chance to take some wildlife photos.
Of course, if you are on the road without any thought on when and where you are going to travel to then that may not be the case.
So, here’s a few things to think about.
Equipment
Most of the wildlife is outside Europe and usually in a developing country or in areas that are remote and away from major population centres.
That means that often the only support for your camera equipment is what you take with you.
No good trying to buy a spare battery or memory card when you are in the Masai Mara photographing Lions.
That’s not to say that consumables like memory cards aren’t available.
They are, but they may have been sitting on a shelf in the heat for some time.
There’s also every chance that you will pay a lot more for them than at home.
Most photographic electronics are made to a high standard set by companies in developed countries. That can make them expensive elsewhere.
It pays to take the items with you I’ve listed in “Before setting off” section of The Travel Photographer Destination Guide Part Two.Destination
If you are going somewhere where there’s a good chance that you will be photographing wildlife, you need to do the research to find out the following:
How far away will the wildlife be?
On my visit to Yellowstone NP in Montana USA, I wanted to take photos of Wolves.
Whilst I did research and found out that they can be extremely elusive, I wasn’t prepared for how elusive. The only ones I saw were that far away, that you needed a strong telescope to see them.
There was no way even with the 200-400mm telescopic lens I had, that I would be able to take any photos of wolves that day.What’s the frequency of spotting wildlife?
Depending on your timing and budget it may be too difficult to see wildlife.
At certain times of the year in the African Plains the grass can be too long to see anything.
Some of the Northern American Parks are closed in winter. If not closed, restricted due to winter weather.
No good being in Churchill, Canada to see Polar Bears in summer. They won’t be there!Will I be travelling around the wildlife Parks in a group or can I use my own wheels?
There are two trains of thought on this.
I’ve done both.
Sometimes you have no choice but to go on a group tour.In Denali National Park in Alaska the only way to get into the Park is by a bus. You don’t have the choice of using your own transportation.
In some of the Southern African parks, like Kruger and Etosha, driving around in your ‘own’ vehicle is easy.How close to the wildlife will you get?
Using the Yellowstone example again. I had been used to photographing wildlife in Southern and Eastern Africa. There you can get up close due to the number of roads (tracks) that took you into areas where the wildlife was likely to be.
Not so in Yellowstone, there are only a few roads and places to stop.
Trying to get up close was not the same. You had to stop and wait for the Wildlife to come to you.What wildlife am I likely to see?
This is a big question as often this will dictate what equipment you will take.
Obviously, Africa has all the large animals.
But if you are going whale watching then that cranks it up a notch.
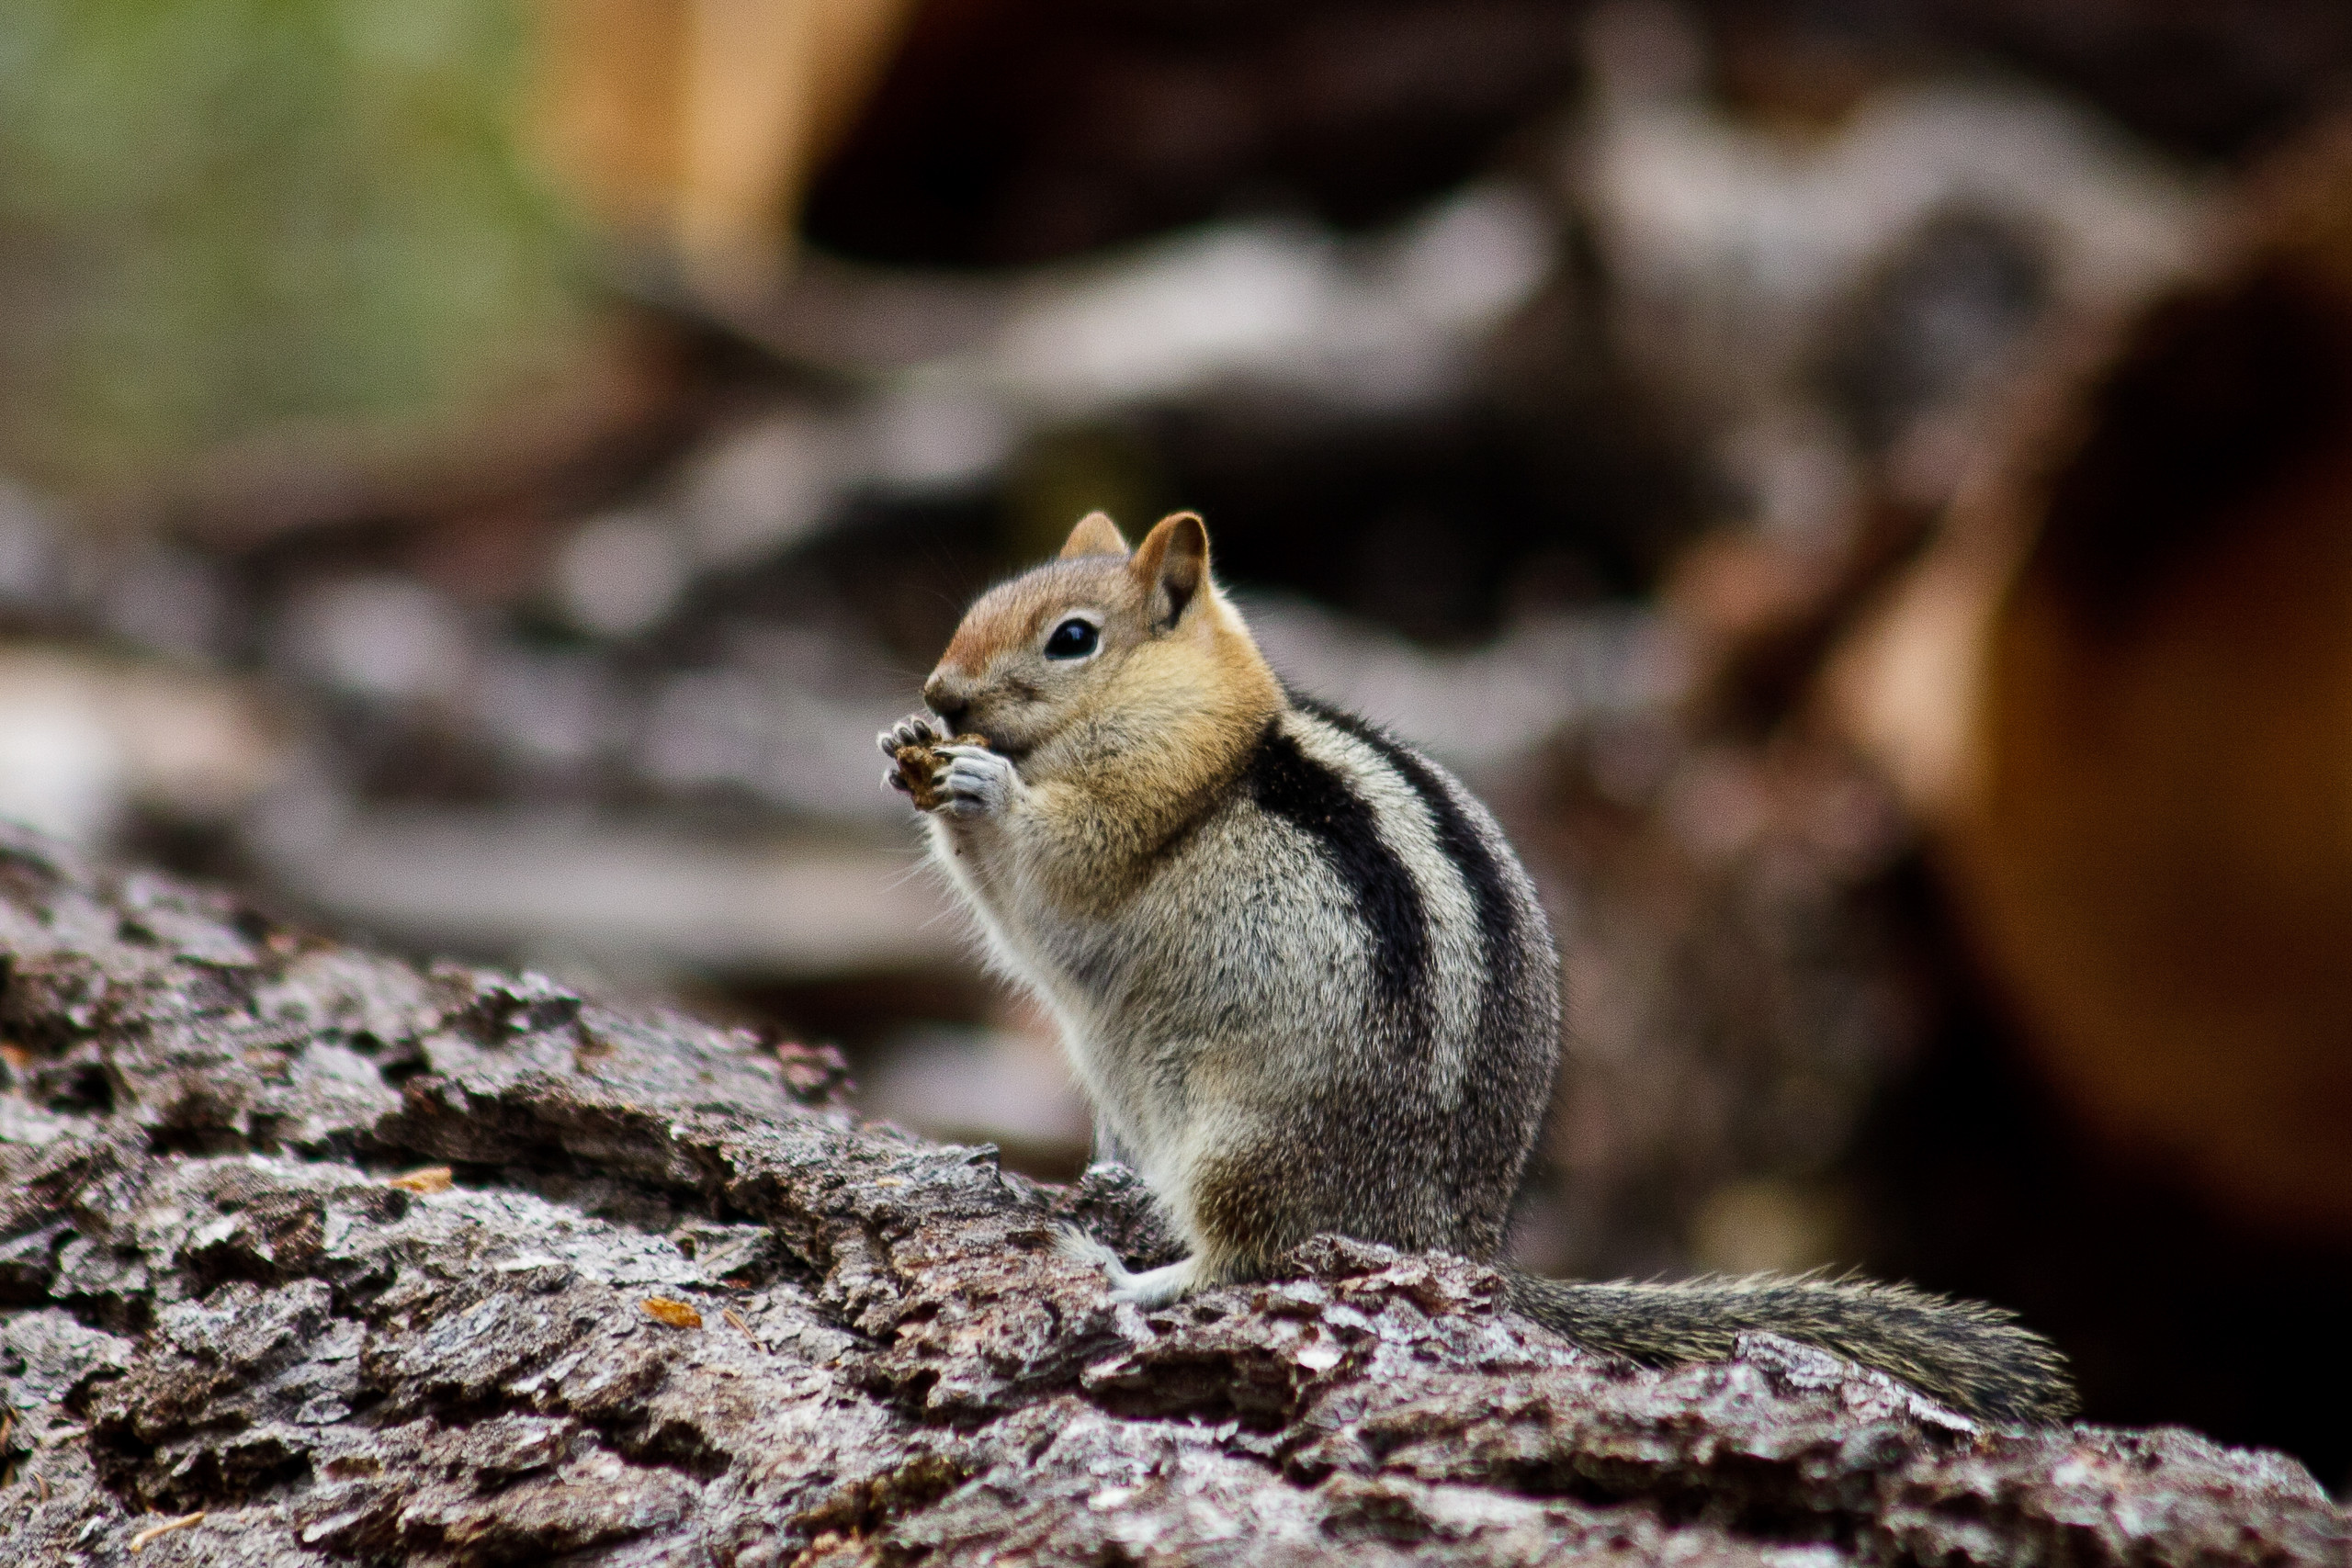
At the opposite end, Australia has some of the most diverse wildlife on the planet, but the majority is small and quite hard to see.
If you are into Birds and what to get some close-up shots, then you will need to plan accordingly.
Elephant in South Luangwa National Park in Zambia. Click on the image for a larger view and other images Summary for Tips to prepare for photographing wildlife while travelling
- Understand that being a casual Wildlife photographer does not mean you will get great shots
- Be patient and allow time to give yourself every chance to get good shots
- Take as much equipment that you think you will need with you
- Research your destination/s for Wildlife Photographic opportunities.
Thanks for reading this article
There must have been something that piqued your interest.
Is it that you see yourself taking some great travel photos that you can share or display? Or is it you can see yourself reliving your travel experience by bringing home some emotive travel photos?
Maybe you aspire to getting your travel photos published.
If one or all of these is YOUR goal, I can help.
If you sign up in the box below, you’ll get my free eBook “9 ways to improve your Travel Photography”. At the same time, you will also subscribe to my exclusive Travel Photo Tips Newsletter.Remember if you want to take great travel photos
- that you can share and display.
- that help you relive your travel experience
- that give you a chance to have your travel photos published
then sign up below and subscribe to my exclusive Travel Photo Tips Newsletter and for your trouble get my eBook “9 ways to improve your Travel Photography”
Next up: Tips for Photographing Wildlife whilst travellingAny questions? Please write your comments below or contact me here and please say hello at these places:
Facebook: Twitter: Instagram: LinkedIn:
Share this: