
In a recent post I discussed the Planning and Preparation for Travel Photos. Now we need to work out what we are going to do when we get there, hence The Travel Photographer Destination Guide Part One
So let’s get into The Travel Photographer Destination Guide Part Two
Reconnaissance
As soon as you get there you should familiarise yourself with your destination. You can start this as soon as you start to travel to your accommodation or first stop.
Talk to your driver about where you are and what areas you are passing through.
Ask what the weather is going to be like during the time you are spending there.
And don’t forget to work out where the sun sets and rises.
Of course, a lot of this info is available online or via an app but there’s nothing like getting it from the horse’s mouth.
Other information sources
There are other important sources of information like the hotel reception or concierge.
Then there are libraries and tourist information centres.
Tour operators can be a huge resource of information. Even you are not going on a tour they will have flyers that details their itineraries. I’m currently planning a tour of Japan using an ad from a tour operator that has details on all the places on the tour.
A great way of finding out where there are some great places to take photos are newsagents or souvenir shops. They almost always have postcards and calendars of the local areas
Browse through them and take a note (it may have to be a mental one) of which places interest you and the photos taken.
Not only are you on the lookout for places to photograph, don’t forget events like festivals, markets, shows, exhibitions etc.
Some of these may not be advertised, so you need to ask around wherever you are.
Places like coffee shops will have flyers or posters for what’s on.
Some towns and cities have a free newspaper that are for events. For example, in Perth we have the X-Press that comes out once a week and has details of all the music events happening.
And speaking of papers, most places still have community and mainstream print newspapers and magazines.
Remember just because it’s not online doesn’t mean it doesn’t exist.

Orientation
Where practical it’s often worth doing a city walk tour or a hop on hop off bus to get you orientated.
At the same time, you can take pictures along the way and then come back to specific spots with more time, later that day or at another time.
Again, you are looking for opportunities to get some great shots. A tour will help you understand when’s a good time to capture some photos.
If that’s too expensive and you’ve haven’t got wheels, then consider using public transport. There are often Bus or Subway routes that cover some of the major attractions.
If money’s not a problem, a taxi or Uber is another option.
Hiring a driver and a car can also be an option in some of the cheaper countries.
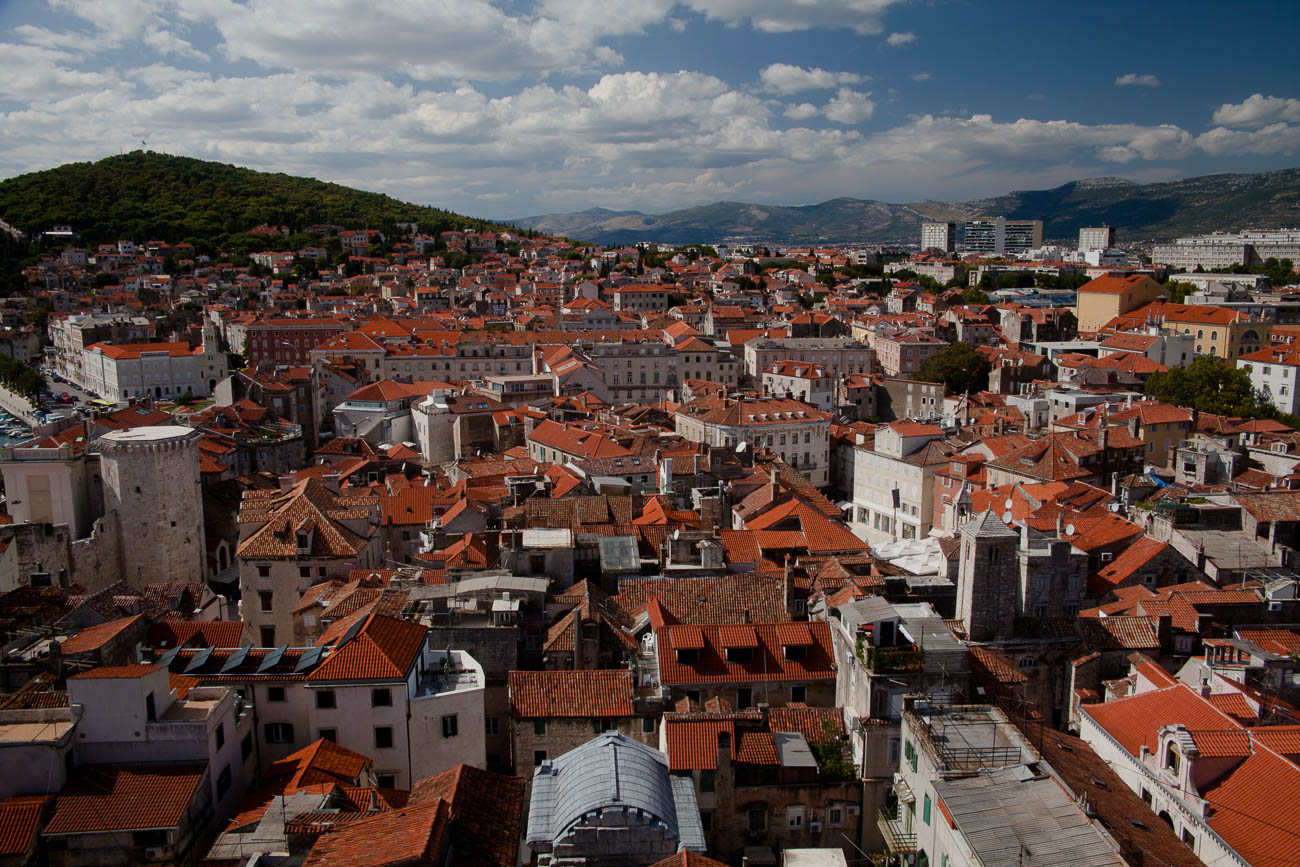
Lookouts
Another way of getting orientated is to track down vantage points like lookouts or viewpoints. Especially ones that overlook the area you are going to spend your time.
Lookouts are usually but not always at the top of a hill.
Some places have towers that have views.
Often there are monuments built on high ground that offer some great views as well.
You should be able to find out about these from your tourist literature or information office. However, sometimes they are not tourist spots and are for the locals. So, it may be worth asking, yes, you’ve guessed it, a local.
Copyright
Whilst you should have already done your homework on what icons have copyright restrictions, it’s worth double checking.
Not everything on the internet is accurate or up to date.
The last thing you want is a security guard or worse still, the police questioning you in public.
Local culture
Everywhere has its own culture. Whilst San Francisco may seem to be like Sydney on the surface, from a cultural point of view they are poles apart.
Some cultures do not want you to take pictures of its citizens or icons. Make sure you know this well before firing away with your camera.

Changing your plans
This has no doubt happened to you as it has to me. You rock up to an iconic building only to find it’s draped in sheets because it’s being painted. Or it’s closed due to some restoration works.
Last time we were in Dubai, there were four museums all closed, at the same time, due to renovations.
Other issues can be a new road, rail, subway etc etc blocking off what you want to see.
There’s not much you can do it about except be adaptable and flexible enough to change your plans at short notice.
Sometimes these things can end up being a blessing in disguise. An alternative subject could end up being something much more photogenic and exciting.
Having a routine
In my Planning and Preparation for Travel Photos article I mentioned that you will need to take into account your fellow travellers.
Whether they are family or friends and especially if they are not so enthusiastic about taking photos you need to involve them in your routine.
So, having a routine is especially important with others around and is also a lot harder.
There will be times of the day that you want to be out there snapping away. That may be late or early in the day to capture the ‘golden hour’ or to get some street shots. And that may well be the times of the day when your fellow travellers want to do something else.
Before setting off
Once you’ve worked out a routine, you need to ensure that you are always ready to go. Fluffing around trying to remember what you need to take with you when you go out won’t get you very far. It’s worth making a checklist of the items you need to have ready. One like this for instance:
- Batteries charged from the day before
- Memory cards backed up and replaced
- Camera clean
- Lens cleaned
- Bag ready with all items
- At least 16GB of memory ready to go
- Cleaning cloth
- Tripod
- 24-100mm Lens
- _ _ _ mm Lens
- Settings on camera ready to go (more on this later)
- Notebook and pen
And that’s the basics. You could add in guide book, map and apps required downloaded.
Setting off
Having the camera ready to take advantage of any opportunity is essential.
I will always have the lens on the camera that I think I will use.
Additionally, I will also have the lens hood screwed on and the lens cap off with the camera turned on.
Settings
If you have been taking travel photos for a while you should have some standard settings for the type of photos you think you will take.
As an example, if I were going to be walking around a city I would have my aperture set wide open e.g. F3.5 and the ISO set to auto.
If I was going to take landscapes, then the aperture would be around f18 or above to get that long depth of field. The ISO would be set at 100 or 200 depending on the light conditions and I may even have a polarising filter fitted.
As the Scouts say “be prepared”
Taking care of you and your camera
Your camera is precious but not as precious as you are. Be aware of your surroundings. Don’t step into the road to take photos without precautions.
And stepping on people’s feet can often lead them to get pissed off.
Trespassing is also something you need to avoid so that you are not wasting time in a police vehicle.
And don’t forget your fellow travellers.
Look out for them.
Make sure you are not ignoring them.
Get them involved even if they are not taking photos themselves. Everyone loves to see good photos so show them.
No harm in showing off and there’s also no harm in asking for their opinion or advice either.
But, yes, certainly take care of your camera.
One thing I have learnt over the years is that lens scratch easily, cameras don’t like being dropped and electronics overall don’t seem to function better after getting wet.
Back at the ‘ranch’
So, you’ve had a good day! You reckon you’ve got some little rippers of photos and now it’s time to chill with a beer.
Not yet!
Just like the saying the sale isn’t finished until the moneys in the bank, the day’s photography is not finished until you’ve backed all your photos up at least every other day, if not every day.
For this I am going to direct you to my article How to Back up your Travel Photos.
Summary – Part two of Travel Photographer Destination Guide
The first thing to do at your destination is a Reconnaissance, followed by getting as much information as possible.
Orientation is also important and the best way to do that is to get up high and do some local tours either by foot or by bus
Beware of local cultural and copyright sensitivities and restrictions
Be prepared to change plans at a drop of a hat and don’t forget to include your fellow travellers, (especially your partner) in your plans
It’s important to have a routine before setting off for the day. Make sure you have your camera equipment ready for use with all your settings back to your default for the type of photos you want to take.
Out on location, be safe and be aware of your surroundings.
Lastly, make sure you back up your photos at least every other night.
Any questions? Please contact me here and/or please say hello at these places:
Facebook: Twitter: Instagram: LinkedIn:
Feel free to share this to your social media of choice
Do you want to bring home great images from your travels? Want to stick ’em on your wall and share them?
Sign up below be the first to get content that helps you with your Travel Photography


Leave a comment