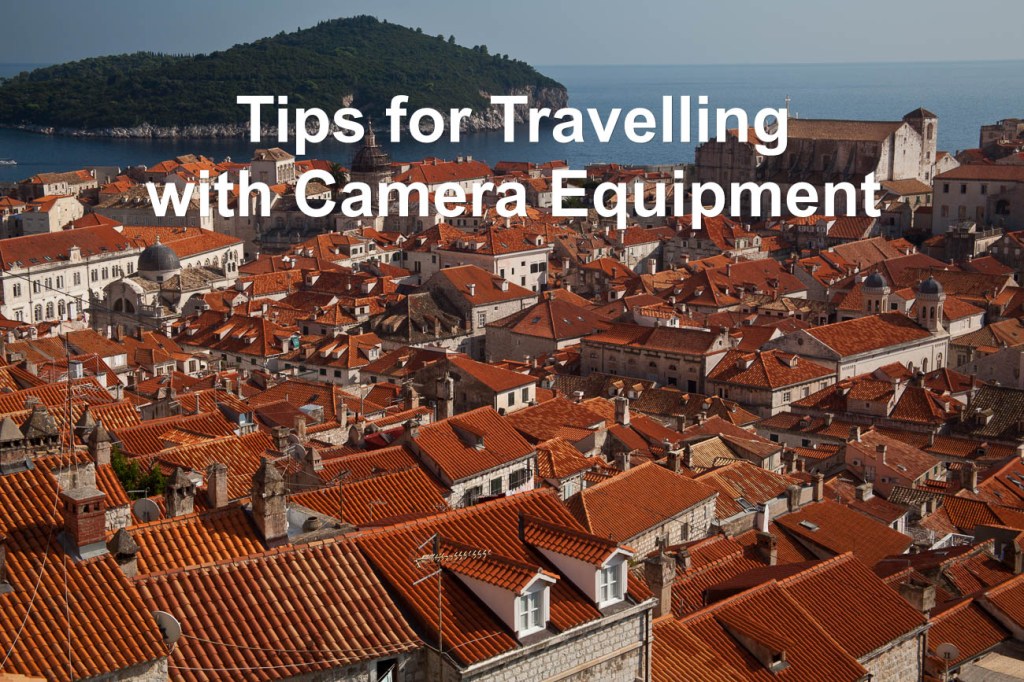

Travel Photography guide to Japan Part Two Kyoto and Hiroshima
In part two of this travel photography guide to Japan we go to Kyoto, Hiroshima and a couple of points in between as well as some general items to photograph.
As I mentioned in Travel Photography guide to Japan Part one you need to make sure you are prepared. If you haven’t read that article, I suggest you, at the very least, go and read the first section.
What will you see that you might want to photograph?
I travelled from Tokyo south to Mountains, Hiroshima and a few points in between before getting back to Tokyo.
The area I covered has a wide variety of different subjects.
This area, I’m led to understand is similar, with exceptions, to the rest of the country.
The following is by no means exhaustive. It’s the subjects that I found interesting from a photographic point of view. Others may have a different opinion.
I’ve only selected three items from each area that have some degree of photographic interest.
Kyoto
Kyoto is probably Japan’s jewel in the crown. It’s Paris or New York but on a much smaller scale.
Because of this you most certainly won’t be alone in wanting to capture all it has to offer. The tourists are many and the crowds are big but don’t let that put you off.
Kyoto is awesome!
Before I start on my suggestions on what to photograph. Let me suggest to you something not to photograph.
Geisha Girls!
Around the corner from Miyako Odori one of the theatres used for Geisha Dances we saw tourists at their worse.
The girls had finished their show and were walking out to either other shows or to live their own lives. Still in full dress they had cameras shoved into their faces and some were obviously distressed by this aggressive behavior.
I didn’t get any photos of them because of that and the fact that these aggressors were in the way!
So leave them be when there are lots of tourist around.
You will just be compounding the problems for all of us.
Onto my suggestions of what to photograph.
Ponto-Cho area
Ponto-Cho is a small pedestrian street alongside the main canal and whilst it’s pretty during the day when the cherry Blossoms are out, it comes alive a night.
The whole area is a fairyland of atypical Japanese buildings and narrow streets, especially across the canal in Gion.
The best time to take images is at dusk or after dark. So you will need to make some compromises on whether you risk ‘soft’ images due to camera shake or have a bit of graininess in there, some of which can be removed later.
It’s really all about architecture, people and culture.
Fushimi Inari-Taisha
South of the city itself is a little gem of a vast shrine complex.
There around 10000 shrine gates (torii) that straddle the paths that lead up the mountain to different shrines.
All are painted in Vermillion Red and you can spend hours here photographing different angles of the architecture of the gates, shrines, graveyards and other buildings.
You may also get lucky and see priests conducting ceremonies at the actual shrines.

Arashiyama Monkey Park Iwatayama
I’ve put this in to give some variety.
Architecture, people and culture are great but sometimes you need a break from photographing these subjects.
And what better way than to photograph Snow Monkeys.
It’s a steep climb up to where most of them are but you also get the bonus of some great views across Kyoto when you get there..
So, it’s wildlife and landscapes form the Monkey Park.
Additionally there is also the famous Golden Temple but you won’t have much time to photograph that as they move you through pretty quickly so I’ve left it out.
But it’s still worth a visit.
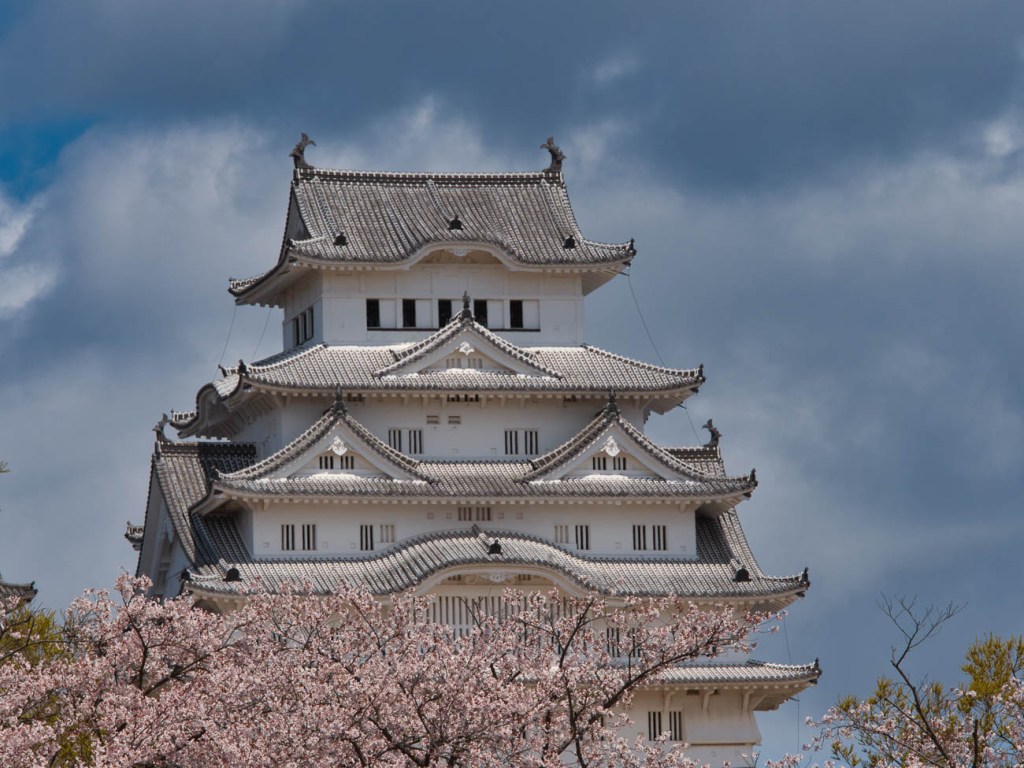
Himeji
A day trip from Kyoto or a stopover on the way to somewhere else, Himiji is all about the castle.
The outside of the Castle is extremely photogenic and if you catch it on a clear day it’s a sight for sore eyes.
The interior is not so photogenic, so you are better off zooming in to capture small points of interest.
Next door is Koko-En, reconstruction of a Samurai quarters.
Well worth a visit as it’s all about gardens and culture.
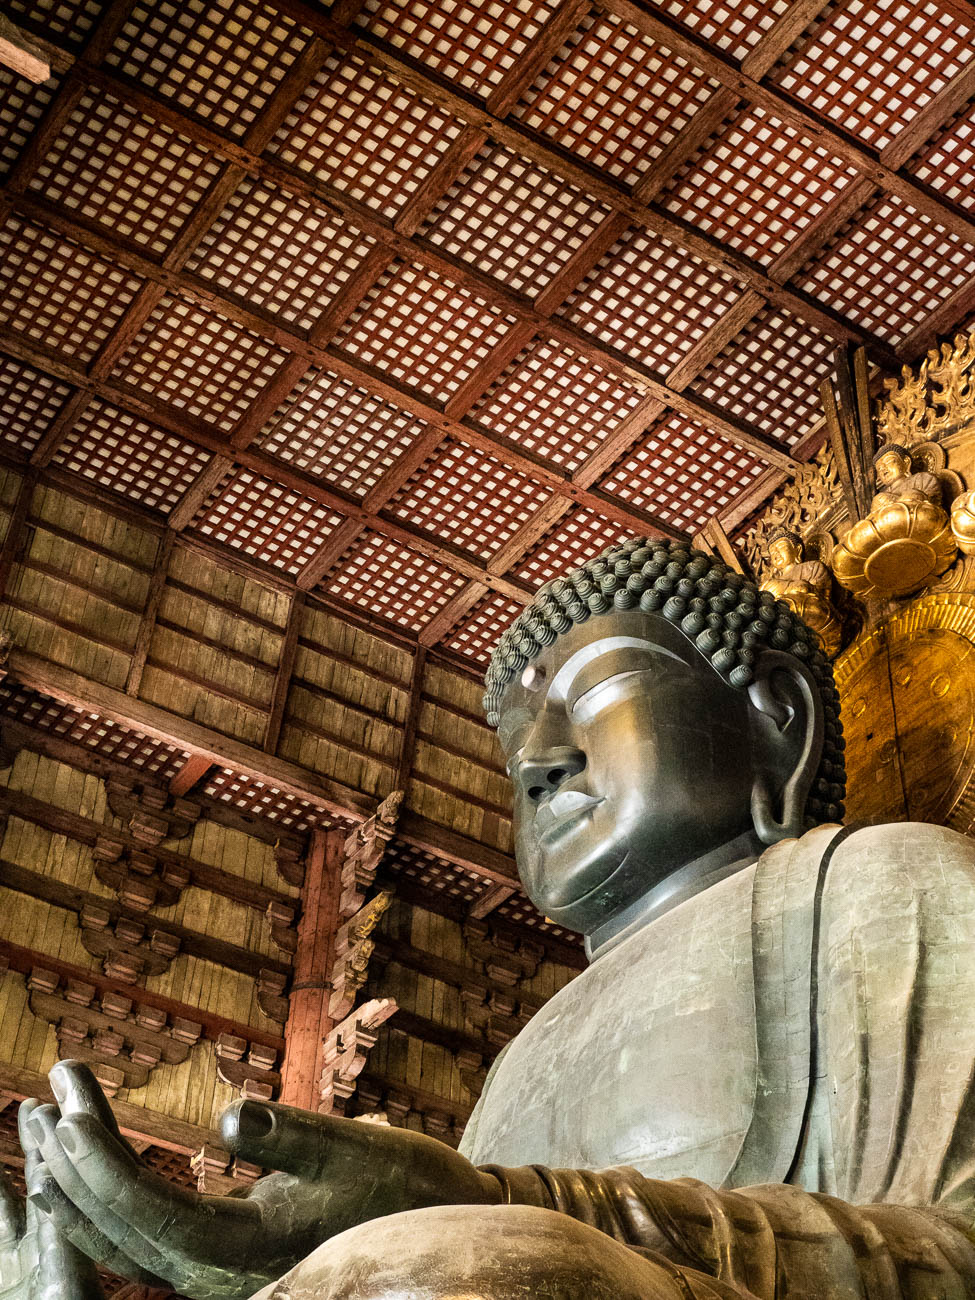
Nara
Again, a day trip from Kyoto.
Its main attraction is Todai-ji a temple which houses the great Buddha.
There are other sights and there is around 1200 deer there as well.
So it’s really all about architecture, culture and little bit of wildlife if can’t help yourself and want to take pictures of bambi.
Hiroshima
There is lots to see and do in Hiroshima. But I’ve concentrated on 2 sights
Peace memorial Park and surrounds
Photography aside this is a sobering and confronting area.
There are a few memorials in the park and a museum.
There is also what’s left of a building called Atomic Bomb Dome.
Light is important here as the area lends itself to dawn and dusk light.
That’s not to say you can’t take pictures during the rest of the day as there is plenty of shade from the trees in the park.
Miyajima
A lengthy ferry ride from Hiroshima is the island of Miyajima one of Japan’s most popular tourist spots.
There are lot activities available there but from a photography subject point of view, there are two main attractions.
- The Torii (shine gate) that sits in the water.
Depending on what time of day you get there, you may well have to queue to take the popular front on view.
Take that one but also look for side views and reflections. - Misen at 530M is the Mijajima’s highest spot and you can get there via ropeway and a bit of a hike.
Terrific views of the ocean and mountain ranges beyond are worth the trouble.
After you finished go find the Miyajima Brewery.
Great beer with water views and nice food.
Summary for Travel Photography Guide to Japan Part Two Kyoto and Hiroshima
- Kyoto is Japan’s tourist equivalent to Paris, New York or London with some much diversity
- Himeji and Nara make for great photographic stopovers.
- Hiroshima is a thought provoking and promotes a different type of photography. Don’t forget to get to Miyajima
Make sure you check out the Lonely Planet guide to Japan and the Japan Visitor Centre for some great travel info.
Thanks for reading this article
Do you see yourself taking some great travel photos that you can share or display?
Or can you see yourself reliving your travel experience by bringing home some emotive travel photos?
Maybe you aspire to getting your travel photos published.
If one or all of these is YOUR goal, I can help. Sign up in the box below to subscribe to my exclusive Travel Photo Tips Newsletter.
Remember if you want to take great travel photos
- that you can share and display.
- that help you relive your travel experience
- that give you a chance to have your travel photos published
then sign up below and subscribe to my exclusive Travel Photo Tips Newsletter.