An Introduction to Travel Photography
Definition
According to Wikipedia the definition of Travel Photography “is a genre of photography that may involve the documentation of an area’s landscape, people, cultures, customs and history.
The Photographic Society of America defines a travel photo as an image that expresses the feeling of a time and place, portrays a land, its people, or a culture in its natural state, and has no geographical limitations.
There are other definitions but those two pretty much nail it.
History
Travel Photography, unlike most other genres is a later addition to Photography.
When Photography was first invented in the early 1800’s few people travelled and for the next few generations any who did were only the wealthy ones.
The major pioneers in travel photography were explorers who wanted to visually document their experiences whilst exploring.
But you had to be keen as they had to carry the bulky equipment.
Not only was the camera equipment itself heavy but, as the frames needed to be developed almost immediately, the photographer needed to have a darkroom and enough chemicals for a small laboratory.
Of course that all changed when Kodak invented a camera that used a roll of film and then introduced the Kodak Brownie.
Almost immediately photography was a lot more accessible and therefore popular with explorers and traveller alike.
But it wasn’t until colour film was introduced that travel Photography became a mass media.
Even then not everyone had a camera or if they did they didn’t use it whilst travelling.
Digital photography changed all that. And then Smartphones come along.
Now anyone who steps outside their door takes pictures.
We have millions of images of exotic and not so exotic locations being circulated by social media and other forms of communication.
The Travel Experience.
It wasn’t until I went travelling that I took an interest in Photography.
It was to be a 7-month trip around the world and I felt that we needed to document, as well as we could, our experiences.
So it was I had 2 very different skills to learn, how to travel and how to take photos of my experiences. It was a challenge, but it was one that I learnt so much from.
That’s the beauty of Travel Photography. Yet, there are times when you must forget all the techniques and the technical stuff and be in the moment of the experience.
Knowing when to take that shot or not is a skill in itself.
That too me is what Travel photography is all about.
Genres
Of course, when you travel there are lots of subjects that you will want to take photos of:
Landscapes, People, Festivals, Entertainment, Urban, Food and Drink and Wildlife are the most popular.
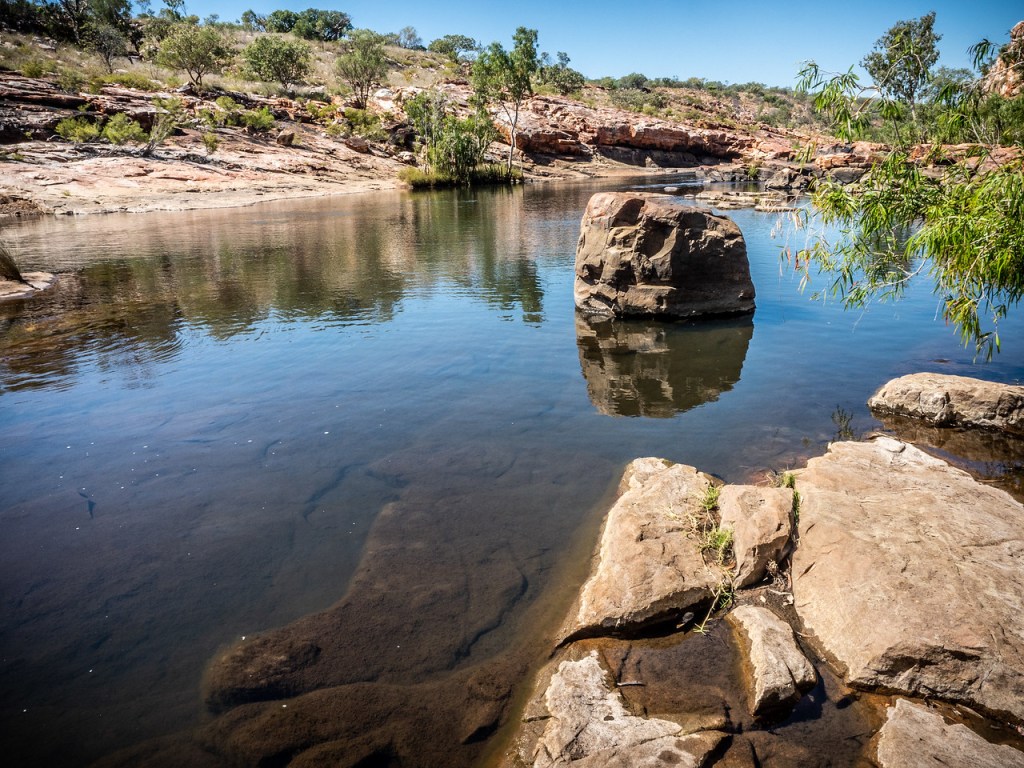
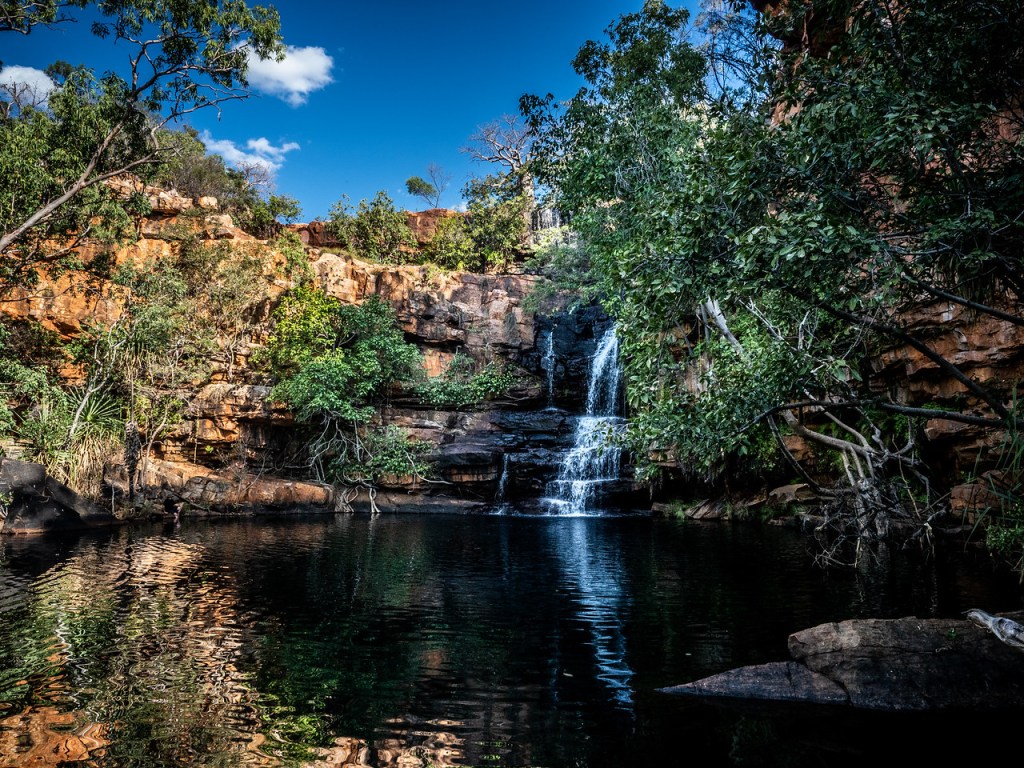
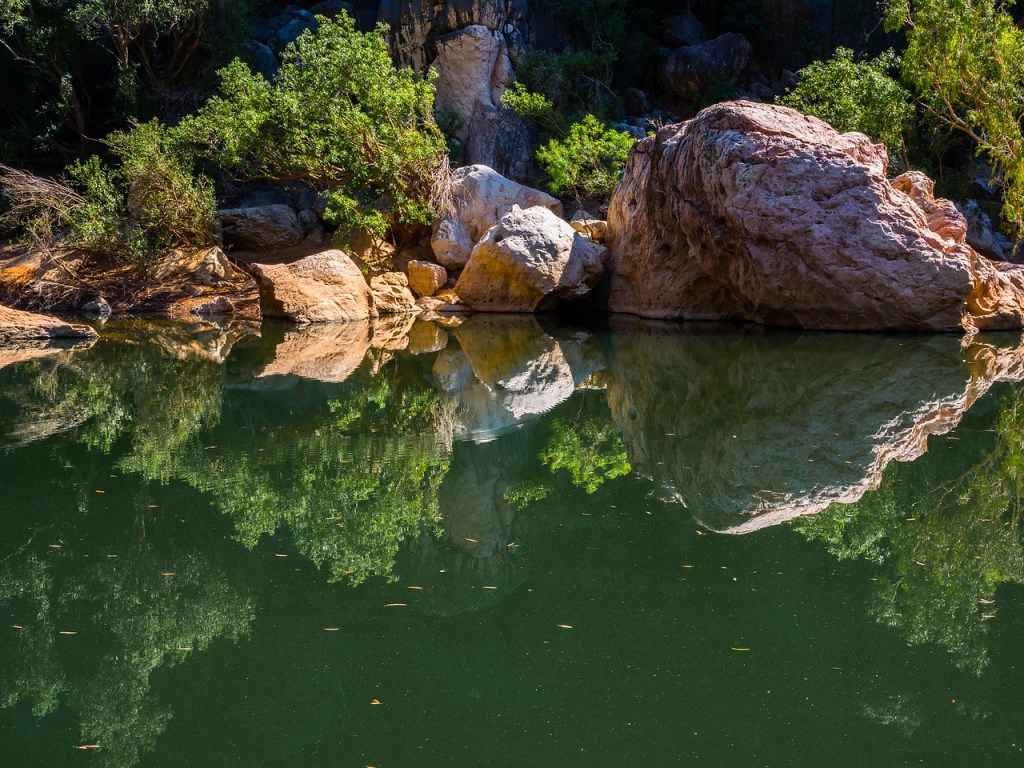
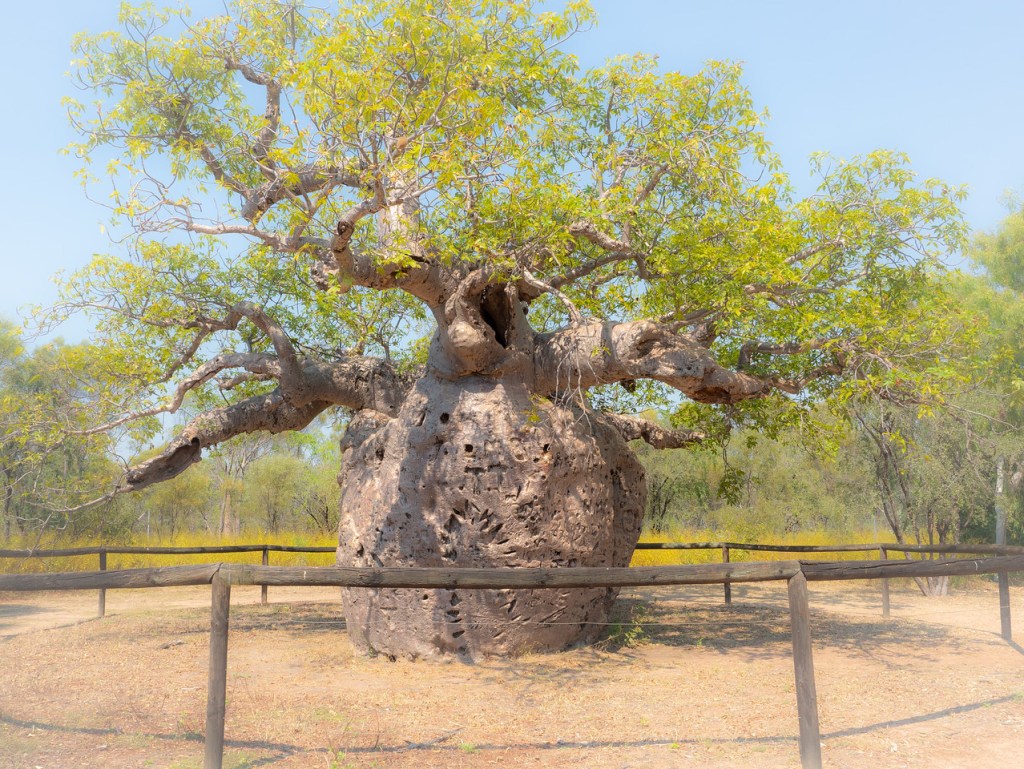
Landscape
Landscape Photography is taking images of usually the area in front of you.
That can be a mountain range, a field of flowers, the desert, pretty much anything that is of a natural beauty.
Some manmade objects e.g. a lakeside house or a sailing boat can help with context.

People
Always a difficult one to get right. People move, blink, frown and often, whether posed or not, can assume unflattering positions.
Taking portraits in different cultures are a great way to get to know locals and customs.
We are all fascinated by the daily life of those in other countries. Travel Photography gives you the option to capture that.
Festivals
The Colour and movement of some of the world’s most famous and not so famous festivals can make great photos.
Even the local fete can offer some interesting character or scene shots
Entertainment
Shopping in the market, Music and Theatre performances are two events that come to mind when taking photos in the field of entertainment.
But there is also sporting events like a game of footy or nightlife. The latter being particular challenging due to the lack of light.
Urban
What is urban? Good question! I guess it’s Street Scenes, Street Art, Sky Lines, Architecture, both inside and outside and even Light Shows.
Food and Drink
There are many food and drink situations. You may want to take some photos of where you are, what you are doing, eating or drinking.
In a restaurant, a winery, in a field or at the market.
Food and Drink is quite a diverse genre. But it can also be the most creative and satisfying, especially if you are having a great experience at the same time.

Wildlife
Who doesn’t want to capture that great shot of a Lion or Leopard in the wild somewhere in Africa.
But there is more to it than the big 5 (the big 5 is Lion, Leopards, Rhino, Hippo and Elephant).
Even going to a Zoo or Sanctuary can provide some great photographic opportunities.
There are various types of environment for grabbing a shot or 2 of wildlife. Marine, Forests, National Parks even the Urban Environment can have wildlife.
But be wary of two things, firstly your safety is paramount, don’t be that person who steps outside the car in a Lion park.
Secondly, wildlife photography is challenging.
There are photographers who have devoted their lives to taking great wildlife shots. They will spend days even weeks waiting for that ‘one’ shot.
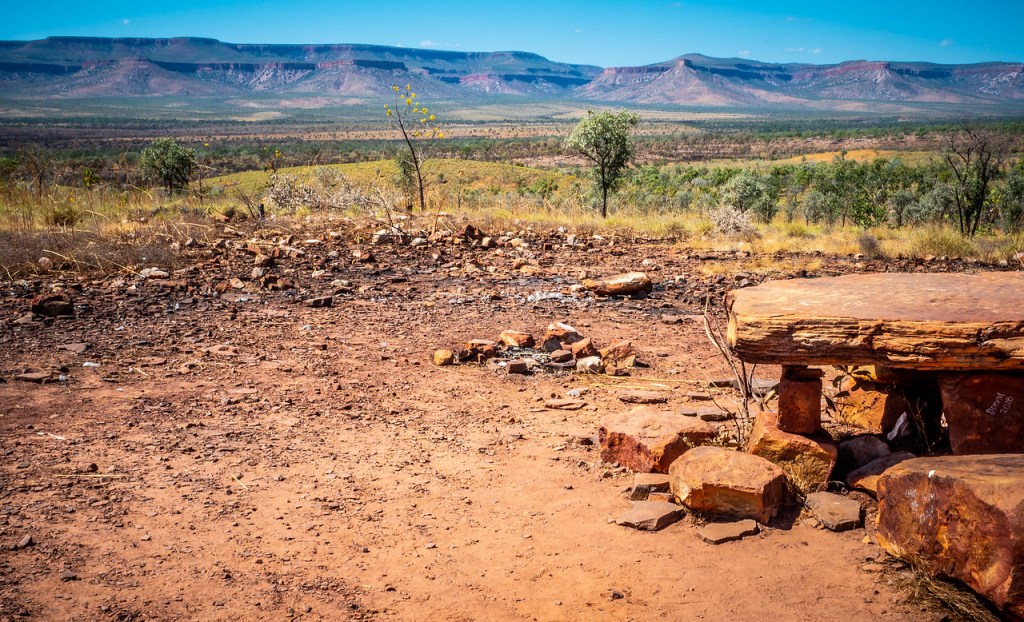
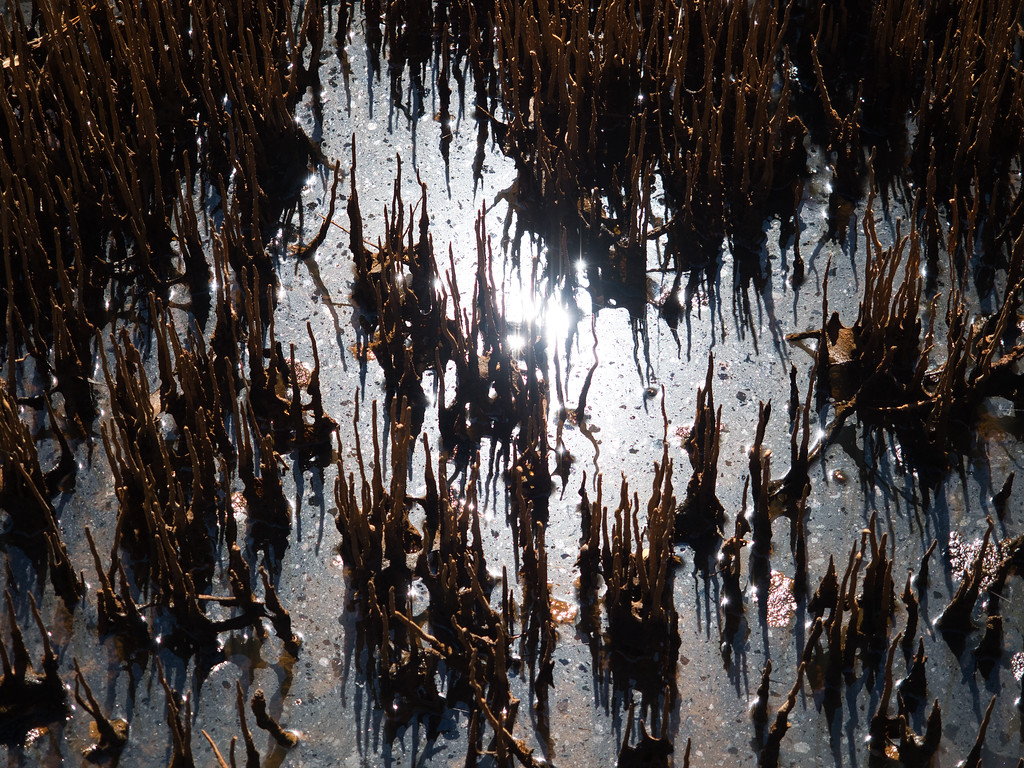
Mother Nature
Travelling over time means you will experience all types of weather which can make it difficult to use your camera equipment.
Rain, Heat, Cold, Snow, Dust they are a few extreme weather extremes that we all will experience in our travels.
But even though taking photos in such conditions will take you out of your comfort conditions, often it will be well worth it.
So, don’t run for cover (unless of course your life is in danger) embrace the challenge.
Copyright
By copyright I don’t mean your copyright. More and more their famous landmarks (and People) want to control their image.
For example, under French law it is illegal to take photos of the Eiffel Tower’s light show at night.
Of course, we’re not all going to check on every possible landmark but it’s worth a quick google on a big-ticket item.
Photography Techniques
So you now you know the sort of experiences that you will want to document visually, how do you do it successfully?
Well firstly, you will never stop learning! I’ve been shooting for 22 years and I’m still learning.
That’s not to say you can’t learn to take good even great pictures straight away on your travels.
It takes time to know what to do in certain situations and as you have seen there are many genres that make up Travel Photography.
I hope that this will motivate you to read more from this site and support some of the manufacturers or service providers that I recommend to help you.
Additional skills
Of course, it’s not all about techniques and composition.
If you want to take Travel Photography seriously you need to also be prepared some of the time to:
Plan but be flexible
Be reasonable fit, so that you have the energy to walk for hours at a time
Be Patient enough to wait for the right moment to get that shot.
Develop good social skills so that you can converse with many people, often in a language which you can’t speak
Be creative
Be open to sharing. After all it’s no good taking photos if no one is going to see them!
In Summary
This introduction to Travel Photography should give you a taste of what’s involved in improving your travel or holiday experiences.
You can see that gaining the skills that allow you to take good or, indeed, great photos will help expand your travels and give other people pleasure.
Travel Photography is about the gear, the composition and being creative
But it’s also about being in a place that’s not your home, adding depth to your experience and bringing home great photos that will live with your memories for a very long time!
Just click on any of the above images to view a larger version and for other options