Katin Images Travel Photography

Travel Photos, Travel Photography Tips and Software

Tag: camera shake

  • The basics of camera equipment – Best camera equipment for travel photography

    The basics of camera equipment – Best camera equipment for travel photography

    “If I could tell a story in words, I wouldn’t need to lug a camera” Lewis Hines

    Lewis’s quote is relevant to most of us these days.
    It’s far easier to document something visually than to describe it in words.
    But to do it well and consistently you do need a ‘decent’ camera. 

    Despite those who say its’s not about the gear, you need a camera that will suit your style and objectives.


    So, if you’ve read my last 2 posts: An Introduction to Travel Photography and Different types of Travel Photography, you are probably wondering what is best camera equipment for travel photography.
    Or maybe you are not.
    Either way, when you are travelling or going on holiday, you want to come back with photos that you are proud of.
    So it’s worth the 5 minutes of your time to read this.

    Smartphone Cameras

    These days everyone gravitates to their smartphone for most pictures. 

    Originally, they were mostly used to document items, like a sign or an extract from a newspaper or even a product you were looking to buy. 

    Only occasionally were they used for happy snappies or selfies.

    Fast forward to today and most smartphones are used for selfies first and then general photos of all types second.
    On my travels, I see lots of people using their smartphones to take travel photos.
    But are they the best camera equipment for travel photography?

    Smartphone Capabilities

    Today’s smartphone cameras are better than some of the compact cameras that have been or are available.

    But, and you were waiting for the but, weren’t you? They are limited. 

    Think about it. Physics dictates that, whilst lots of things are becoming smaller and retaining quality, optics are still a way behind.

    A smartphone camera has a small lens and that means you are restricted on what it will do well. Especially compared to mirrorless or a DSLR camera. 

    Even with the new software and multiple lens of the latest offerings you still have limitations.

    If you are happy with that, then that’s absolutely fine. 

    But if you want more flexibility, then consider either a mirrorless or a DSLR.

    What a smartphone camera can’t do well.

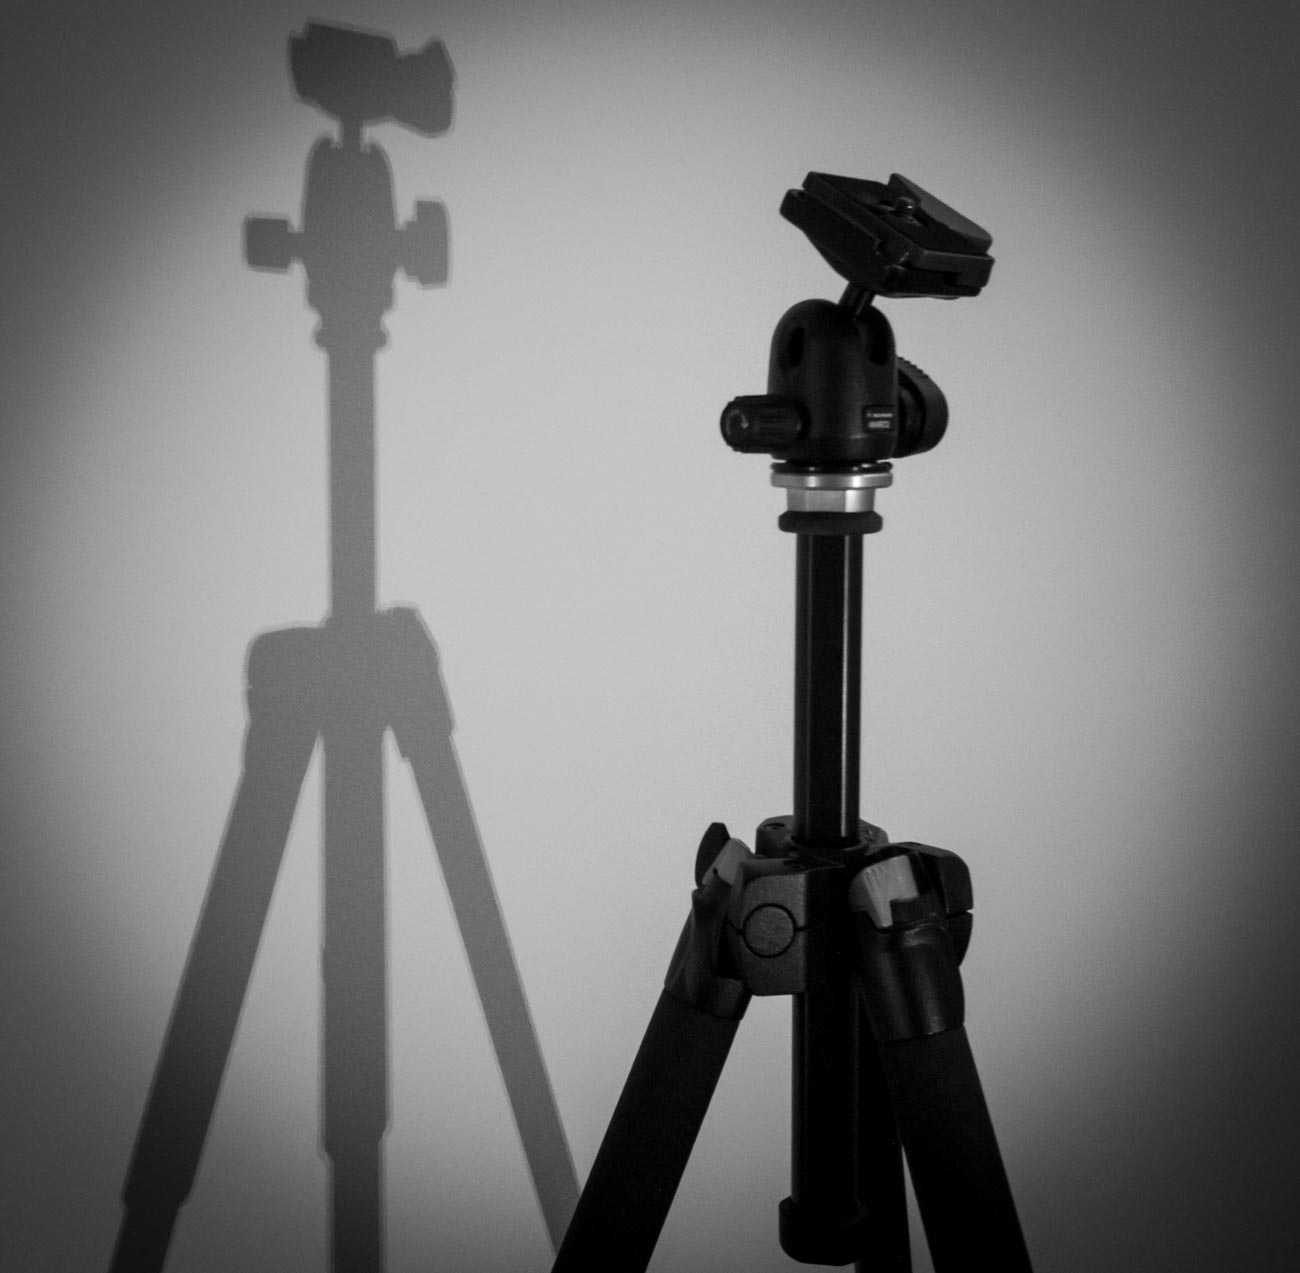
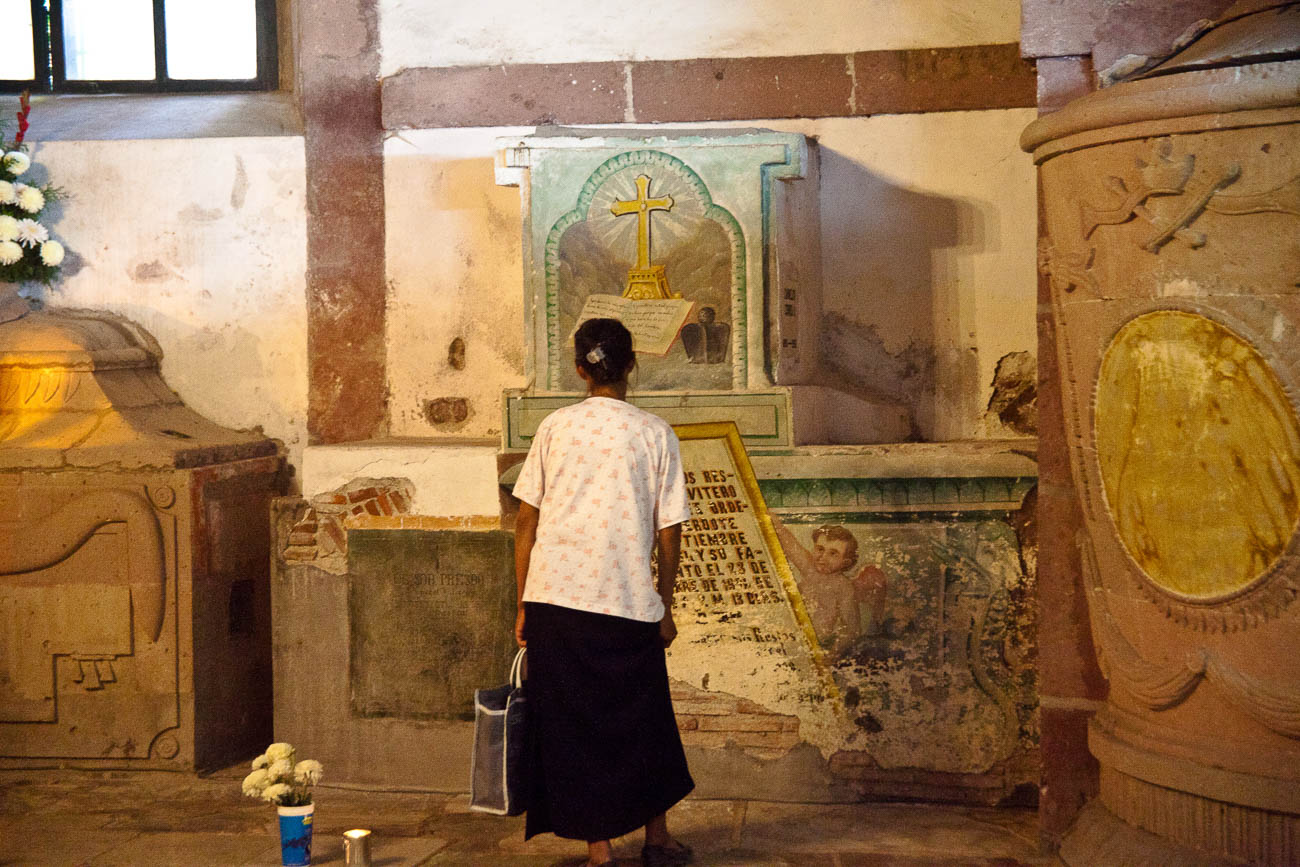
    Well the first thing is it doesn’t perform well in low light. Let’s say you are taking photos with a Smartphone Camera inside a Basilica somewhere in Europe. Unless you are using a tripod, which is often banned in some public places, you will find your images will appear blurred. That’s camera shake. 

    For more about that go to 5 Ways to Eliminate Camera Shake and How to hold a camera correctly

    Even if you are using a tripod, Smartphone Cameras find it hard to replicate the details in low light. 

    Now I know that will improve and I understand that the Samsung S9 is a lot better in low light than previous models.

    But unless you are on a plan that allows you to get the latest model, you will have to find at least $1000.00 to get that in your hot little hands.

    Half of that will buy a camera that will perform much better. 

    Of course, it won’t have a phone or the rest of your life in apps like email, internet, health and fitness etc. etc. 

    But it will mean you have options.

    Women grieving in San Miguel de Allende's parroquia crypt
    Women grieving in San Miguel de Allende’s parroquia crypt

    Optical and Digital Zooms

    A smartphone struggles when zooming in, losing not only quality but also resolution. 

    That’s because it is a digital zoom not an optical one. 

    The difference? 

    Well, a technical explanation is not what I want to give you. But I will give you an analogy. 

    It’s the difference between cropping an image on your computer screen to a smaller picture size. For example, a photo that measures 1000 x 1000 becomes 500 x 500 Pixels. Zooming in optically retains the size and therefore the resolution.
    Why should you care? Well cropping digital images means to see it at a good size or to print it you must blow it up and that’s when you see the faults. 

    As the technology of these cameras improves there won’t be such a differential between larger cameras and smartphone cameras.

    Having said all that if you want to just take a smartphone camera with your and nothing else then knock yourself out. 

    Just be aware that you are restricting yourself. So my advice would be to concentrate on taking photos of subjects that a smartphone cameras do best.

    Compact Cameras

    Ok so now I’ve dismissed your idea of only having a smartphone, what is the best camera equipment for travel photography?

    Well if we start at the bottom. Compact cameras are generally the same these days as smartphone cameras. So there’s no point in you taking one of those. Unless of course you don’t have a smartphone.

    However, having said that, there are a few high end compact cameras that have great optics and sensors. Ones like the Sony Cyber-shot DSC-RX10 III and Fujifilm X100F come highly recommended but will set you back $1100.00 plus. See DP Review’s take on it.

    Mirrorless Cameras

    After those we are looking at Mirrorless or Micro Four Thirds cameras. 

    What is a mirrorless camera? 

    Well DSLR’s have a mirror protecting the sensor. 

    When you are looking through the viewfinder you are actually seeing the mirror which is reflecting your subject to your eye. When the shutter button is pushed the mirror lifts up and exposes the sensor to light and the subject. 

    Having a mirror takes up space and so nearly all DSLR’s are quite big, chunky and relatively heavy. 

    The mirrorless cameras don’t have a mirror – hence the name “mirrorless”. 

    Not having a mirror reduces the size and weight of the camera body. 

    Now I could go into lenses etc now, but I’ll cover that in another post.

    Different types of Mirrorless Cameras

    Not all mirrorless cameras are equal though. 

    Some have larger sensors than others. 

    That doesn’t mean that the larger the sensor the better the quality. But it does mean that it correlates to the size of the lens. 

    So, the larger the sensor the more likely the lens will be larger and heavy.

    Mirrorless cameras do give you a lot more flexibility than compact or smartphones. Because they all have removable lens you can vary your lens according to the subjects you want to photo.

    And as I’ve mentioned they are much smaller and lighter than most DSLR’s, which makes them more ideal for Travel.

    DSLR Cameras

    So, what about DSLR’s? Well in most people’s eyes DSLRs are synonymous with quality.
    When I take out my DSLR, I get lots of people comment on how I have such a good camera, so “I must take good photos”.
    The only comments I get on my mirrorless is that they look “cool” as they have a sort of ‘retro’ look. 

    These days with, the exception of the very high-end models, differences in quality between both types are negligible. 

    Personal choice. 

    I do like the feel of my Canon 5D MKII and I often use it for local shoots. 

    But when it comes to travel that’s when I reach out for my Olympus OMD1 MKII. 

    It’s so much lighter and even with the pro lens I have, it takes up so little space in comparison.

    Of course, if money is no object then the Leica models are lightweight and small and come with fantastic quality. Or if you don’t mind lugging around a big DSLR then the high-end Canon or Nikon cameras will also give you great quality. 

    But with both you will need to use the same wheelbarrow that you carried the money to pay for them, to carry them around.

    Tour de Mont Blanc Path near Les Contamines, France
    Tour de Mont Blanc Path near Les Contamines, France

    Conclusion

    It’s often quoted that the best camera equipment for travel photography is “the one you have with you”. 

    But I would challenge that. Unless you are travelling to the same destination over and over again, it’s quite likely that where you travel to next will be a once in a lifetime trip. 

    Do you want to trust your photo creation equipment to a restricted device when there are so many better options on the market today?

    For more about buying a new camera check out these posts:

    Why selecting a new camera is like selecting a new date (or TV)

    Buying a new camera? Then read this

    Why having the right camera equipment is important – or is it?

    Buy a Camera in 15 minutes with these 5 Questions

    Plus if you want to know more about the features of a camera then you can download my free

    Camera Features Guide

    Just click on any of the above images to view a larger version and for other options

  • 10 Vital Facts about Camera Shutter Speed

    10 Vital Facts about Camera Shutter Speed

    In 10 Vital Facts about Camera Aperture I wrote that “The aperture of a camera is the centre of the photographic universe – well maybe – the other centre, as some would argue, is the shutter.” 

    Let’s go to the other centre of the photographic universe, the Shutter and specifically Shutter Speed.

    In all honesty, I must admit that shutter speed is just as important as your aperture setting. In another post Understanding the 3 points of the exposure triangle I make it clear (I hope) that ISO, Aperture and shutter speed all influence each other. Adjust one and the other changes.

    So, you can see how important it is to get the right setting.


    BTW make sure you scroll to the bottom of the page for an Infographic summary


    Moving on let’s get straight to the 10 Vital Facts about Camera Shutter Speed.


    1 The Shutter Speed is the speed that it takes to open and close the flap that sits in front of the aperture.


    2 It’s measured in seconds and fractions of seconds e.g. 1/500 of a Second


    3 To freeze action you need a fast (or quick) Shutter Speed


    4 To show movement you need a slow Shutter Speed


    5 It’s a big contributor to Camera shake or lack of


    6 To calculate the minimum speed you need to prevent camera shake, use this rule of thumb. At 100 ISO- the Shutter Speed = the focal lens setting of a lens. More on this below


    7 Shutter Speed becomes less important, in most situations, the better or brighter the light you have


    8 When taking hand held photos in poor light i.e. indoors without a flash you need to use the fastest speed you can get.


    9 The faster the shutter speed the lower the F Stop number which can in turn, can influence how much you can get in focus.


    10 Taking photos with a lower F stop gives you much more freedom with your shutter speed in good light but reduces as stated in 9, how much you can get in focus.


    11 The slower the shutter speed the higher the f stop number


    12 Only use Shutter speed priority when you are trying to achieve something specific.


    I’ve just realised I’ve given you 12 vital facts about camera shutter speed! Oh well you’ve got a bonus 2!


    So why do you need to worry about it?

    Well the most important reason overall is point 5; It’s a big contributor to Camera shake.

    Camera shake is pretty much irreversible and whilst shutter speed is not the only contributing factor, it can be the deciding one. Unless you are wobbling around with camera in hand snapping away.

    As I said in 6, a rule of thumb to get the slowest minimum shutter speed is to match the shutter speed to the focal length of the lens you are using.

    As an example, if you are using a 200mm lens then the closest shutter speed will be 1/200.

    But, there are complications.

    If the lens or camera has mage stabilisation then you can reduce the shutter speed by a couple of settings e.g 1/50.

    Then there are other factors that will come into play see 5 Ways to Eliminate Camera Shake

    The size of the sensor in a camera can also affect the shutter speed. An Olympus OMD _M5 for instance has a crop factor of 2 which means you need to double the focal length to get the minimum shutter speed.

    So if it was 100mm it would now be 1/200.

    Now I don’t want to confuse things but it works out the same.

    The reason is that a 100mm lens on a 2 x crop factor sensor camera is actually 200mm on a full frame so the minimum shutter speed is 1/200


    Here are some other reasons for adjusting the shutter speed:


    Freezing action

    Let’s say you want a picture like this one of a surfer to freeze the moment. You want it to be crisp and clear so the shutter speed needs to be on the high side.


    10 Vital Facts about Camera Shutter Speed


    This one was taken at 1/1600 Sec at an aperture of f5.6 ISO 200.  Whilst the foreground spray is little bit soft that’s due to the point of focus not the shutter speed.


    Slowing action

    On the other hand, with the waterfall below we’re looking for that fluid almost viscous look of the water flowing down the rocks.


    10 Vital Facts about Camera Shutter Speed
    At the Medenhall Glacier reserve. 13 miles from the city centre this is one of Juneau’s main tourist attractions in Alaska


    This one was taken at much lower speed 1.6sec at an aperture of f32 ISO 100 which is roughly 10 times lower than the surfing picture


    Interior light

    If you don’t have a flash or don’t’ want to use it then having a fast shutter speed can help.


    10 Vital Facts about Camera Shutter Speed


    Conclusion

    So to summarise these last points, as promised here’s an infographic.


    10 Vital Facts about Camera Shutter Speed


    Did you understand all that? I’m happy to clarify anything you’re not sure of.

    Just post in the comments section below. Don’t be shy.


    While you are at it why not subscribe for future updates below.

    You’ll get my free guide “Eleven easy ways to help you take your own stock photography”.


  • 5 Ways to Eliminate Camera Shake

    5 Ways to Eliminate Camera Shake

    How many times have you looked at those beautiful images only to realise on closer inspection there’s a slight blurriness about it. It’s just not as crisp and clear as it should be.

    That’s called softness and is usually caused by Camera shake.


    Like most cities in the USA, Anchorage has a big fourth of July parade. This one was in 2012
    He’s a bit soft! (Probably wouldn’t tell him that!)


    https://katinimages.smugmug.com/Travel/Independence-Day/i-WnMvsVN/A
    That’s better! (Fourth of July parade.)

    In my last post How to hold a camera correctly on this topic, I went through the best ways to hold a camera to try and reduce camera shake. Now lets’ look at 5 other ways in order you can help eliminate camera shake


    1 Use a fast shutter speed


    Typically, Camera Shake is caused by the shutter speed being too low.

    Selecting the correct shutter speed can be a challenge. On most cameras, you can select the shutter speed and a rule of thumb, depending on the camera is the focal lens x 1.5 or 2 = the shutter speed.

    So, if you have a focal length of 100mm then you will need a minimum shutter speed of 1/160; a 200mm focal length would be 320 etc. etc…
    Now on some compacts and a lot of Smartphone cameras you can’t adjust the Shutter speed so the next best thing is to either adjust the exposure compensation or the ISO.
    If you are going to shoot a lot of images at low light, then experiment so you know how your camera performs.


    2 Use image stabilisation


    Many years ago, I met a photographer who was taking clear and sharp images of wildlife at dusk without a tripod. That was my first introduction to image stabilisation.
    Basically it compensates for camera shake caused by slow shutter speeds.

    Initially they were only available on the lens but nowadays most cameras have it inbuilt. So now you don’t have to worry about what lens to use.
    Having it inbuilt also means that most cameras have options and settings that can give flexibility.

    Smartphone cameras also have them built in but usually only have the option to turn it on or off.

    Just a little warning – some manufacturers advise you to turn off stabilisation if using a tripod.

    An image stabiliser only goes so far. At the end of the day if the shutter speed is too low for the conditions then it won’t help.


    3  Use a tripod


    This one is obvious. After all, if you don’t have to hold it then it’s not likely to move. Right?
    Well yes and no and I’ll explain in the next tip but for now putting a camera on a tripod is always going to be better than hand holding.

    Nowadays there are lots of different tripods out there. Some are designed for different applications and cameras.

    For a mirrorless, compact or DSLR cameras there is a few considerations such as the weight, ease of use and sturdiness.
    And it also depends on the use. As an example, I have 3 tripods, a studio tripod that never leaves the ‘studio’ a heavy duty one that I use for assignments and a lightweight one which I take travelling or on assignments where weight is an issue.

    For smartphone cameras, there are also a lot of choices but they are usually chosen on convenience. I use the Joby Grip Tight Micro Stand, a great little find that has a mini stand. It can also be fitted to a standard tripod head.


    4 Use the timer


    The other main reason for camera shake is the shutter button action. When you press down on the shutter button the camera moves. Even if you are gentle it still moves. Of course, if you have a fast-enough shutter speed then it’s not a problem but if you are shooting in low light then it will create vibration which equals camera shake

    Another option is to use the timer. In all seriousness, you wouldn’t use the timer if you were hand holding. The idea is to use it when on a tripod or if you have the camera mounted on something sturdy.

    Most cameras have 2 or 3 timer settings. Use the lowest unless there’s some reason you need time like taking a self-portrait. After all, 2 seconds is not a lot of time to get into position.


    5 Use a remote


    For the same reason as the previous point (5) using a remote will take that that heavy human press out of the equation.
    There are a lot of types of remotes out there.
    From the old-school release cable for a DSLR to using a smartphone app to trigger your mirrorless camera to using a Bluetooth remote trigger for your smartphone.

    Choose the one that is right for you or choose a couple for different applications.


    Did you understand all that? I’m happy to clarify anything you’re not sure of.

    Just post in the comments section below. Don’t be shy.

    While you are at it why not subscribe for future updates below.

    You’ll get my free guide “Eleven easy ways to improve your marketing photography”.