Katin Images Travel Photography

Travel Photos, Travel Photography Tips and Software

Tag: portrait

  • Tips to Photograph People while Travelling

    Tips to Photograph People while Travelling

    A street dancer in Havana
    A street dancer in Havana

    This is quite a common genre. Anybody who travels and takes pictures will need to know how to take photos of people.
    It’s the reason why we travel, although we may not know it. We look to connect, observe and absorb different cultures and that comes from people

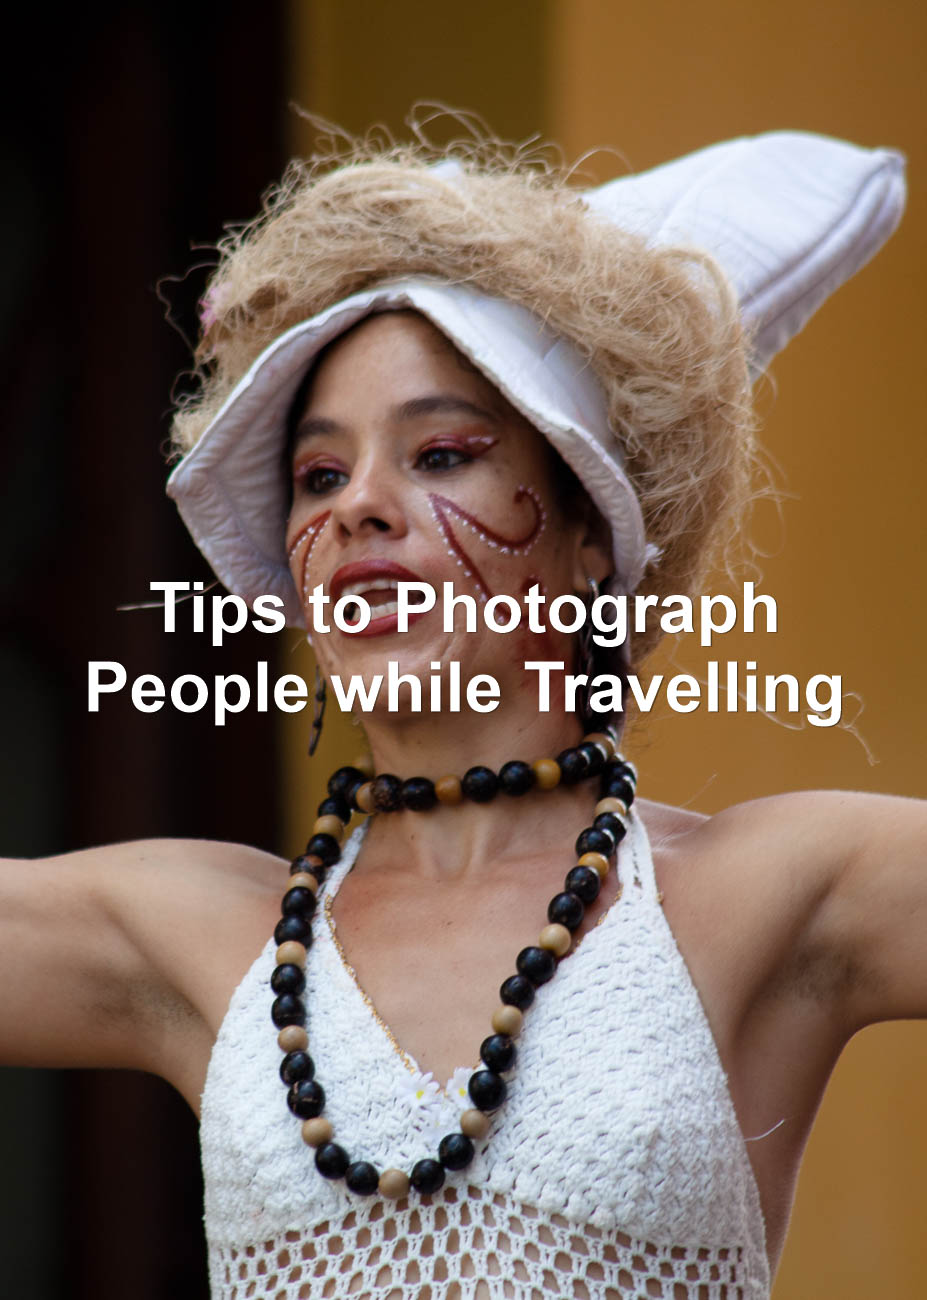
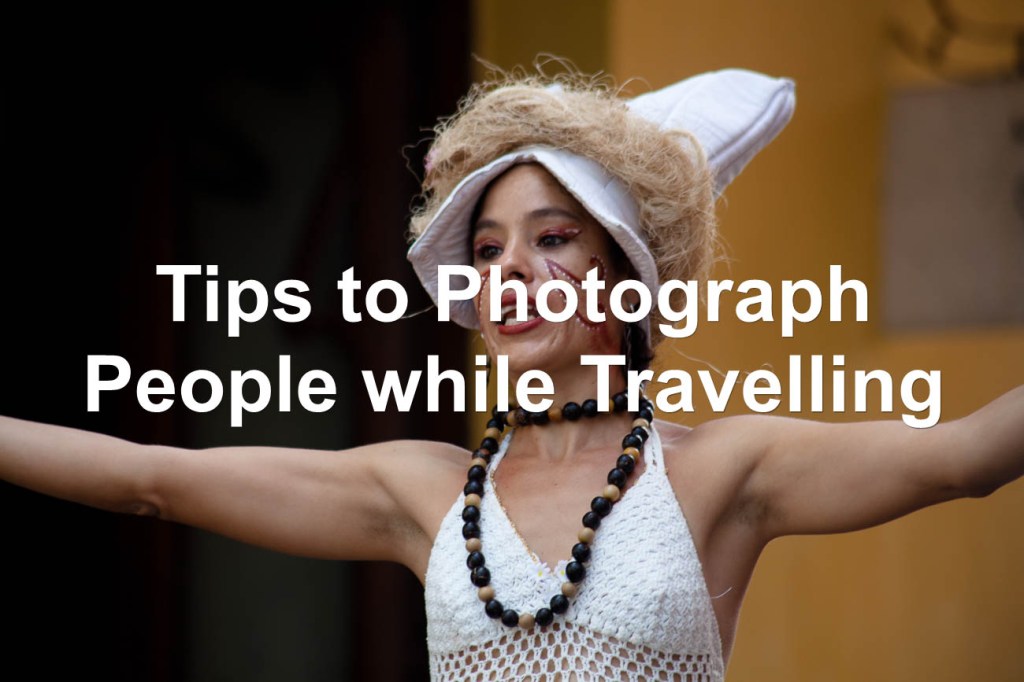
    Read on below to get tips to photograph people while travelling

    Types of people photos

    Photos of people are one of 2 types
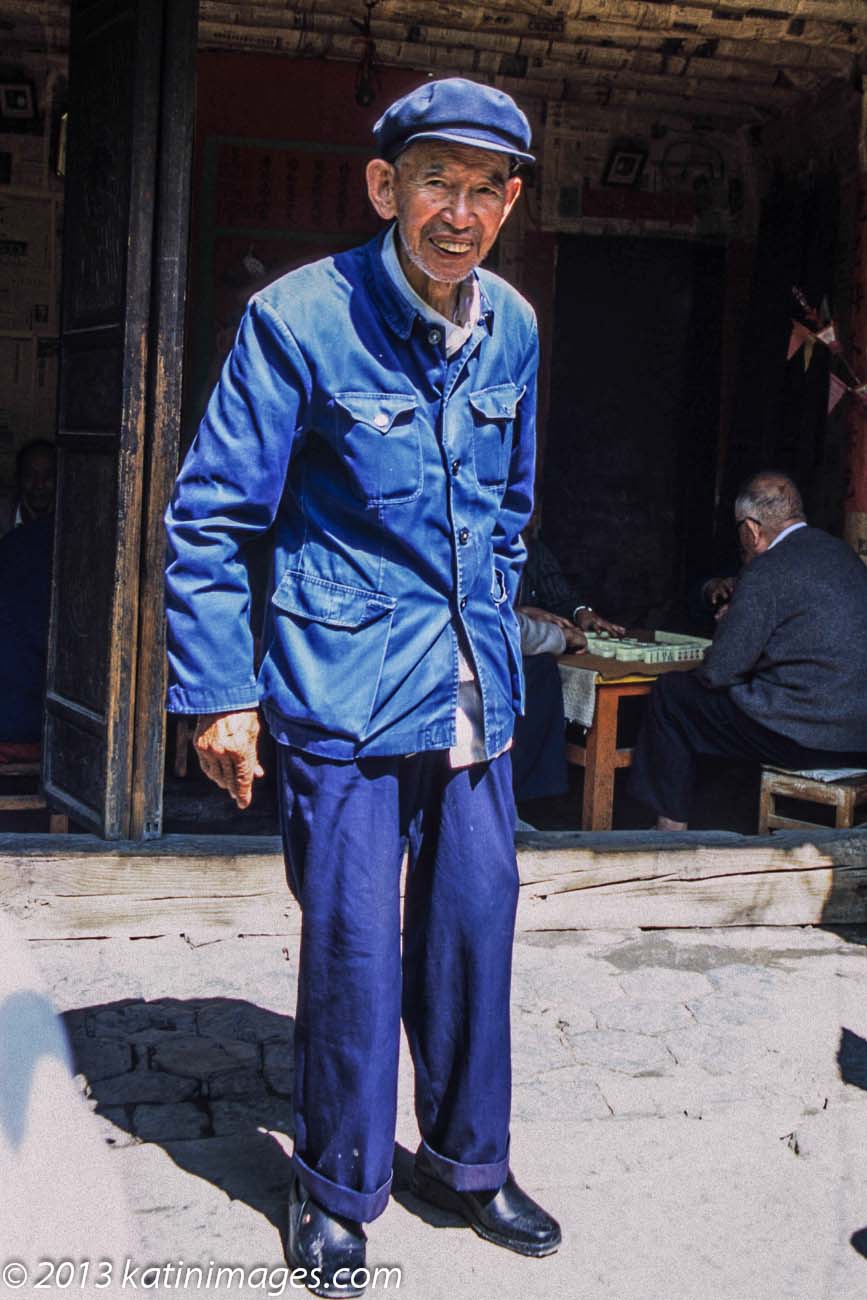
    • Portraits

    For the purposes of this article I’m going to describe portraits as posed photos of people.

    In other words they know they are having their pictures taken and are posing for the camera.
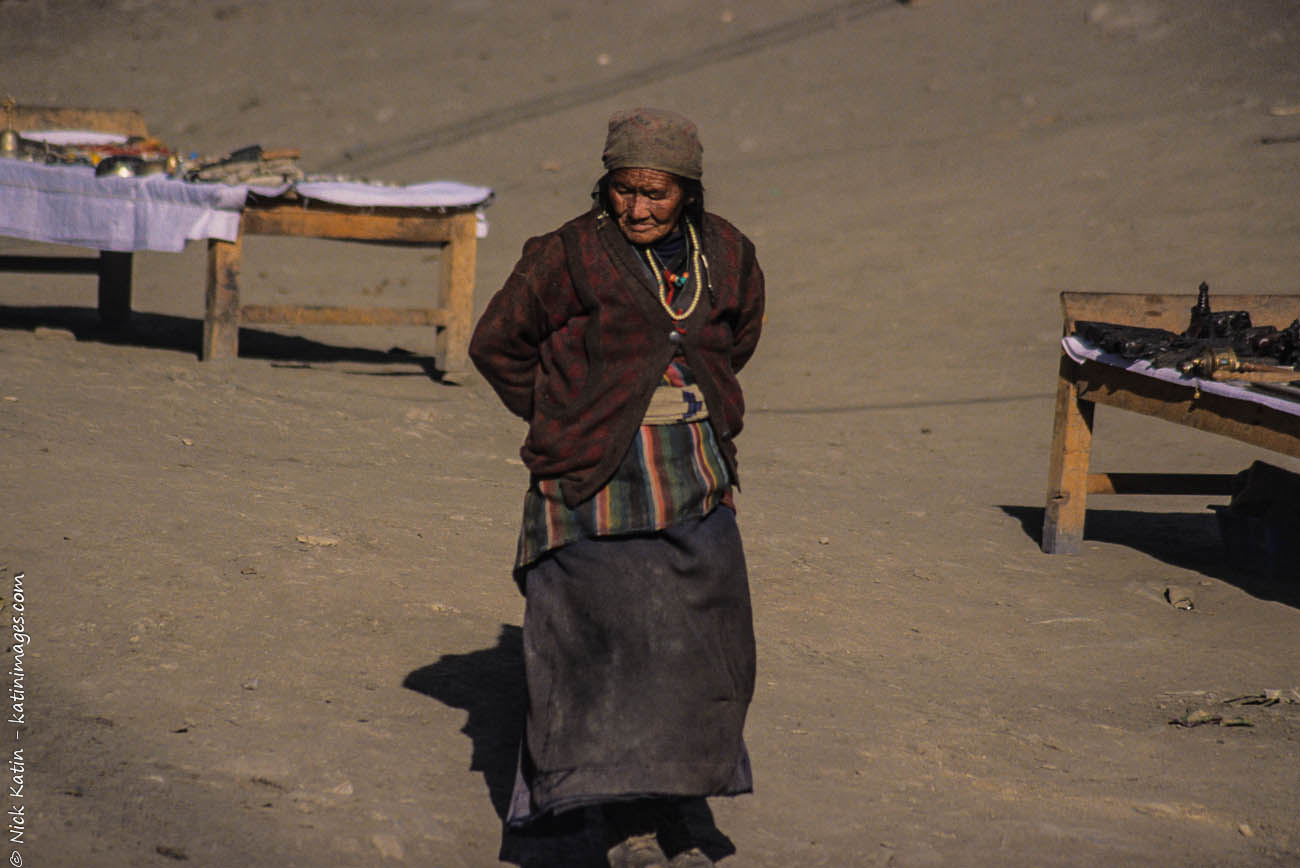
    • Candid

    Candid is taking photos of people, usually but not always without them knowing that they are the subject.
    In other words, they are going about their normal lives.

    Portraits

    Holyman in Durbar Sq Katmandu, Nepal

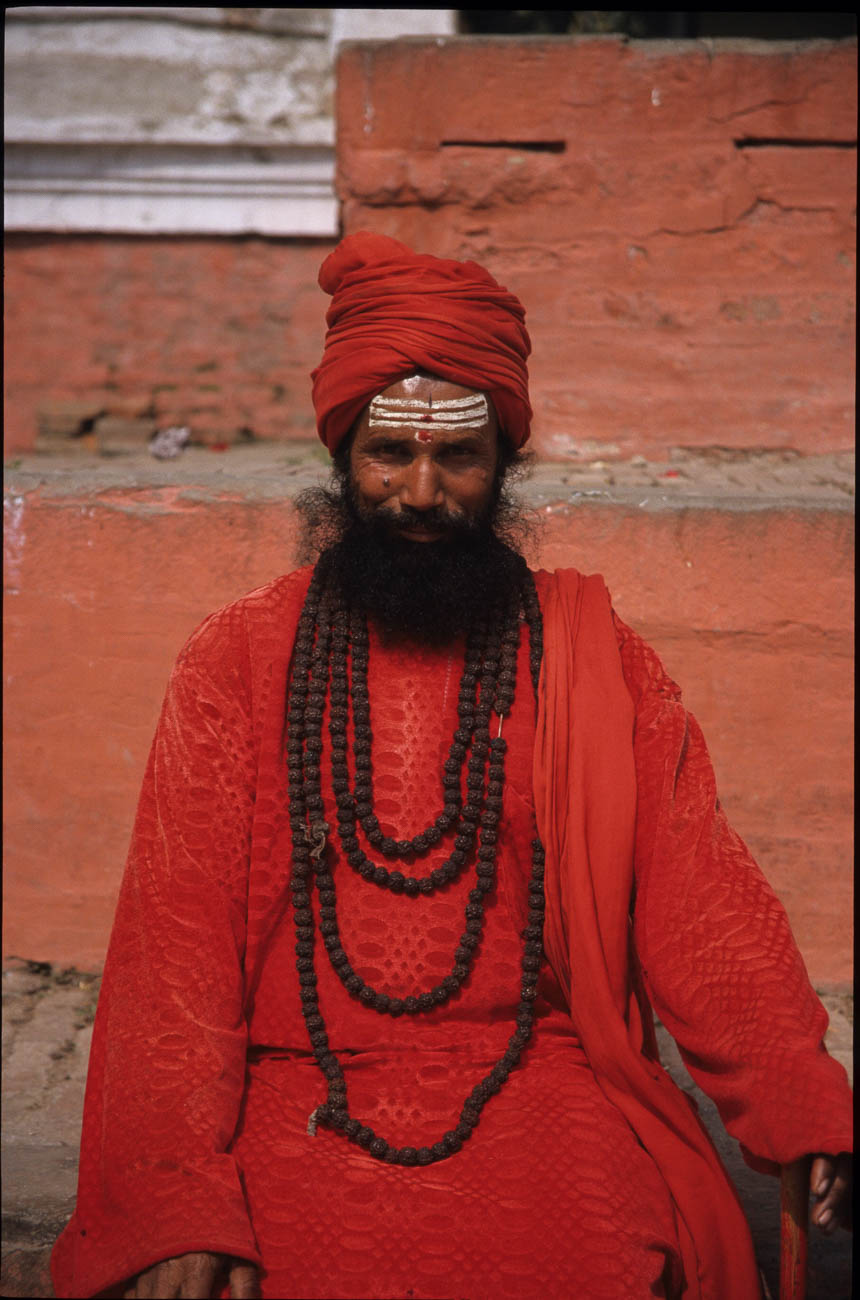
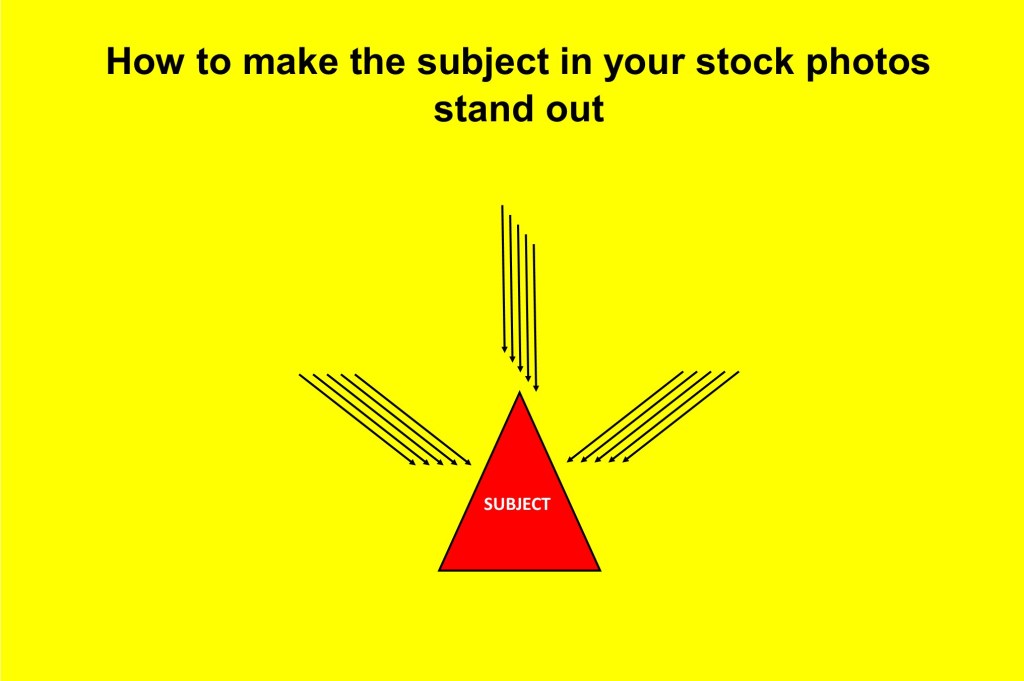
    We all love to get that photo that conveys emotion in bucket loads
    Well it takes a little bit of sensitivity and planning.

    • Sensitivity

    Before you do anything or approach anyone you must be across the local custom and culture.
    For example, most of us think that, in general, people in most western societies don’t have any cultural aversion to having their picture taken.
    Yet nowadays the ethnic mix is not only white homo sapiens.
    People of all sorts of backgrounds and cultures live permanently in Western Europe, North America, Australia and New Zealand.
    So we need to be just as sensitive in the west as we do when visiting places in the Middle East or Africa.

    • Planning

    Planning is not only knowing what you want your subject to be doing.
    But it’s also working out the setting or the area around the type of subject you are looking for.
    You may be looking for people shopping or serving in a market or walking the street.
    Whatever it is, have a plan and picture what you want to get out of it.

    Once you have taken into account sensitivity and completed your plan that then you need to ask for permission.
    If you intend taking a posed portrait then you will need to approach someone to get permission.
    At least that is the polite way, as I’m sure you wouldn’t like someone thrusting a camera in your face.The two main complications in approaching potential subjects are:  

    The two main complications in approaching potential subjects are:  

    1. Cultural sensitivity and 
    2. The fact that some people for whatever reason don’t want their picture take

    The former is about doing your homework. For example some cultures or religions have a belief that a photograph can steal a soul.
    Some Australian Aboriginal people have cultural reasons for not wanting their photo taken.
    If you find this out beforehand then don’t ask!
    There’s not much you can do about this. Don’t beg or try to bribe. Just move on

    Paying money

    There will be opportunities to take pictures of people who want to charge you. You’ll find this usually in developing countries and it’s not expensive.
    I’ve had approaches from a bell ringer in Buddhist temple and a Bedouin with a turban in an Egyptian temple. They wanted me to take their photo at a price.

    Relationship

    The best way to get permission is to get to know them first.
    By that I don’t mean take them to lunch or coffee but have a conversation with them so that they feel at ease.
    If they are being active in some way, ask them what they are doing or ask some general questions.

    Let’s say you want to ask a shopkeeper if it’s ok to take his portrait. Then you could start by asking about his shop and how long has he had it.
    What else does he do? Ask if his family are involved and what they do.
    As human beings we love to talk about ourselves and what we are doing.
    Most will start to relax once someone takes an interest in them.
    Once relaxed that’s a good time to ask for permission to take their photo.

    A little tip is to continue the conversation even after taking photos.
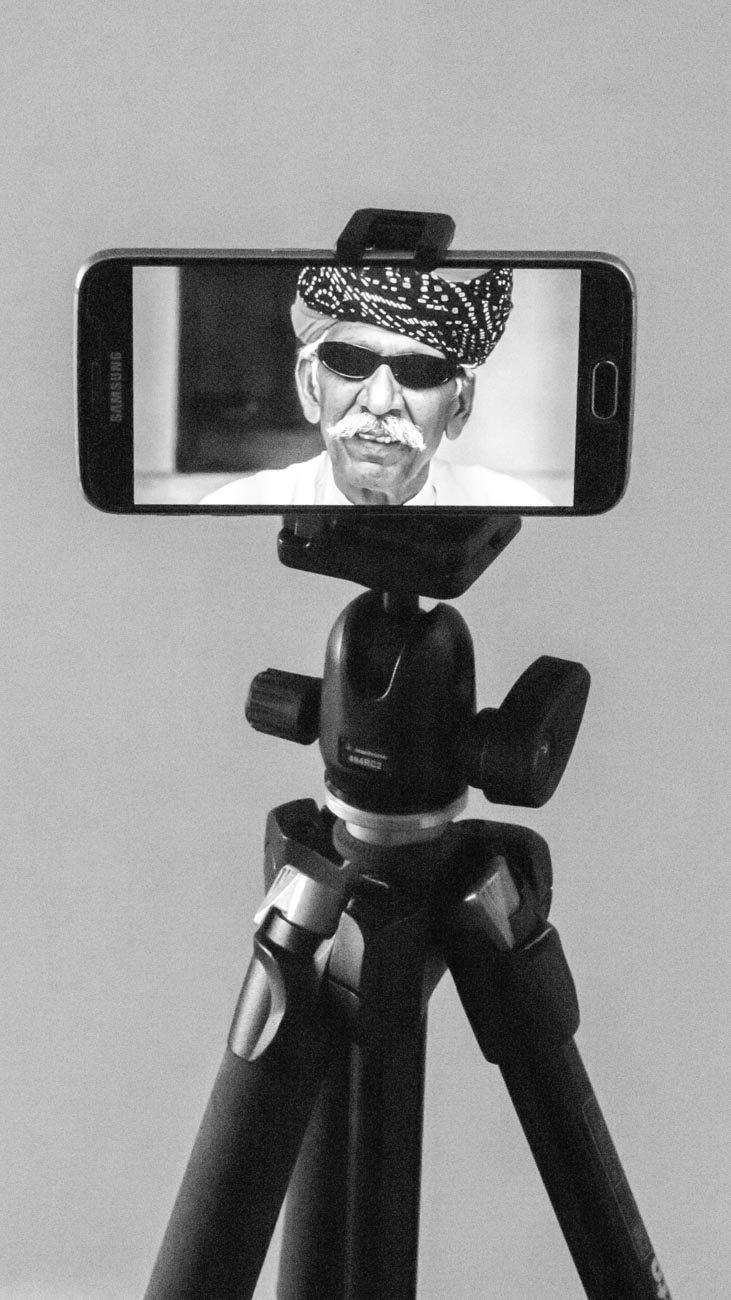
    If you are subtle about it, you can continue to take photos with the camera loose around your neck or on a tripod.
    A remote release is handy for this because then you are remote from the camera shutter button.
    Sure, some of the images you take won’t be very good. But I bet you can get some very good pictures because your subject is relaxed and talking instead of posing.

    Taking portraits is challenging and to some can be uncomfortable.
    But its worth getting out of your comfort zone and asking to take their photo.
    Once you’ve done it a few times you’ll be surprised at how easy it becomes and how enjoyable it is.
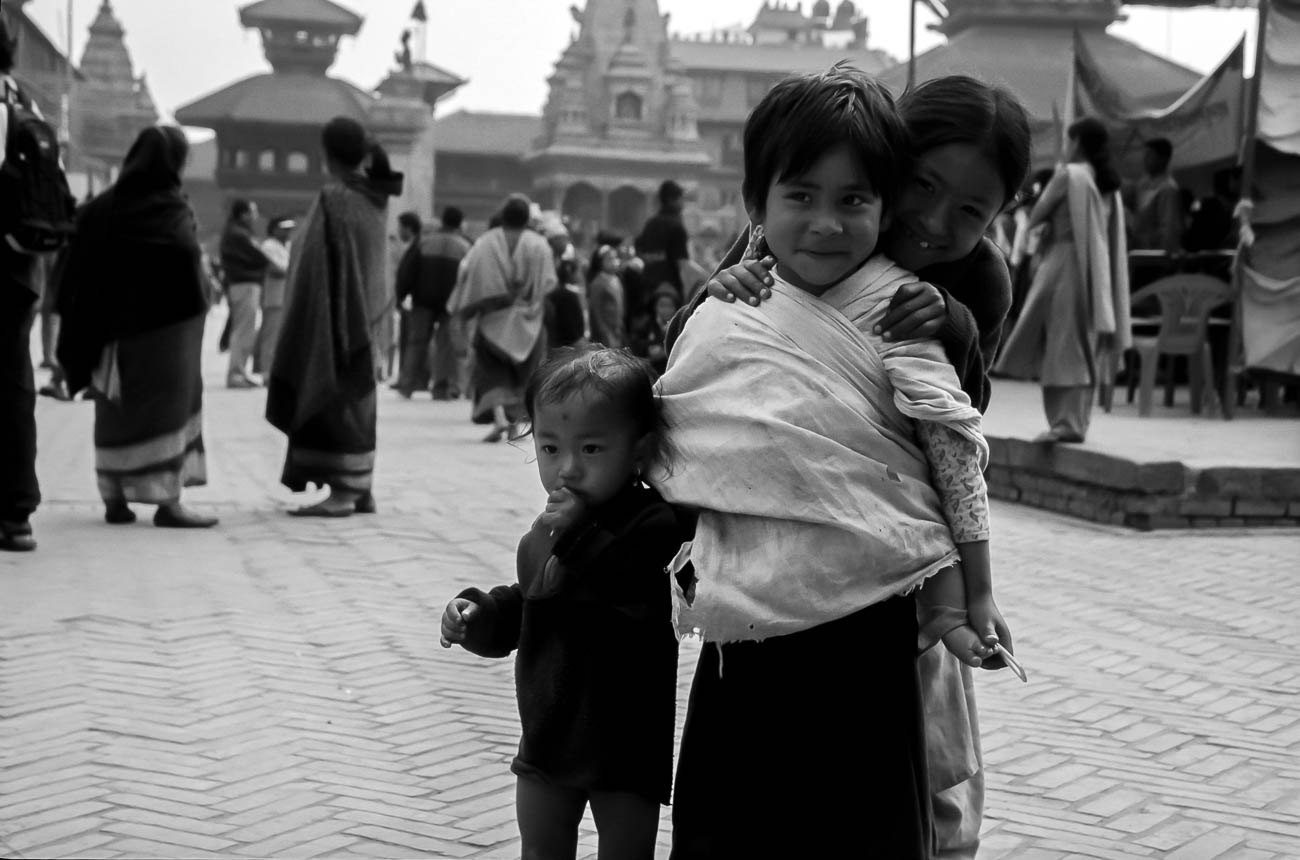
    Candid

    A group of men sitting on a wall in astreet in Katmandu, Nepal

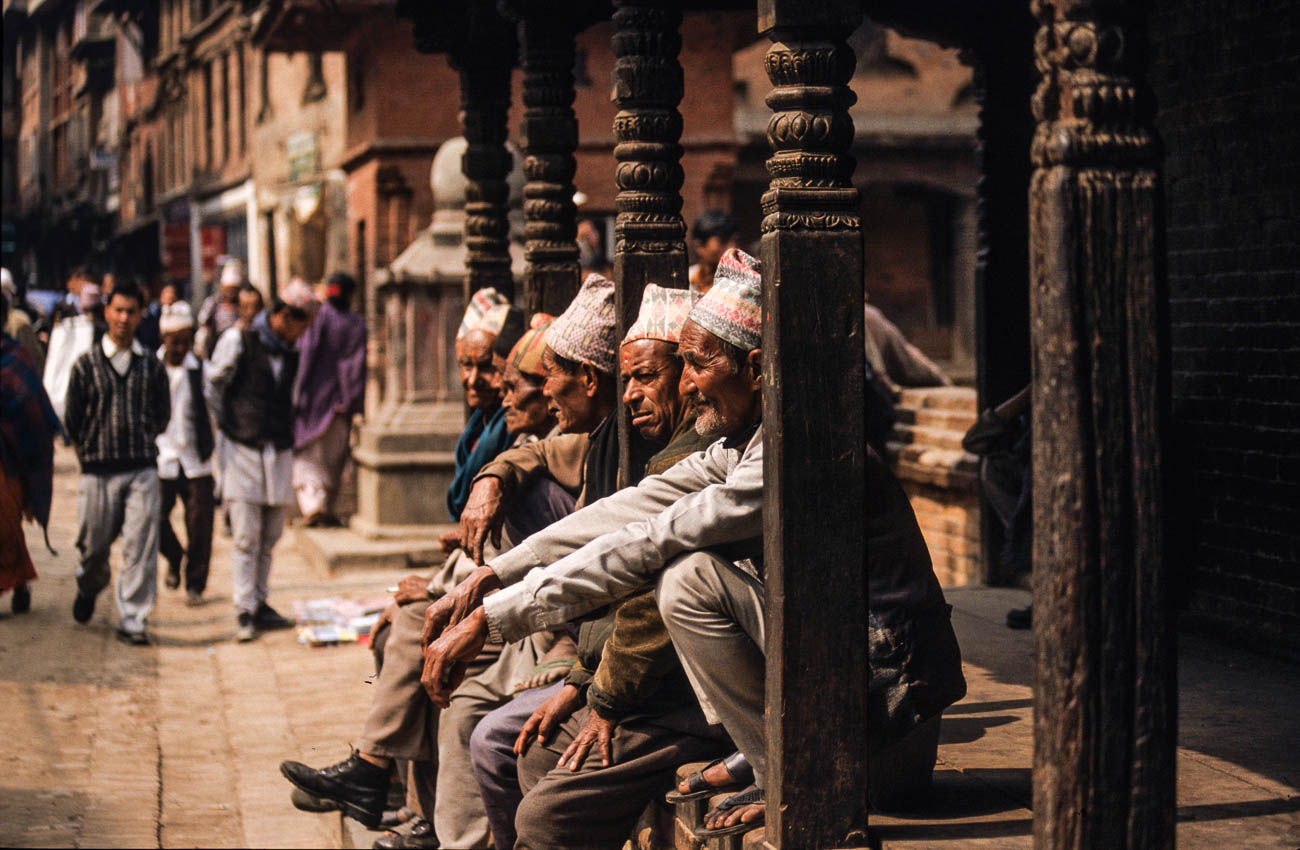
    Of course, if portraits really aren’t your thing or you want to mix it up, then taking candid shots is the way the go.

    Again, the main factors are sensitivity and planning

    • Sensitivity

    Even though you are usually taking photos of people without them knowing. You do still have to have some degree of sensitivity.
    I can remember taking a candid shot of a stall owner in a Marrakesh market. I didn’t think he saw me, but he did and asked me to delete it.
    I could have said no, as in general you can take photos of pretty much anyone in a public place.
    But, I didn’t mean to upset him and gladly deleted it.
    I did ask him whether I could take a posed photo which he agreed to. He asked me to come back later and when I did, he was nowhere to be seen.
    Can’t win them all.

    So, the point is don’t make it obvious that you are ‘stealing’ a photo.
    It’s not just that you might upset someone. It can work the other way where they actually pose which may not be what you were after. Or they could put their hand out for payment which I’ve discussed earlier

    • Planning

    Planning for candid photos can be as in deep as knowing exactly what photos you want to take.

    Or doing what a lot of street photographers do and park yourself in one spot, cafés are good for this.
    Then wait patiently for opportunities to present themselves.

    Of course walking the streets keeping your eye out for opportunities can also work.
    I will say, that whilst you are on the move you can easily get distracted so you tend not to anticipate what’s likely to happen.

    Techniques

    Children, toddler and baby in Bhakatupur square, Bhakatupur, Nepal

    There are various schools of thought on how to set up your camera for Portrait and Candid shots.
    A lot also depends on what equipment you have.
    For both 80-105mm in the old language is standard.
    Some photographers like to use a wide angle, say 24mm.

    Others like the look of the compression created by zooming in with a long telescopic lens.

    If you want that blurry background with the subject nice and crisp, then you will need to go for a large aperture (small F-stop). The equivalent of f2.4 should do it. Of course, not all cameras give you that option. Most smartphone can’t at all without some devilish app trickery.

    If on the other hand you are taking photos where the person is part of an overall scene, then an aperture of F8-11 will do the job.

    Whatever settings you need, make sure they are set correctly. Especially before embarking on taking people portraits.
    Don’t make your subject wait for you to set up the camera. They will soon run out of patience. And you will be putting yourself under unnecessary pressure.

    Light

    Of course, the above recommendations are for ‘normal’ light.
    If the light is poor, then you will need to make sure your ISO is set quite high. If you have it set to auto then it might be already.
    The alternative is having the aperture set as wide as you can, to let what little light there is in.

    Summary of Tips to Photograph People while Travelling

    There are two main ‘genres’ of people travel photos.

    • Portrait

    Portraits are taking photos of people who are posing. I.e. They know they are having their photo taken

    • Candid

    Candid is taking photos of people usually without them knowing that they are the subject.

    To take people photos it’s important to:

    • Plan well
    • Be sensitive to local cultures and respect the wishes of the individual
    • Be ready to recognise and take advantage of any opportunities
    • Have your Camera on the correct setting.

    What to do now

    You’ve got down this far and I do appreciate that.

    There must have been something that piqued your interest.
    Is it that you see yourself taking some great travel photos that you can share or display?
    Or is it you can see yourself reliving your travel experience by bringing home some emotive travel photos?
    Maybe you aspire to getting your travel photos published.

    If one or all of these is YOUR goal, I can help.
    If you sign up in the box below, you’ll get my free eBook “9 ways to improve your Travel Photography”. At the same time, you will also subscribe to my Travel Photo Tips Newsletter.

    So, let me repeat that.
    If you want to take great travel photos

    • that you can share and display.
    • that help you relive your travel experience
    • give you a chance to have your travel photos published

    Then sign up below and subscribe to my Travel Photo Tips Newsletter AND get my eBook “9 ways to improve your Travel Photography”

    Any questions then please put your comments below or contact me here and please say hello at these places:

    FacebookTwitterInstagramLinkedIn:

    Feel free to share this to your social media of choice

    A street dancer in Havana
    A street dancer in Havana. Click the image for a larger view and for other options.
  • How to take an ‘awesome’ selfie

    How to take an ‘awesome’ selfie

    In Why You Need a Professional Selfie I talked about having the need to have a decent self-portrait or ‘selfie’ on your website, social media or publication to show the human face.

    Maybe you’ve decided to get this done but don’t want to use a professional photographer or Uncle Eric who has a good camera.

    In which case read on.

    So just to refresh. In Why You Need a Professional Selfie I suggested that you need to

    Decide what sort of self-portrait you think represents your brand best

    A financial adviser or lawyer may want a more conservative head shot.

    Or they may want a full-length portrait with business like clothes like jacket and trousers.

    A social media site may wish to convey a trendy relaxed image. So, it may decide that, rather than have a headshot, an image of its employees being active may be better.

    Whilst I have concentrated on websites and maybe social media you may also wish to use it for some printed marketing material or even billboards.

    And that’s when the capability of the camera and printing become important

    The four most crucial factors to getting a professional self portrait

    1. Equipment

    I’m going to show you on a smartphone but any camera should do the job provided it works 🙂

    1. Light

    Light is everything. If the light is dull or too bright the image can be too dark or ‘blown out’

    (a term for images that have the highlights way too bright).

    1. A way of mounting the camera.How to take a selfie

    A tripod is undoubtable the best way if someone e.g. an employee, is not taking it for you

    1. Staging

    Make sure you select the correct pose. You may have to take several different images at different angles to get one you want to use.

    Incidentally there is no rule that says you must use the same image across the all platforms and marketing material.

    Set the camera up;

    1. Regardless of what the use is, make sure you have the biggest resolution. Much better to size down that attempt to upsize.

    On the Samsung S series smartphone cameras for example you will find picture size next to the settings icon.

    Select 16M or 12M or whatever the largest number is.

    The resolution on the IPhone is set to maximum and has no adjustment from that except with the use of a third-party app.

    Some other brands only give you the option to select large or high

    Note: The front camera usually has a much smaller resolution than the main camera so avoid using it for this application

    1. Find the timer and set it to 10 seconds
    1. You can usually just leave the camera on auto if the light is pretty good. But you can change the settings on some smartphones. The only ones I recommend is possibly the ISO or exposure compensation.
    1. Mount the camera on a tripod or any other way you can find to mount.

    I use the Joby Grip Tight Micro Stand a great little find that has a mini stand. It can also be fitted to a standard tripod head.

    Set the scene

    1. Find a well-lit position. You can be creative by sitting or standing near a window and allow the light to be strongest on one side.

    Alternatively, if you want to light up both sides, use a whiteboard on the side away from the light.

    1. Think about the background. Make sure it’s not cluttered and distracting to the eye.

    Again, a whiteboard is handy. White (or off white) backgrounds are always the best way.

    1. Think about your position. Ideally you want to be slightly lower than the camera if possible to avoid unflattering distortion.
    1. Now comes the tricky bit. Unless you have someone else helping, you are going to have to focus the camera on your final position, be it a full length or head shot.

    The easiest way to do this is to put something in that position and then focus on it.

    1. Just press the shutter button and then get into position.
    1. Take plenty of images trying different poses and maybe different locations. You can’t take too many!

    How to take a good selfie

    Review

    1. Review on your phone and add a filter if you wish. There’s plenty of them out there.
    1. Load the images onto your computer.
    1. Look for softness (slightly blurry), unwanted distractions or items and light
    1. Crop if required. You may need to crop for different applications.
    1. Upload to your website, social media or another platform.
    1. Discuss requirements with your printer if you are using hard copy marketing material.

    Finally

    Rinse and repeat if need be.

    You may think you’ve got it right but there’s always room to improve.

    Is there anything else you want to know? Did you give it a go?

    I’d be really interested in any results that you wish to share.

    Let me know in the comments below.

  • How to make the subject in your stock photos stand out

    How to make the subject in your stock photos stand out

    In a recent post, Looking for stock photos? Here’s how to take your own, I listed the Four Basic Elements of Stock photography:

    1 Background

    2 People (Model/S)

    3 Subject

    4 Involvement

    I covered Background in How to create the right stock photo background

    I also covered people in How to put People in your Stock Photos

    Now this where you will learn how to make the subject in your stock photos stand out.

    There are 5 points that need to be considered and the first of these is:

    Style

    So, you are shooting your own stock photos. What’s your style going to be?

    As the marketing guru that you are, you may try to have two styles. One for the actual business you are marketing and the other photographically, i.e. your point of view, how you see the world.

    Be careful on both of these, having two styles can be in conflict.

    If you are a business owner that is looking to get your product or service out there, then choose that as your main style.

    Otherwise the photographer in you may get in the way. Remember why you are doing this. Don’t lose sight of the fact that you are seeking to create a piece of art that is going to help your business. Not a piece of art for the sake of creation.

    Of course, everyone’s style is different.

    Let’s say we have 2 photographers taking pictures of China as a travel destination.

    One takes pictures that tell stories of how people live in China. Their photos give information and understanding of the Chinese culture.

    The other photographer chooses to make China look attractive and appealing to visitors and tourists alike.

    How to make the subject in your stock photos stand out
    At a small restaurant in the Flowers and Birds Market on Jingxing Street in Kunming capital of the Yunnan province of China.


    As you can see each of these photographers has a different way of looking at the same subject. That’s their style

    Concept

    A concept is the idea or emotion that the photo represents. Your concept may be to depict how easy it is to use your service or even how to use your service. Or it may be how beautiful and attractive your product is. By product that can mean anything from a piece of jewellery to a travel destination.

    Some common concepts can be:

    Achievement, Teamwork, Competition, Values, Trust, Stability or Tradition plus many more.

    Symbol

    The symbol is how the concept idea or emotion is portrayed. Painters and Sculpturers have been using symbols for centuries. Have a think about the best symbol to use to get across your message. In the China example above you could incorporate some of China’s main tourist attractions or monuments as a symbol. Or if you had a piece of Jewelry then how it looks on your model would be a possible symbol

    How to make the subject in your stock photos stand out
    Tiananmen Square – Gate of Heavenly Peace

    Often symbols are less obvious. Like some of these:

    Sports may mean business competition or pushing to the limit

    Shaking hands may mean cooperation, partnership, trust or honour

    A road may mean straight & narrow, mystery, adventure or even the unknown

    How to make the subject in your stock photos stand out
    Death Valley NP California, USA

    Subject matter

    For you the subject matter is pretty much what you are looking to sell. That’s right sell. If you don’t show the product or service that you want someone to buy then you’re wasting your time. Ever watched an ad and wondered what the hell that was about? Sometimes that’s a deliberate ploy by the marketing company to capture your curiosity. More often than not it doesn’t work that well. I go back to the old KISS principle. Keep It Simple Stupid! You have less than a second to get your point across. Don’t waste it on some abstract idea that no one understands.

    Central theme

    All these items come together to give you your theme and the theme as I said in the previous paragraph should be bloody obvious. But (always a but) there nothing wrong in conveying a them that can interpreted in several different ways. It shows that the photos is interesting and can hold the viewer just a little bit longer to take in the full extent of your marketing message.

    Conclusion

    So in conclusion it’s important to think about these factors in a stock photo:

    1 Style

    What’s your style?

    2 Concept

    What’s the idea or emotion you want portrayed

    3 Symbol

    Once you have decided on the concept what symbol are you going to use to portray it

    4 Subject matter

    What are you selling? Make sure it doesn’t get lost in the story.

    5 Central theme

    Make the theme interesting so it holds your viewer longer than the nano-second we all seem to give an image to reveal itself.


    Thank you for reading this article. If you know anyone who would enjoy it or find this useful please share. They’ll thank you for it.

    And now that you have got this far, keep scrolling down and subscribe to my newsletter where you will get info not found elsewhere. I’ll even give a guide for your trouble.

    You can share your stock photos and ask questions in the comments below. Just be open to different opinions.


  • African shoestrings – Lesotho Day Fourteen

    The next morning we awoke just before daylight after an eventful night.
    Thunderstorms had followed us there and dumped rain on us just as we arrived the day before. They had cleared for a while but came back overnight and the heavy rain found its way through the opening in the hut that passed for a window.
    Not only that but the front door seemed content to allow itself to be pushed around by the wind creaking or banging loud enough to wake us.
    This was also the first night that we had slept in our new super duper -2°C sleeping bags. Comfy they were, cold they weren’t. We both boiled and spent the night tossing the top off as we fried and then back on again as we froze a few moments later.

    So we awoke the next morning grouchy. I was ready to give that damn pony of mine a piece of my mind, if even it so much looked like going off the track. But events had already got ahead of me. Black Label had been demoted! David now rode him and I rode David’s steed Black Cat.

    Now Black Cat was my sort of horse, this bloke was strong, sure footed, docile and to my surprise obedient. He obeyed my every command, something I had never experienced in an animal, or come to think of it in a human, before.

    The journey back was, despite aching limbs, muscles and rear end, (I never realised how many muscles are used in riding), very pleasant.
    Gentle descends and ascends into valleys of green, cradled by perfectly formed grass covered hills and mountains of varying shapes and sizes.
    Occasionally we would see the odd cluster of thatched roofs in the distance, perched on a small plateau or down in a valley. Despite being kept at arm’s length from the villages we still saw plenty of traffic on the track.
    Unlike the hordes of pedestrians in South Africa these people seemed to have a destination or purpose for their travel. Men and boys on ponies were herding livestock; women on foot were carrying firewood or crops.

    Young Boy looks at the camera in a small village in Botswana
    Young Boy looks at the camera in a small village in Botswana

  • The travel photographer FAQ’s: How do I get good shots of the locals?

    How do I get good shots of the locals?
    Good question. It really depends on where you are and what shot you are after. Begin with making sure that your camera is ready for an immediate click! This is essential. Nothing worse than loosing a shot because you weren’t prepared. So lens cap off, camera on and the right settings in place, usually a wide aperture i.e small f stop. If you are after candid shots of people just going about their business then a reasonable size zoom lens is handy and usually if you are far enough away you probably won’t need to ask permission. If you are going to try and get close up then it really is courteous to ask permission and then you may need to have a chat to make them feel comfortable. The trouble then is that they will pose which is often not what you want.I take an initial shot of them posing and then continue chatting and taking pictures which tends to yield more relaxed portraits. Beware of cultural sensitivities – in some countries there’s a believe that you are taking away a part of their soul.

    Old women at the Ranipauwa market. Ranipauwa Nepal is also called Muktinath after the sacred site nearby and close to the Tibet border.
    Old women at the Ranipauwa market. Ranipauwa Nepal is also called Muktinath after the sacred site nearby and close to the Tibet border.

  • Photo tip no 8 – RAW V JPG part 1

    This is a HUGE topic that will be difficult to do justice to but if the question is why? Then here’s a brief answer. I might add that this question (at the moment anyway) only applies to higher end compacts, micro four/thirds and DSLR cameras. If you are using a smartphone or a compact that doesn’t give you the option of shooting in raw, then jpeg it is then. So firstly why raw? Raw is digital negative that retains all the information that the camera sensor can see but needs post processing to get the best out of it. So if you want a outstanding image and are prepared to put in the time in front of a computer to get it then shoot raw. Secondly why jpeg? This depends on what you will be doing it with it. If you are sharing on social media or via email just among friends or they are happy snaps which display memories rather than artistic merit, then jpeg is fine. Bear in mind that even if you shoot in raw you need to convert to jpeg to show or share as raw files can only be read by a small number of programs and the file sizes are pretty big. A final tip on that would be to shoot (if available on your camera) raw + jpeg so you can ‘publish’ the jpeg immediately and fine-tune the raw image later. Happy snapping!

    Man in a  Zhongshan or Mao  suit posing in the village Xizhou near Dali in the Yunnan province of China
    Man in a Zhongshan or Mao suit posing in the village Xizhou near Dali in the Yunnan province of China

    Want to put this on your wall or licence or share this photo email or contact us